Before and After: Stairs

I have much more to say about the stairs, but here’s a quick before and after. Depending on the lighting, the carpeting on the steps was either a dingy blue-grey or an unsusally bright blue. I’m against carpeting on stairs anyway, regardless of color. It gets dingy, easily wears out, and it’s hard to keep clean. I took off the carpet, knocked down the old bannister, and painted everything.
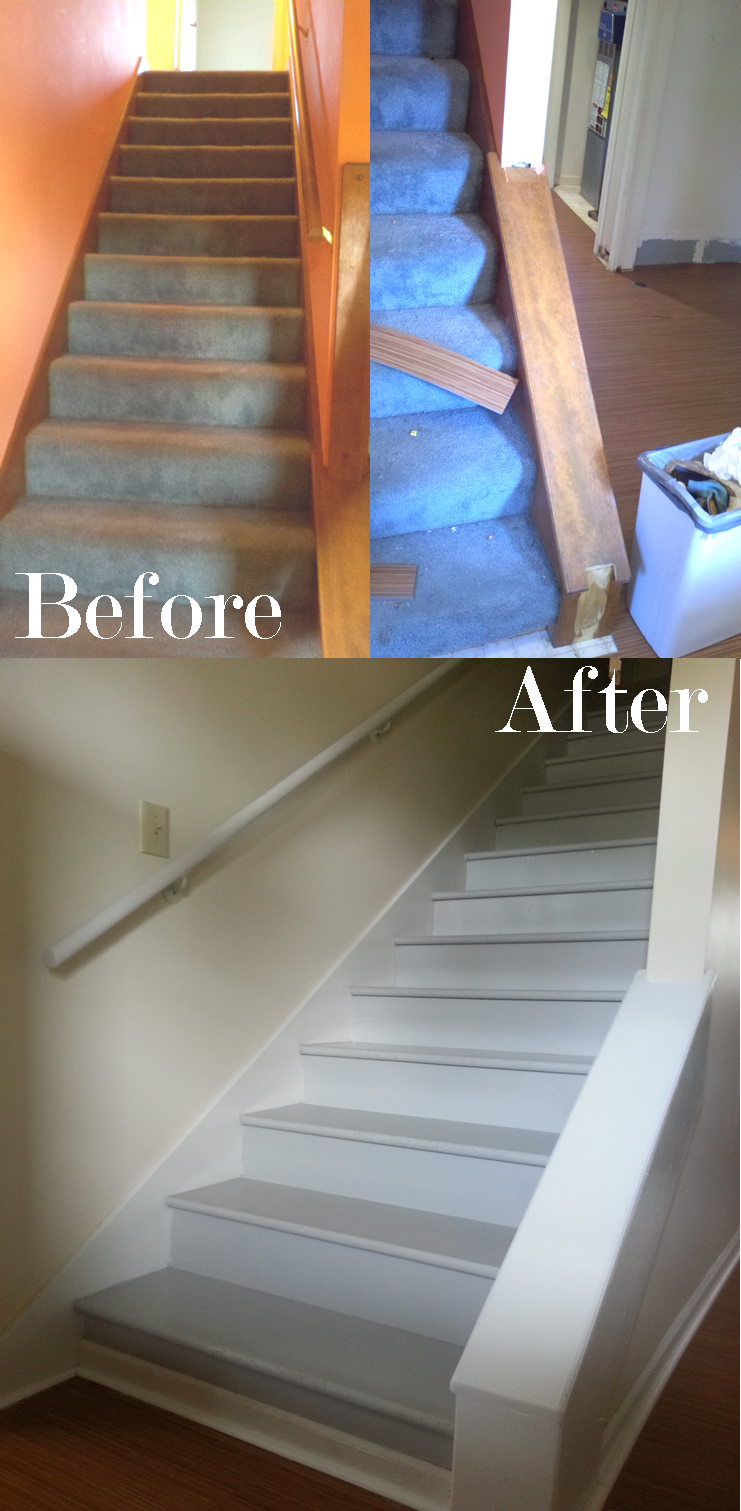
The stairs are positioned directly inside the front door, so I painted them a light grey and white so they wouldn’t be too imposing. I also switched the handrail to the other side of the steps and did not replace the old bannister on the right.
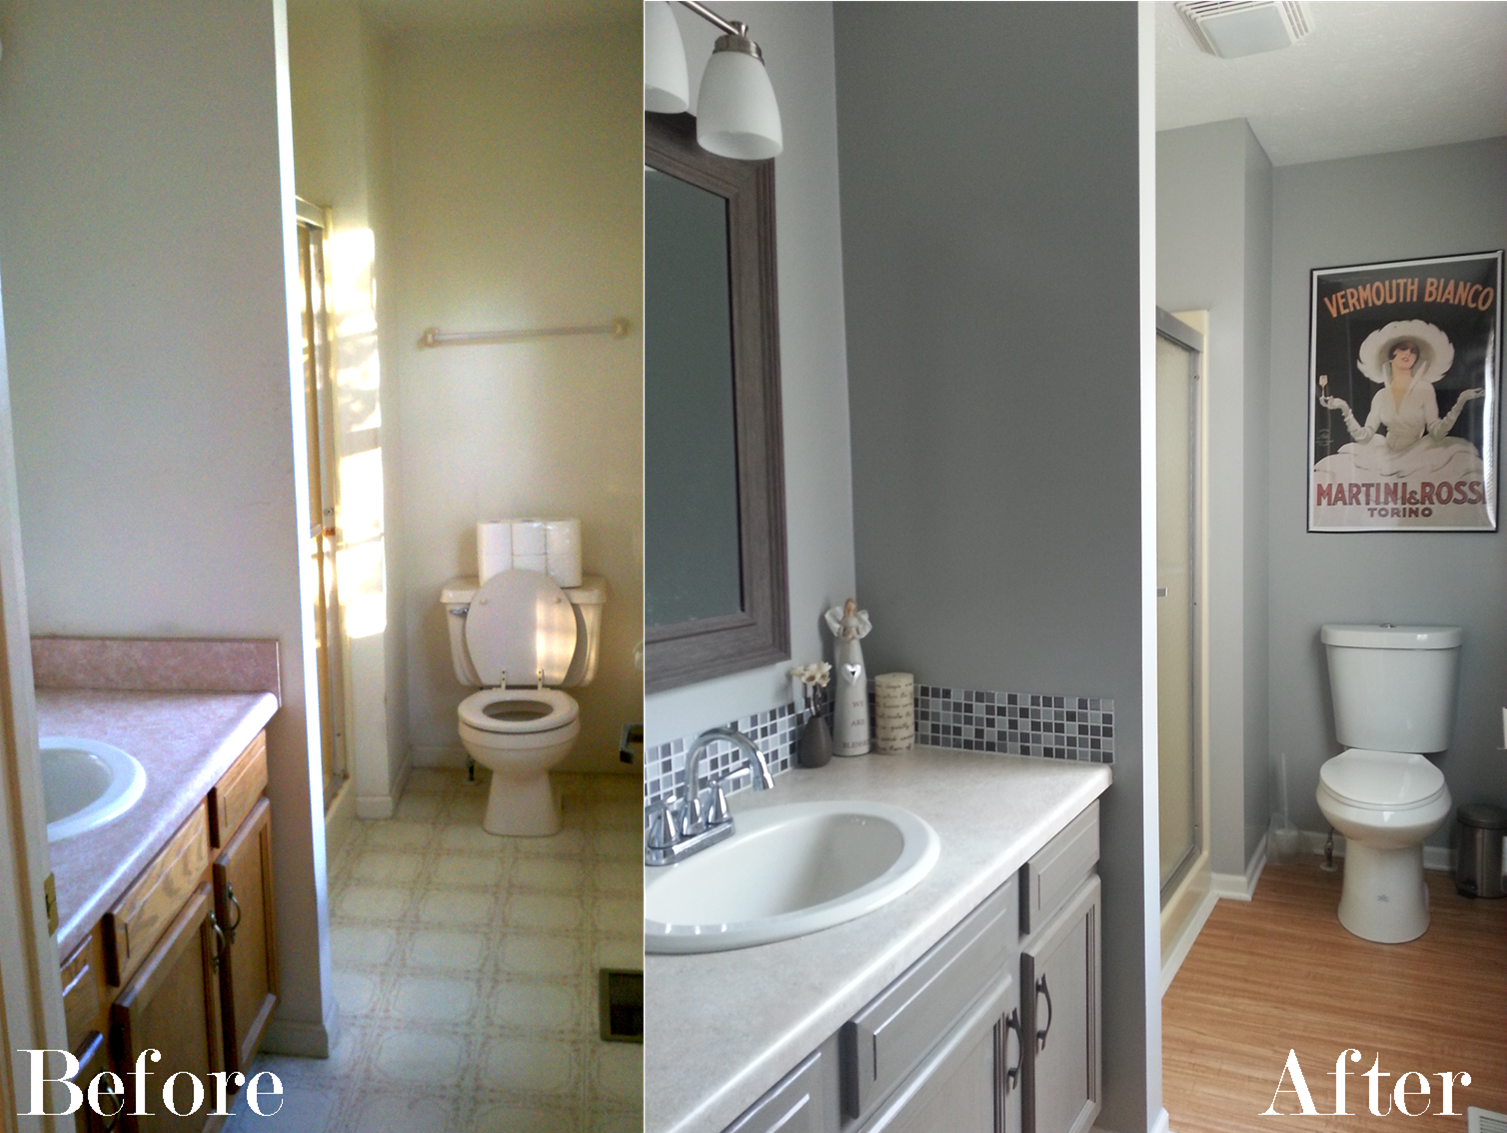
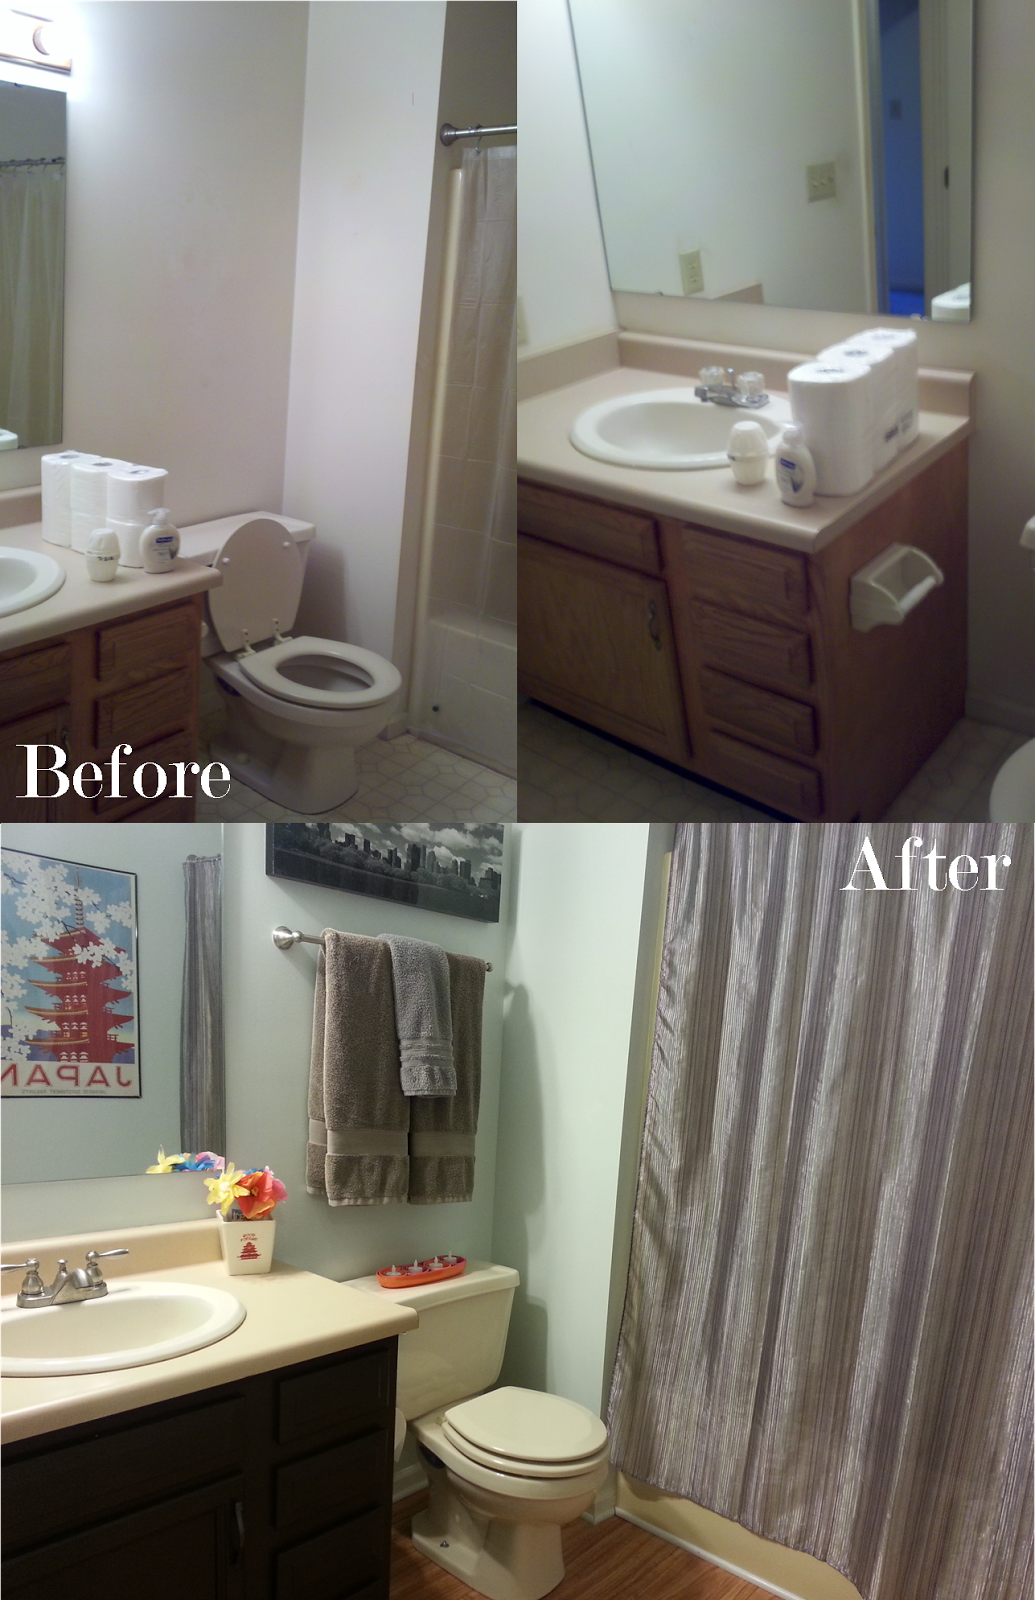
Before and After: Master Bath

The master bath was a challenge. We thought of trying many different storage and renovation options, but in the end we decided to keep it simple. We still ended up replacing almost everything in this small bathroom:

  • New blinds
  • New faucet
  • New vanity light
  • New vanity top
  • New vanity hardware
  • New toilet
  • New sliding glass shower doors
  • New flooring
  • New mirror
  • New shelf
  • New vent fan and light

Before and After: Game Room

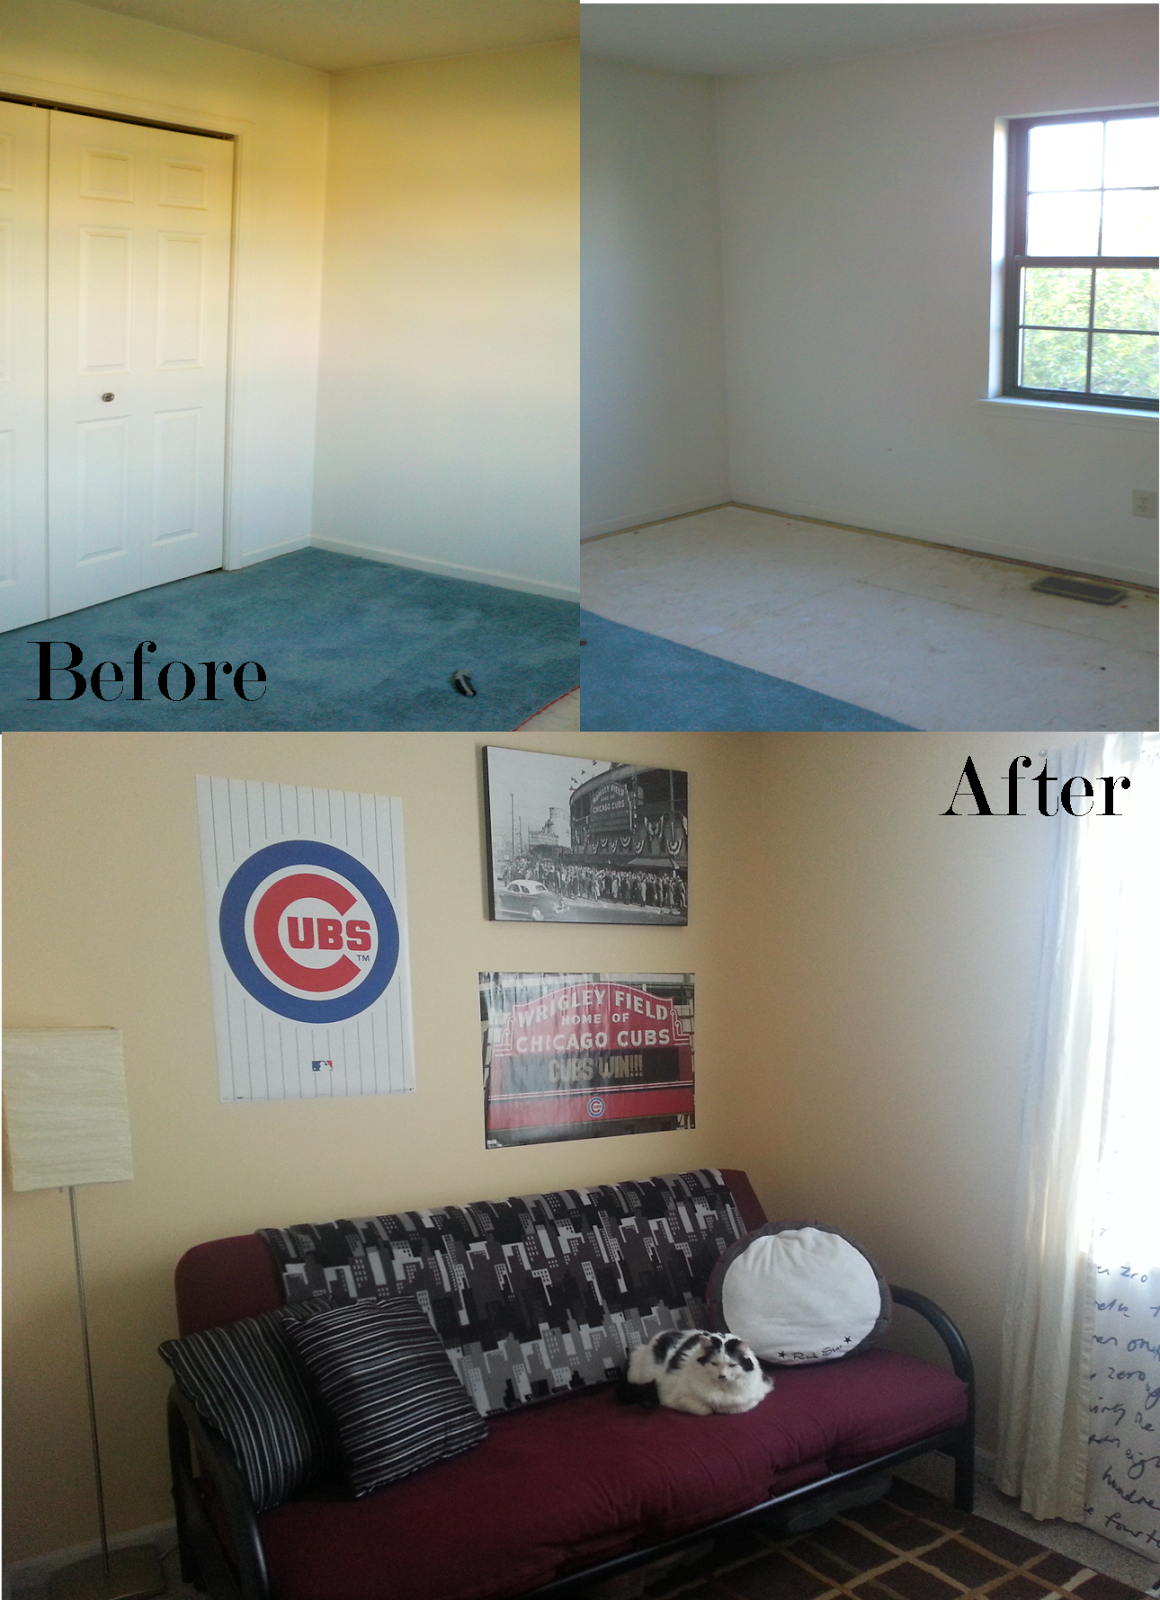
This room was tricky. As I mentioned before, this home was smaller than the last, and trying to find a place for everything was a challenge. We didn’t want to set up our former loft in the living room or family room, because we thought the love sac would look out of place. We combined our guest and office furniture from the last house into our second bedroom, and made the third bedroom into a dedicated gameroom.

It’s a bit cluttered, but in a happy gaming cave kind of way. Though there is no curtain up in the picture, I usually have a blackout curtain over the window. We mounted the TV and hung lots of shelves to get as much space as possible. Our media shelves fit perfectly in the closet, so we were able to store almost all the games and accessories in this room.

Before and After: Office

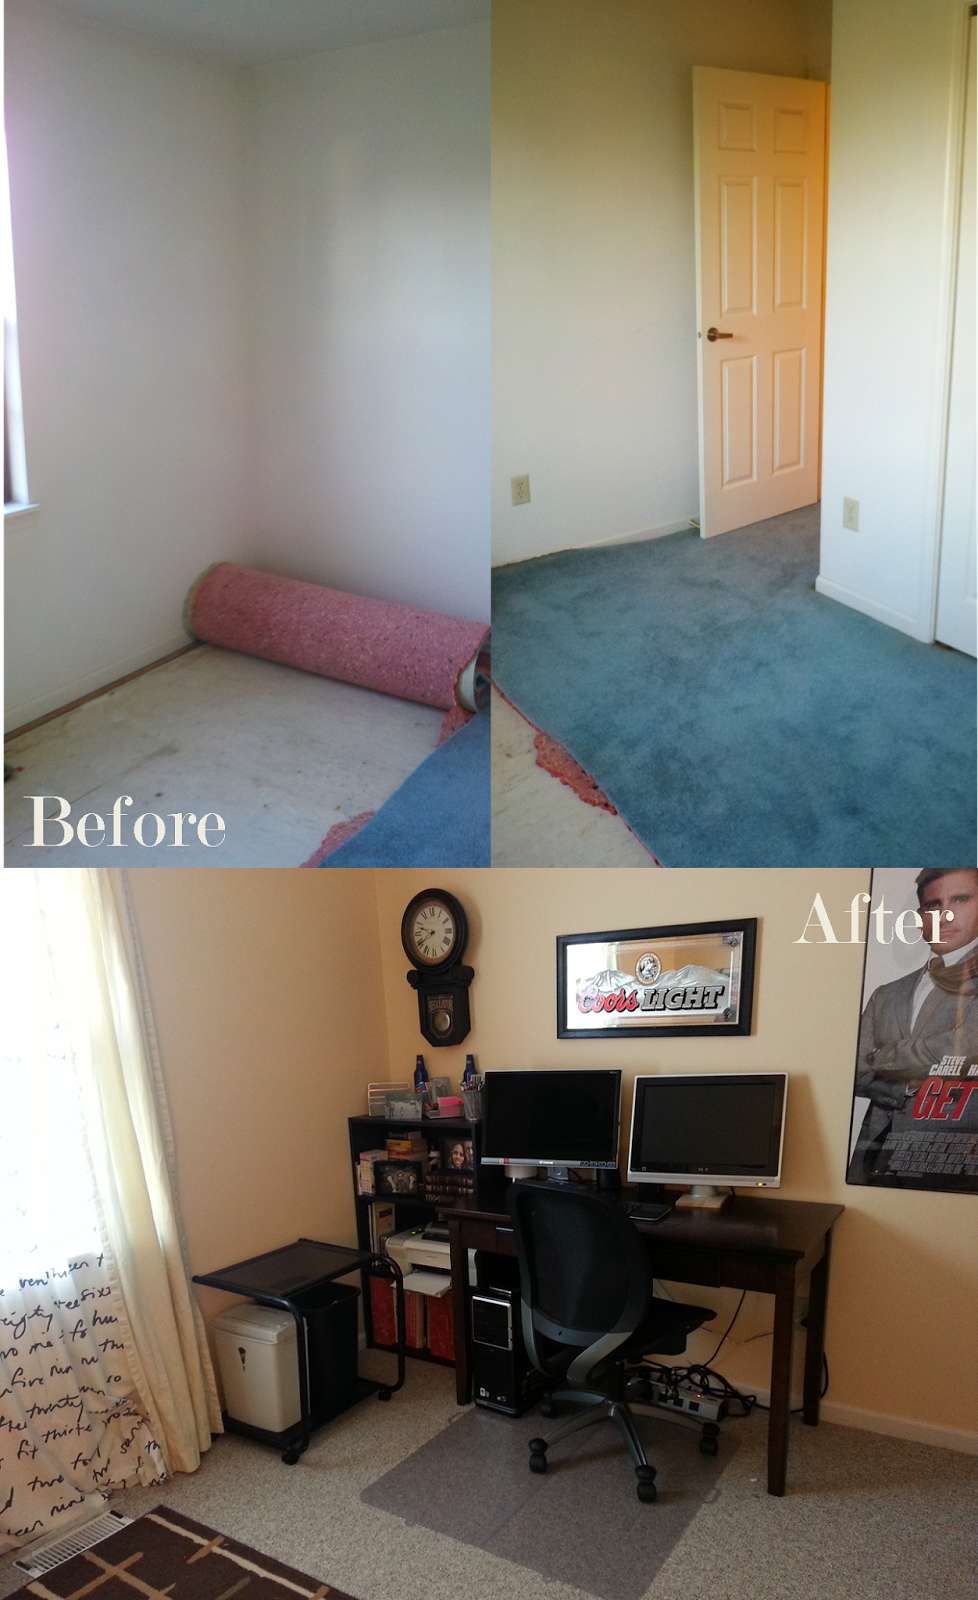
The office was the last room to be finished. This room served as temporary storage (aka dumping ground) for everything that was still packed or unused. We got rid of a lot of stuff while living here, as this home was smaller with no storage room. After a few trips to Goodwill, this room was ready to go. (The closet is a different story.) As a side note, I started pulling up the carpet before I remembered to take pictures.

Before and After: Living Room

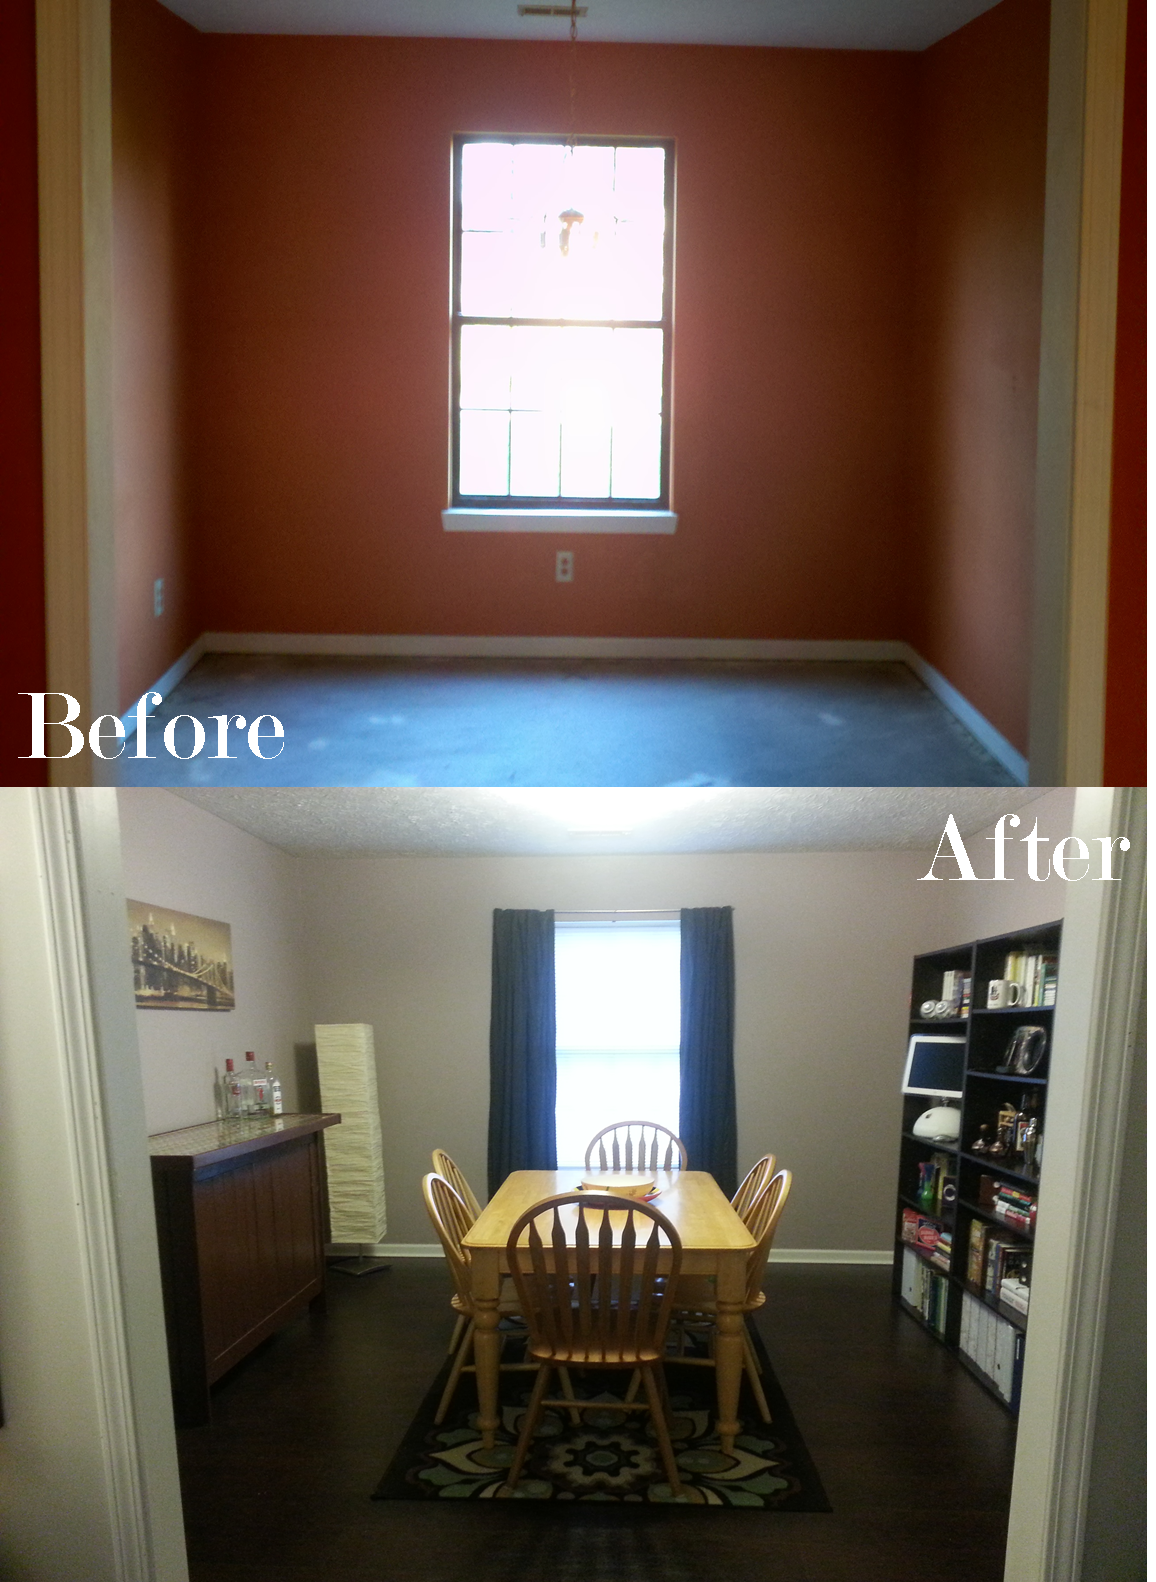
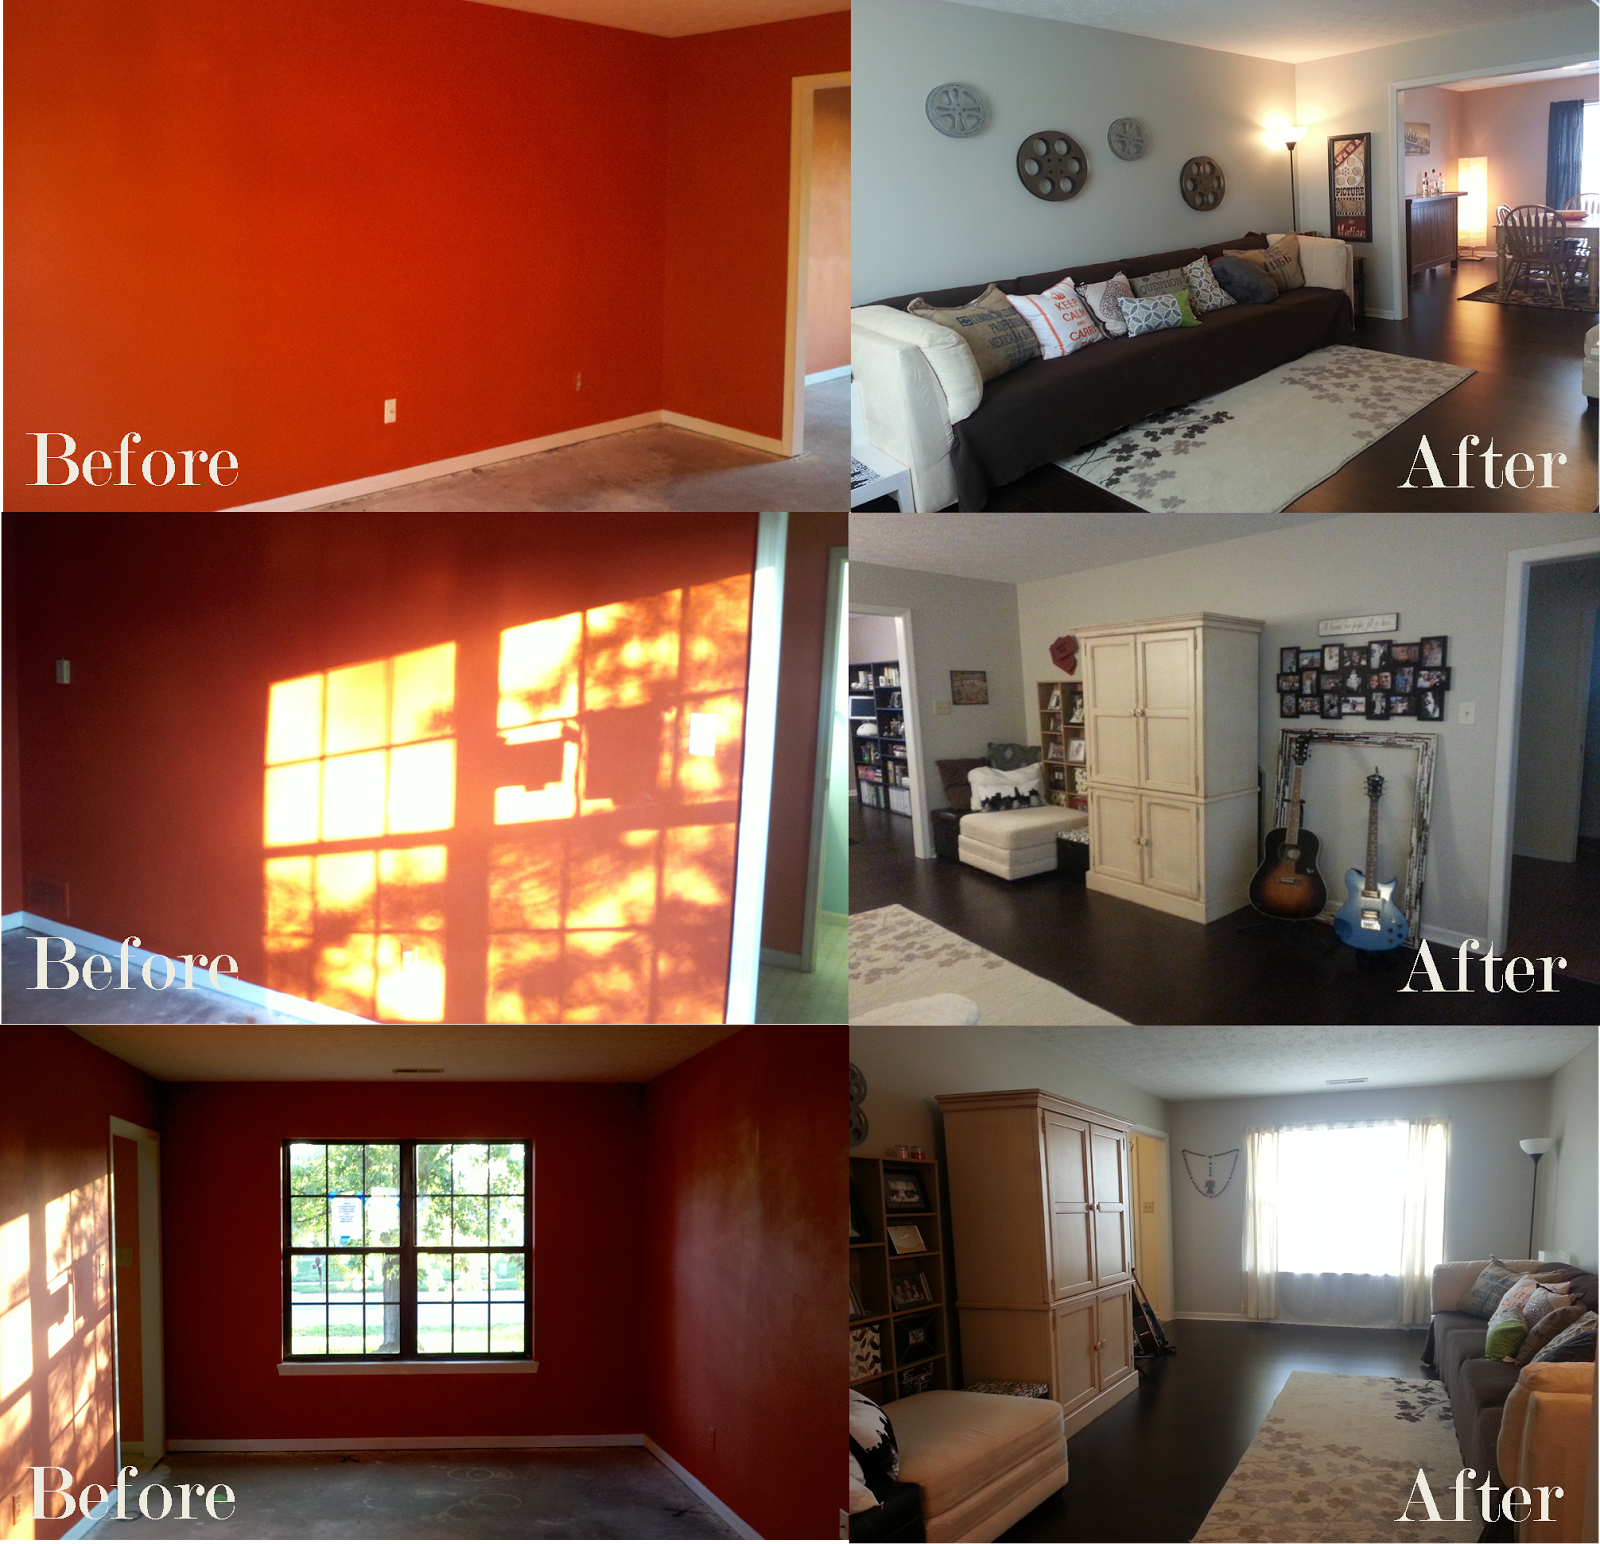
There’s not much to say about the living room. All the furnishings and decorations came from our last house, so it was a simple room to complete. Unfortunately, we did have to pay someone for one fix. We took off a light switch but couldn’t figure out how to reconnect it, because it was a three way switch with mysteriously colored wiring. After paying an electrician $125 to fix it, we vowed to learn more about home wiring. Here’s what we did:

  • Painted the walls
  • Painted the trim
  • Laid new flooring
  • Replaced the light switch

Before and After: Exterior

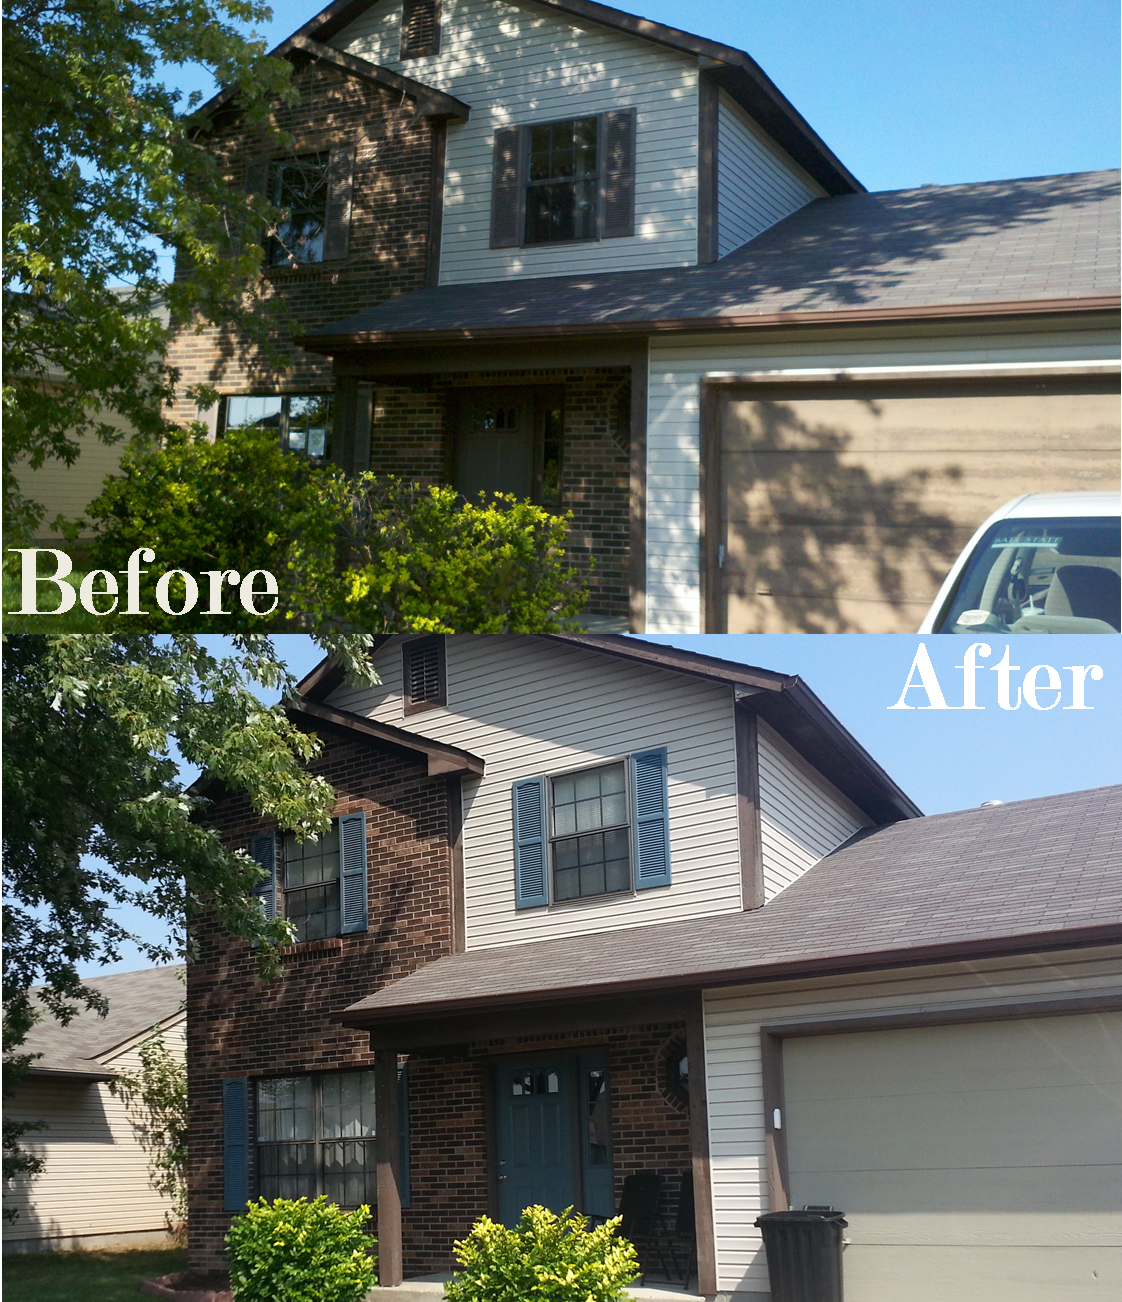
This is the first of many “before and after” posts about our place. The outside of the house wasn’t awful, but it was a little more work than we imagined.

The pictures are a bit deceptive, as they don’t look that dissimilar. Here’s what we did outside:

  • Trimmed the hedges
  • Trimmed the tree (twice!)
  • Painted the shutters
  • Painted the garage door
  • Painted the front door
  • Spread mulch 
  • Seeded, fertilized, and watered the lawn (a lot)