New countertops

Unfortunately, our second house had blue countertops in the kitchen and imitation pink marble in the master bathroom.

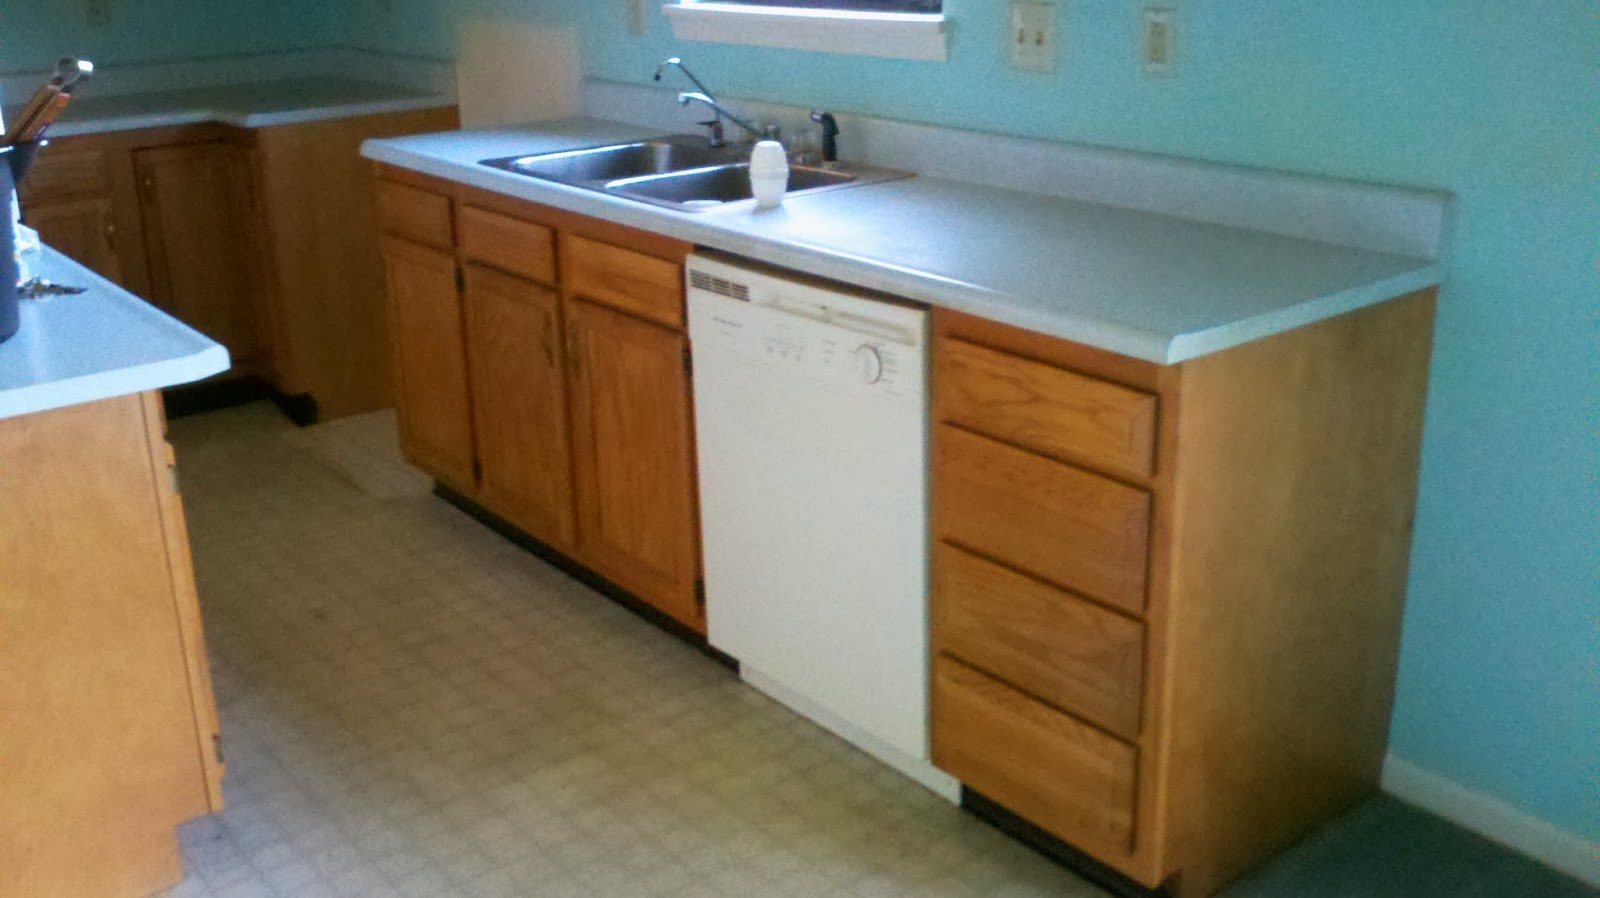
 
We replaced both with the cheapest available laminate option from Home Depot.
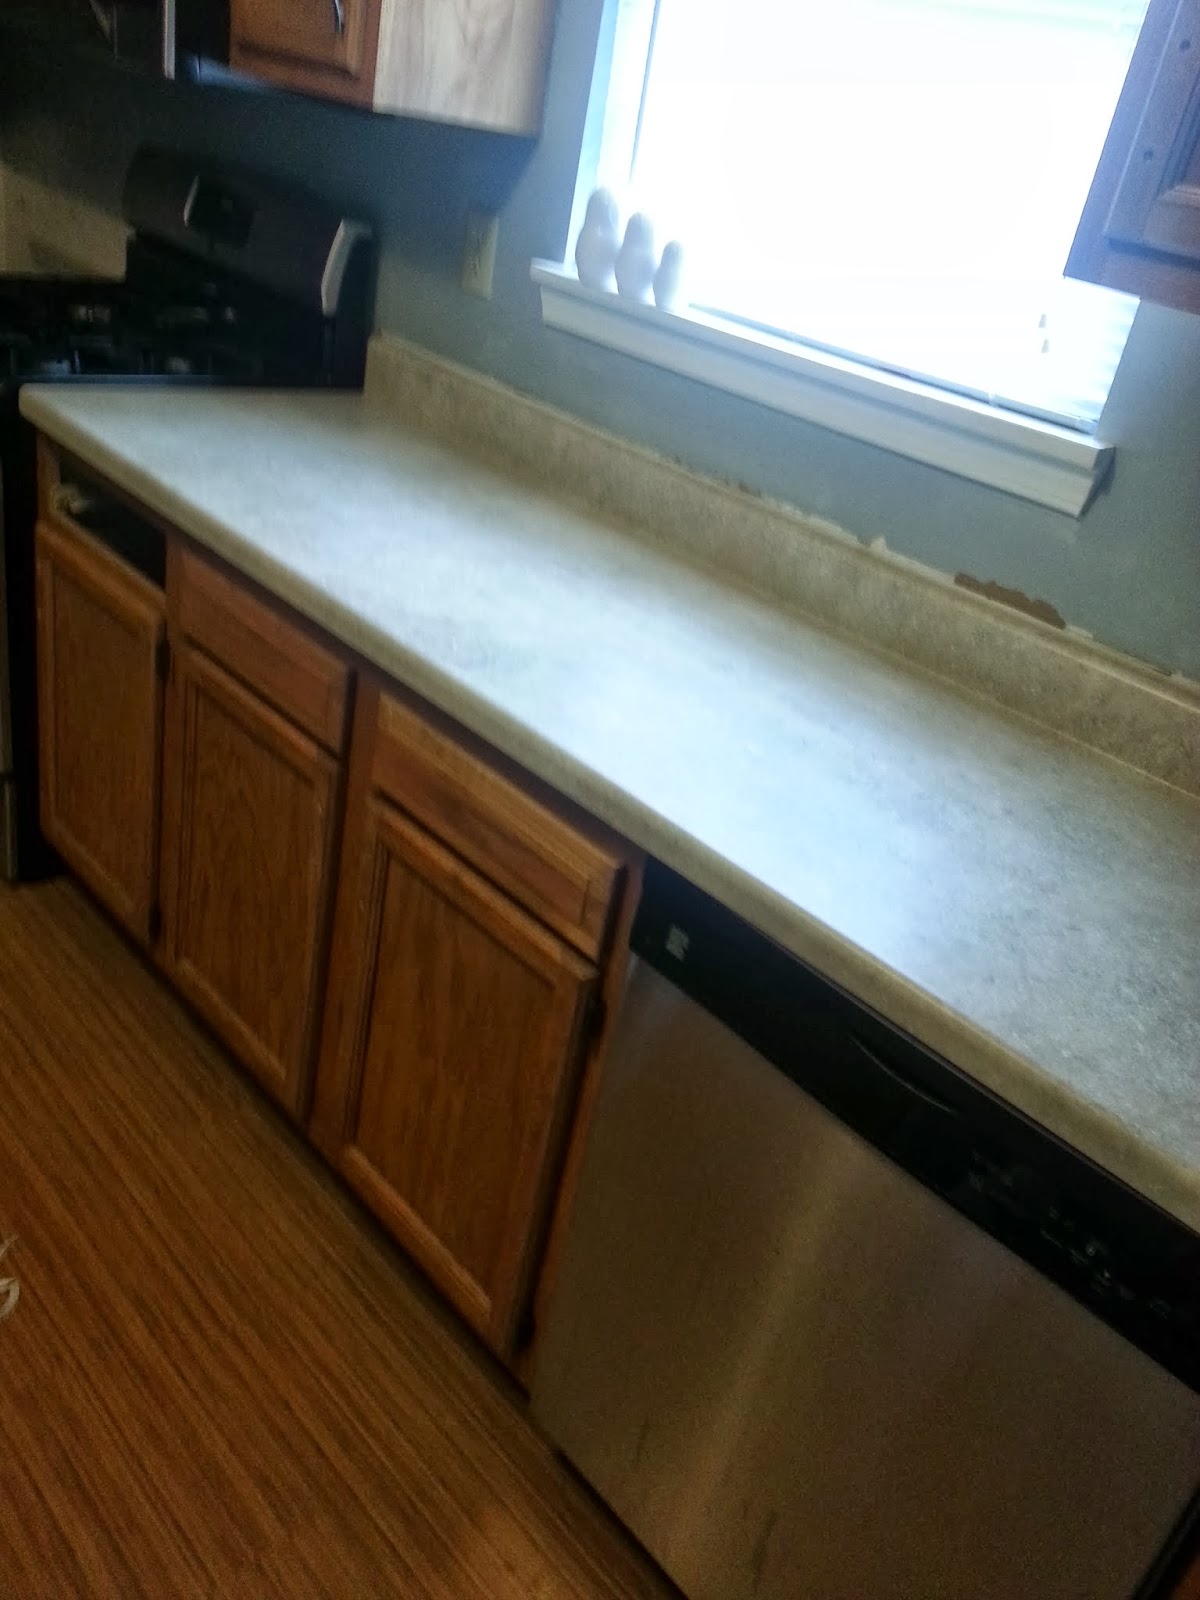
We used a jig saw (which is probably not the right saw) to cut the holes for the kitchen and bathroom sinks.

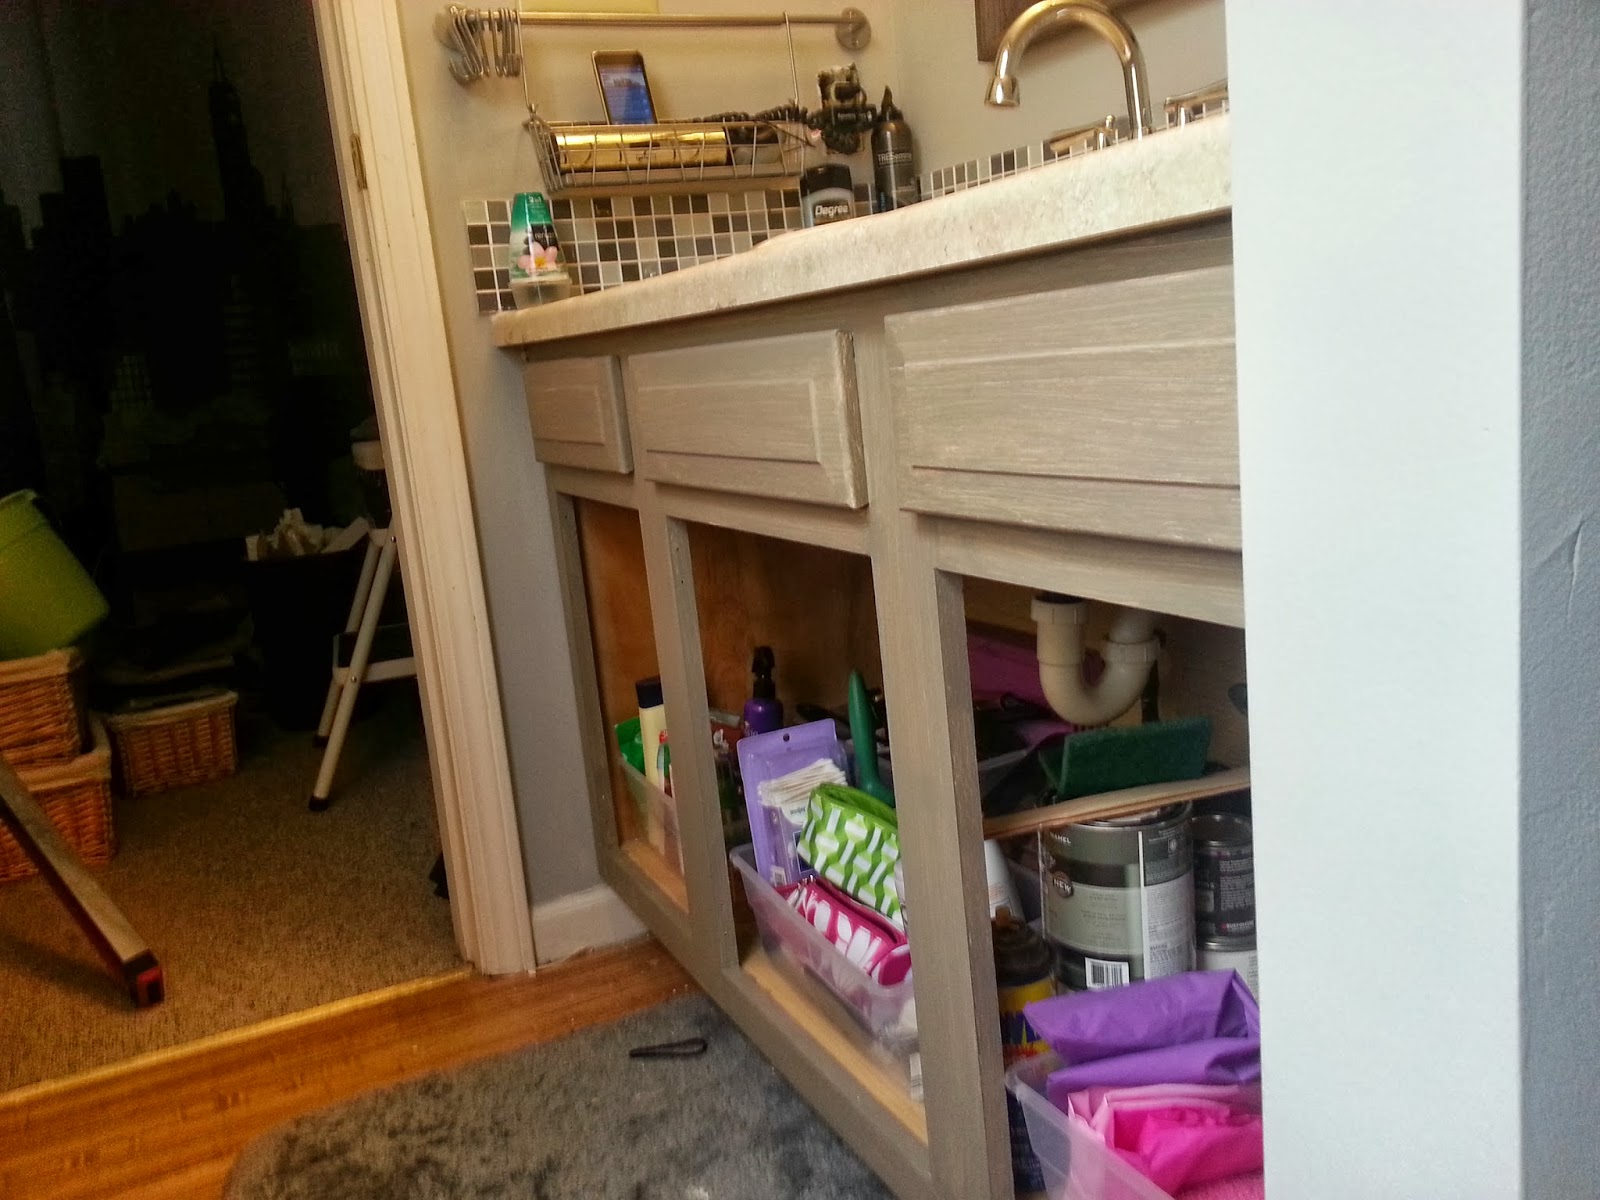
We were able to use the scrap piece from the short side of the kitchen corner as the top for the bathroom. Because kitchen countertops are deeper than bathroom vanities (fun fact!) we cut a few inches off the back so it would fit on our existing vanity. Laminate countertops aren’t exactly luxurious, but the are a perfectly acceptable option for a range of projects. Due to digital photography, the laminate images are better than ever, with less repetition. They are easy to cut and install, too.
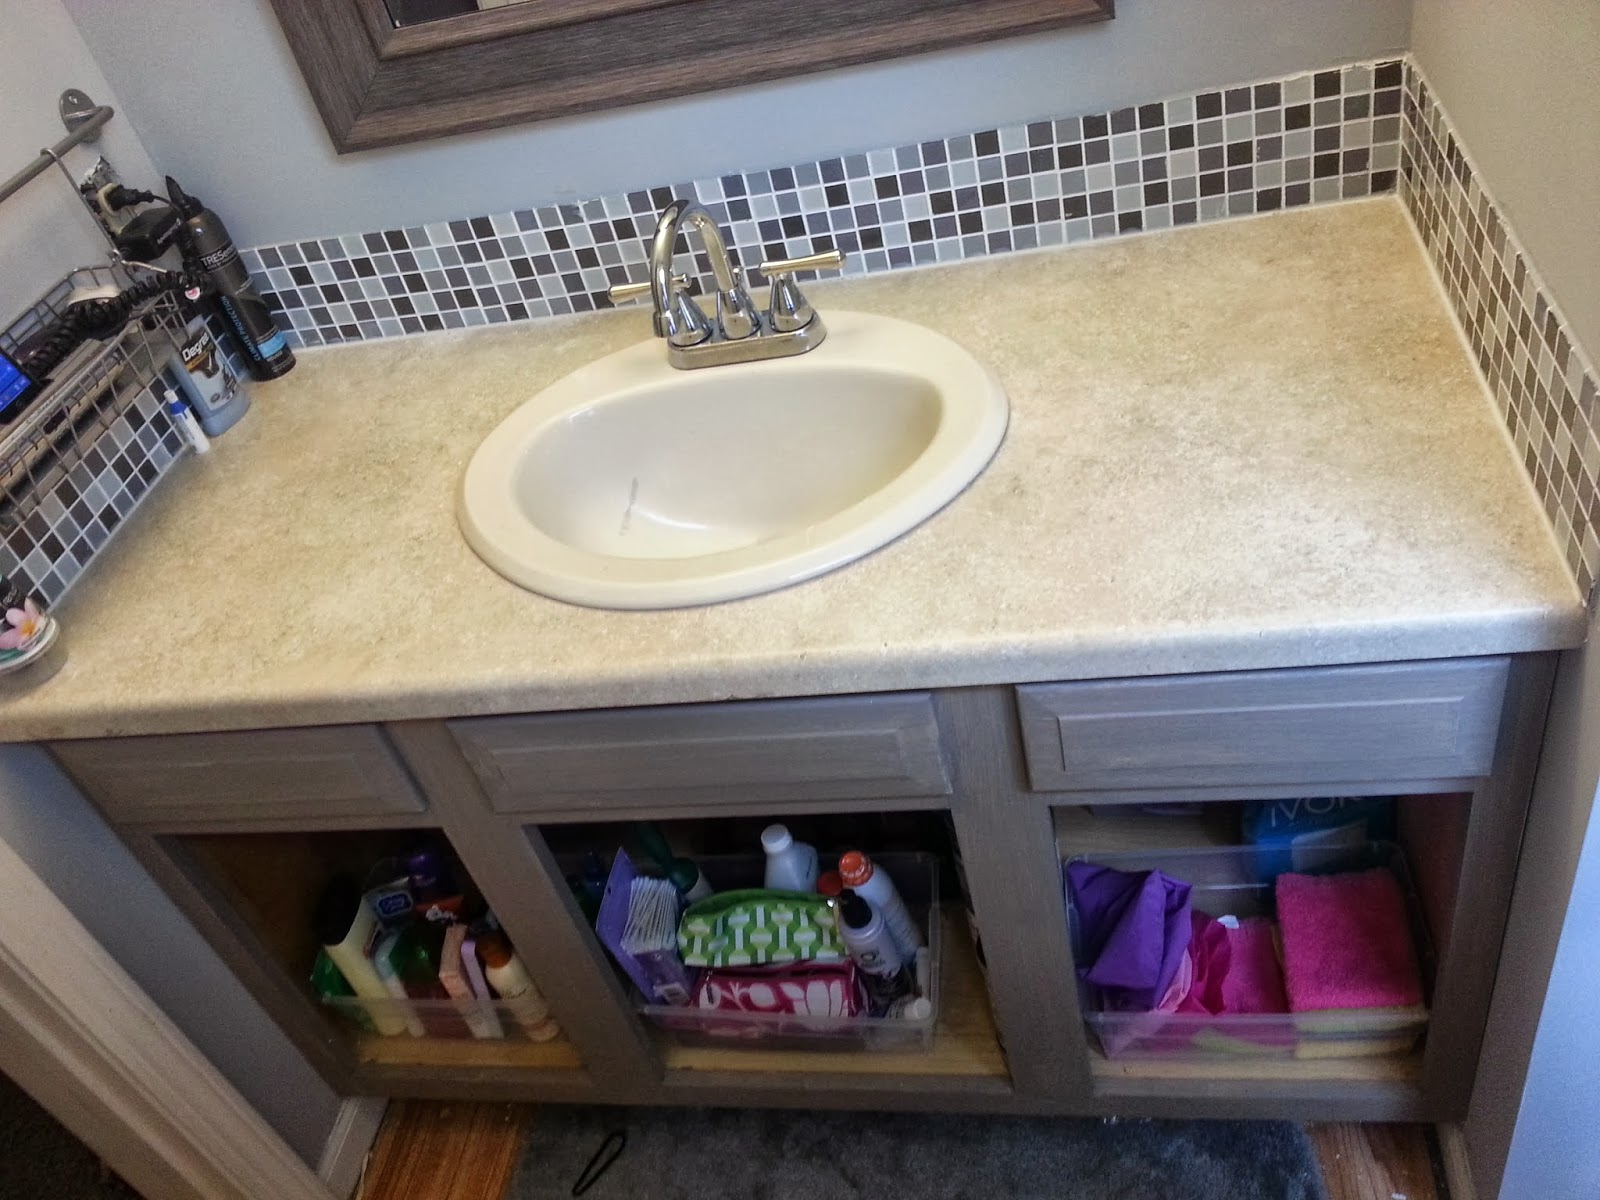
Edges can be a bit tricky. Exposed edges must be finished by gluing on a strip of laminate, then filing it until flush with the countertop. You have to be careful not to damage the countertop as you file down the edge. It’s not to difficult, but it took me a couple tries to feel competent. Luckily, the vanity top in the master bathroom sits between two walls.  

Assembling corners isn’t exactly a walk in the park. You have to buy a joining kit, which comes with special glue and hardware that tightens to pull the two pieces together. The actual assembly isn’t as difficult as trying to find a decent place to do the work. I cobbled together an appropriate workstation using sawhorses and random bits of wood.

If you need to cut down the countertops to the correct size, a table saw is the best choice. …I take that back. The best choice is getting the countertops cut professionally. Depending on how much you are ordering, it is completely worth the extra money for laser straight, perfectly measured cuts. 

Refinishing Troubles

I had more trouble than I expected refinishing the cabinets in our second house. They all started the same wretched honey oak color, with the master bath and kitchen having the added bonus of weirdly colored countertops. I thought that I would try painting all the cabinets white this time, instead of dark brown like last time.

It didn’t look too bad, but it did look clearly painted. I’m not sure if it was the oak color vaguely showing through, or if that was just because it was white and not brown. Additionally, to get it to this solid of a white took three coats. This was the first cabinet I tried, and I couldn’t imagine painting all the cabinets in the kitchen three times. I had already bought the kit with white paint as well, and I had no way to buy the paint from the kit without buying a second kit. Therefore, I tried to find another suitable not-brown color.

I painted this cabinet with a $3 color sample (and even had some left over). I used the decorative glaze from the kit on top of the paint before applying the clear top coat. Though I like the color, I wasn’t confident about using it in the kitchen. I bought a gallon of good, old, reliable brown for all the other cabinets. I thought of detailing the progress of refinishing the kitchen cabinets in a post, but I’ve already done that.

Gamenight

Way back in 2009, before the advent of Tabletop, we attempted to start a Friday night bible study with a couple friends that quickly devolved into Gamenight. We eat, drink, and play board games: usually pensive, Germanic, dominate-everyone type things. I might get it together enough to have a reoccuring post about these nights, but for now here are pictures from a few of our favorite games.

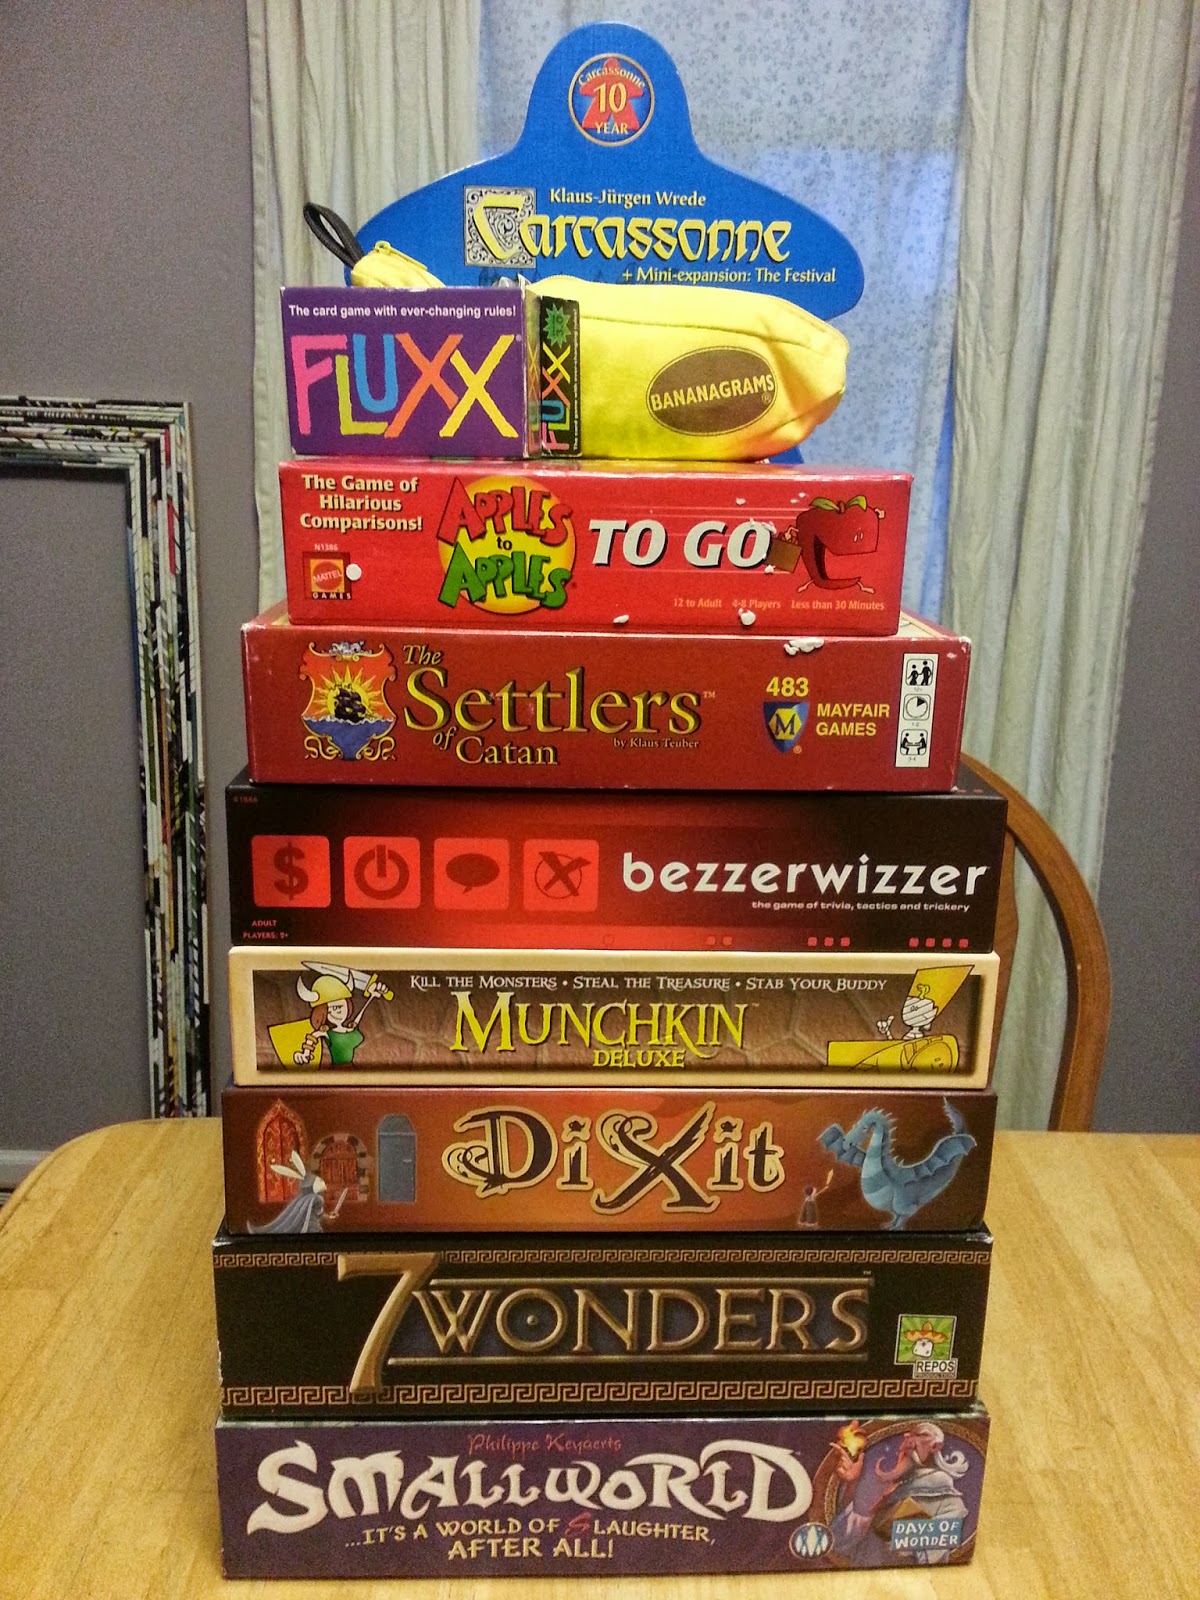
This is the stack we took for a weekend away with our Gamenight friends: Carcassone, Fluxx, Bananagrams, Apples to Apples, Settlers of Catan, Bezzerwizzer, Munchkin, Dixit, 7 Wonders, and Smallworld.

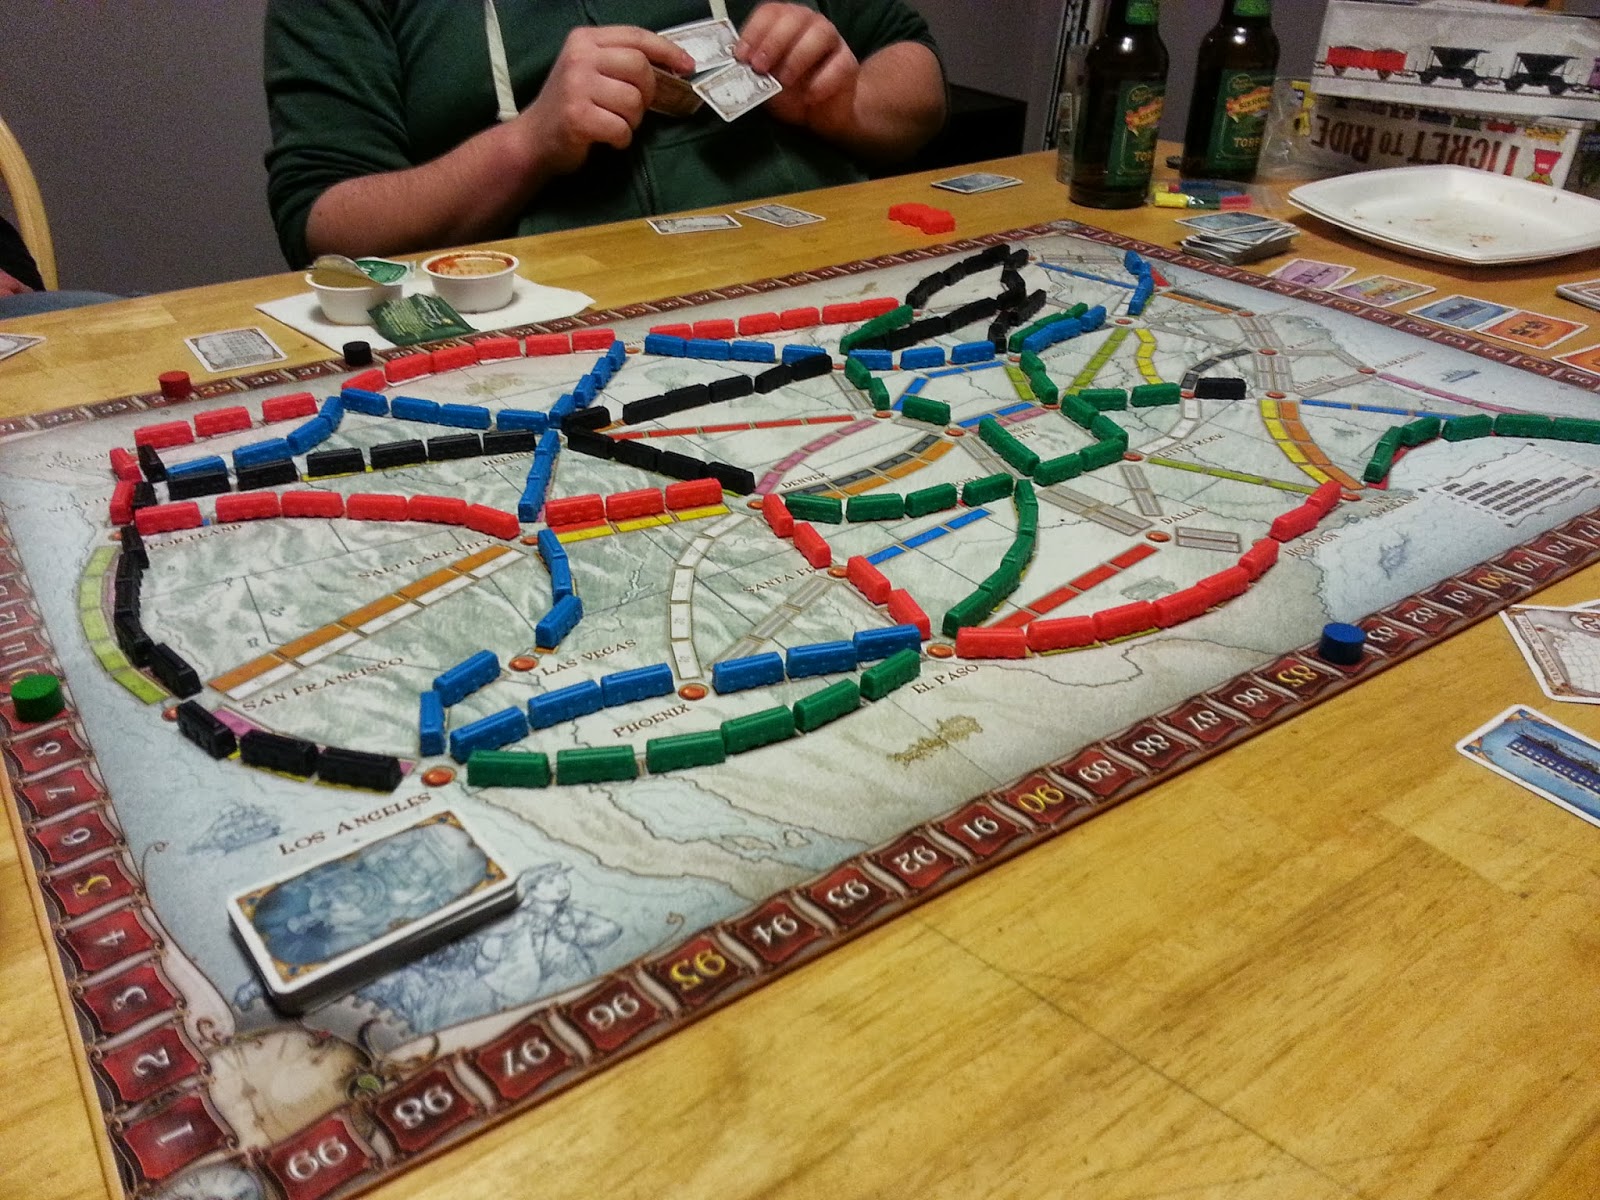
A Gamenight favorite that wasn’t mentioned above is being played here: Ticket to Ride. Everyone gets a certain color of trains and tickets for city to city routes. Everyone tries to connect the cities on their route, earning points as you fill the outlined paths with your trains. At the end of the game, you add or subtract points from your tickets, depending on whether you completed the route or not.

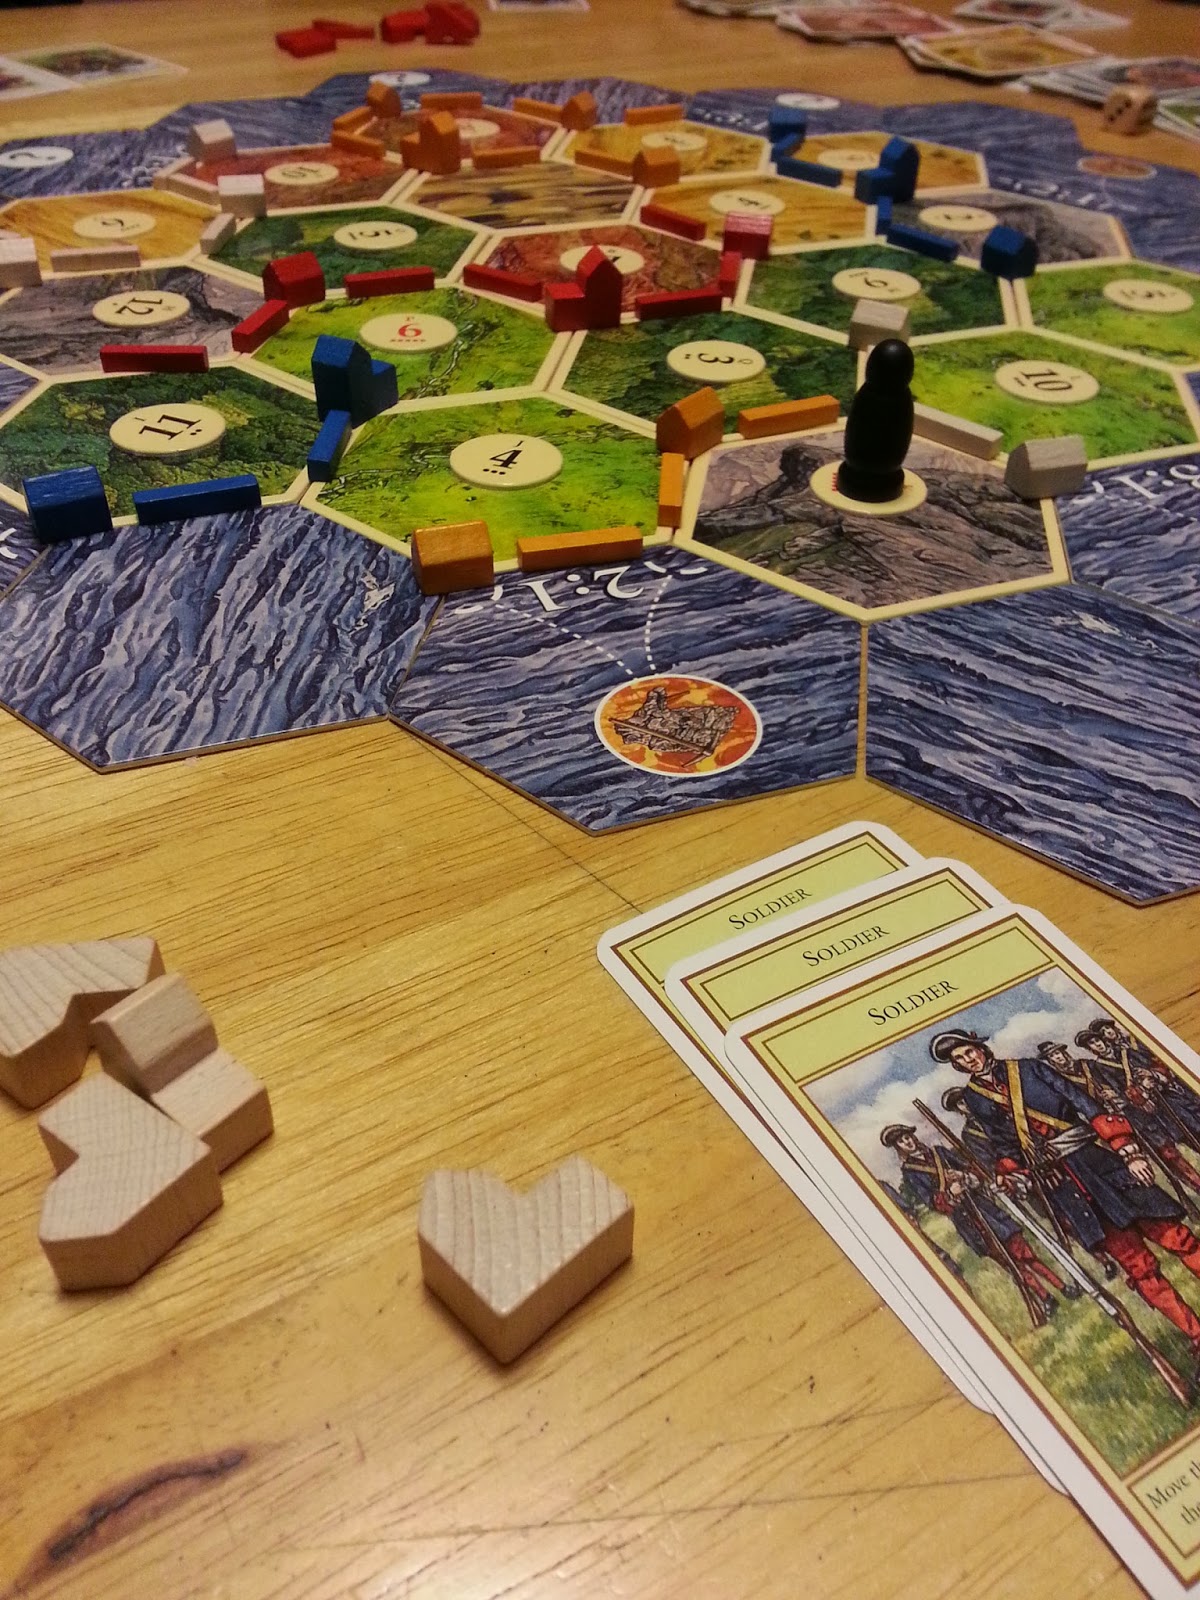
Settlers of Catan was our introduction to next-level board games. It’s tricky to explain, so I will do a mediocre job: You are trying to settle the lands of Catan. There’s trade, development cards, settlements, cities, roads, a soldier… many things. It’s fun, though my husband often angrily declares at the beginning of the game that someone has destroyed his chances to win. Of course, he jsut wins anyways.

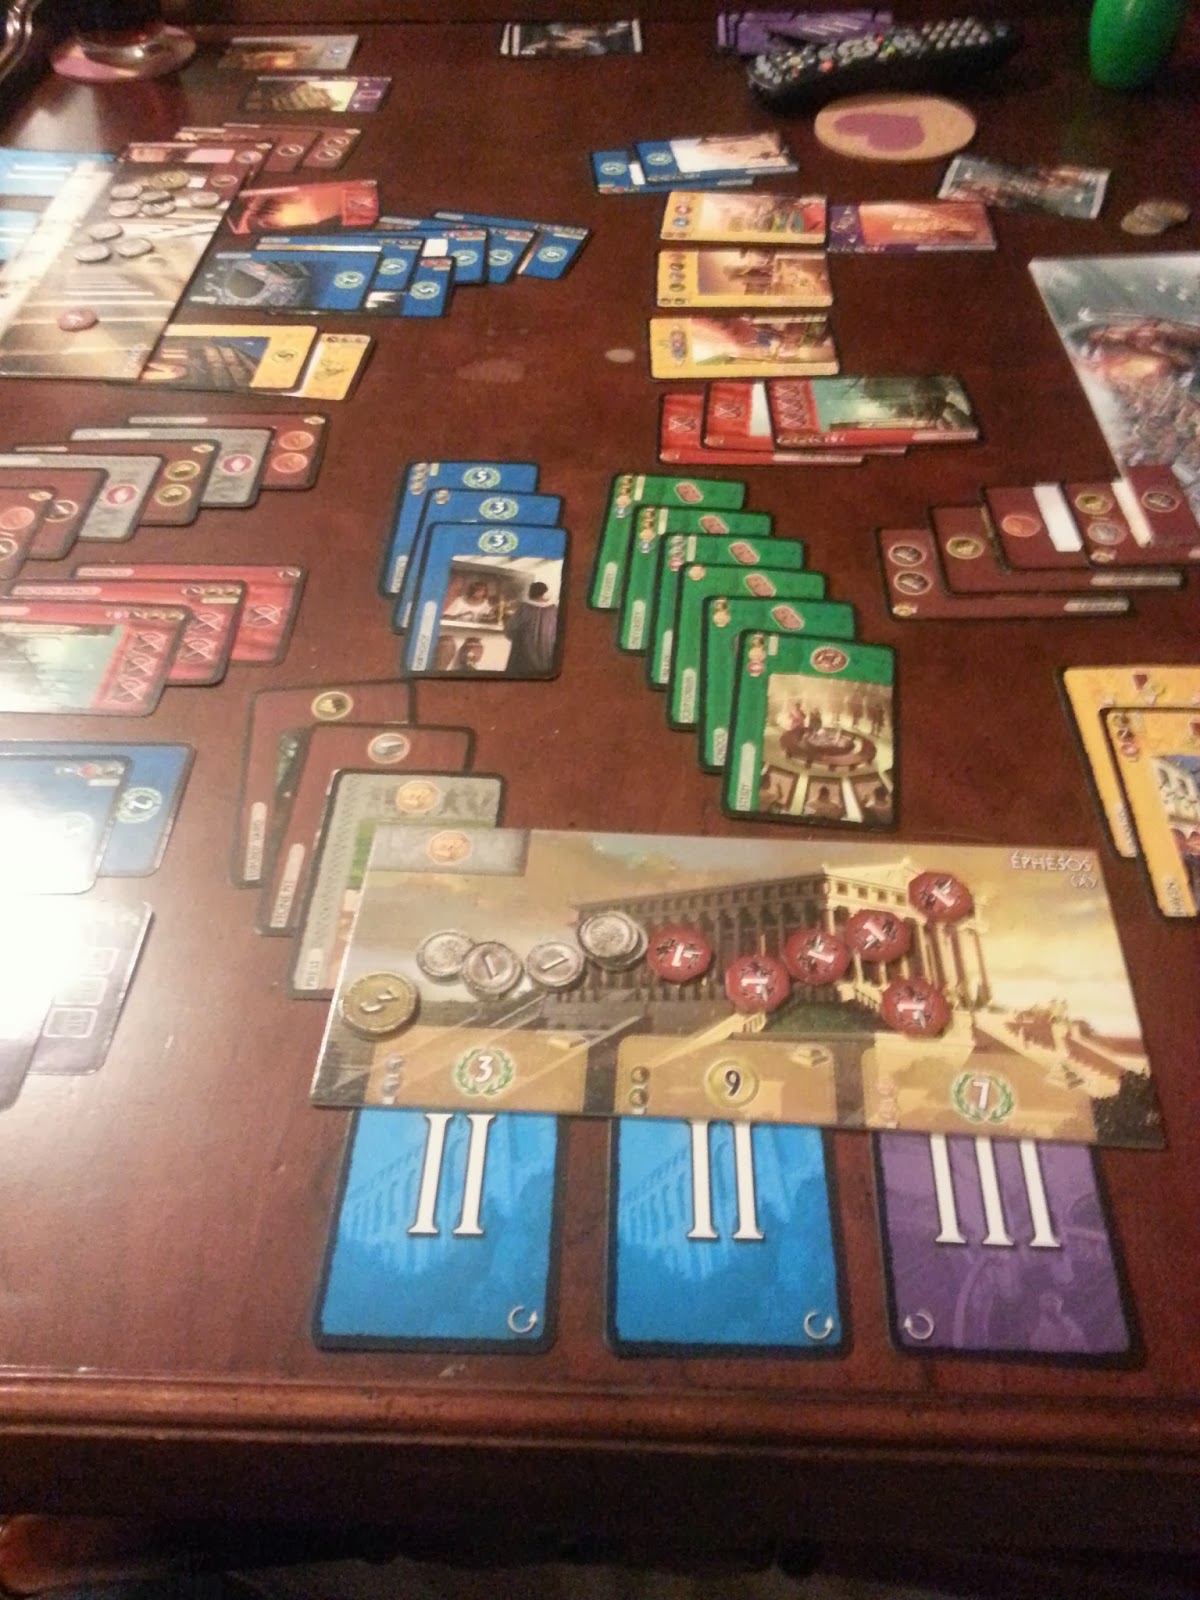
7 Wonders requires a fair bit of space, as it comes with many cards that need to stay visible throughout the game. Everyone gets a large card with one of the seven wonders of the world. The game has three eras, during which your civilization advances and attempts to complete construction. You have money, resources, military, etc. It’s a little like Settlers of Catan, but you don’t have to worry about a map. Because the scoring at the end of the game can be tricky, I recommend using a 7 Wonders scoring app instead of tallying it up by hand.

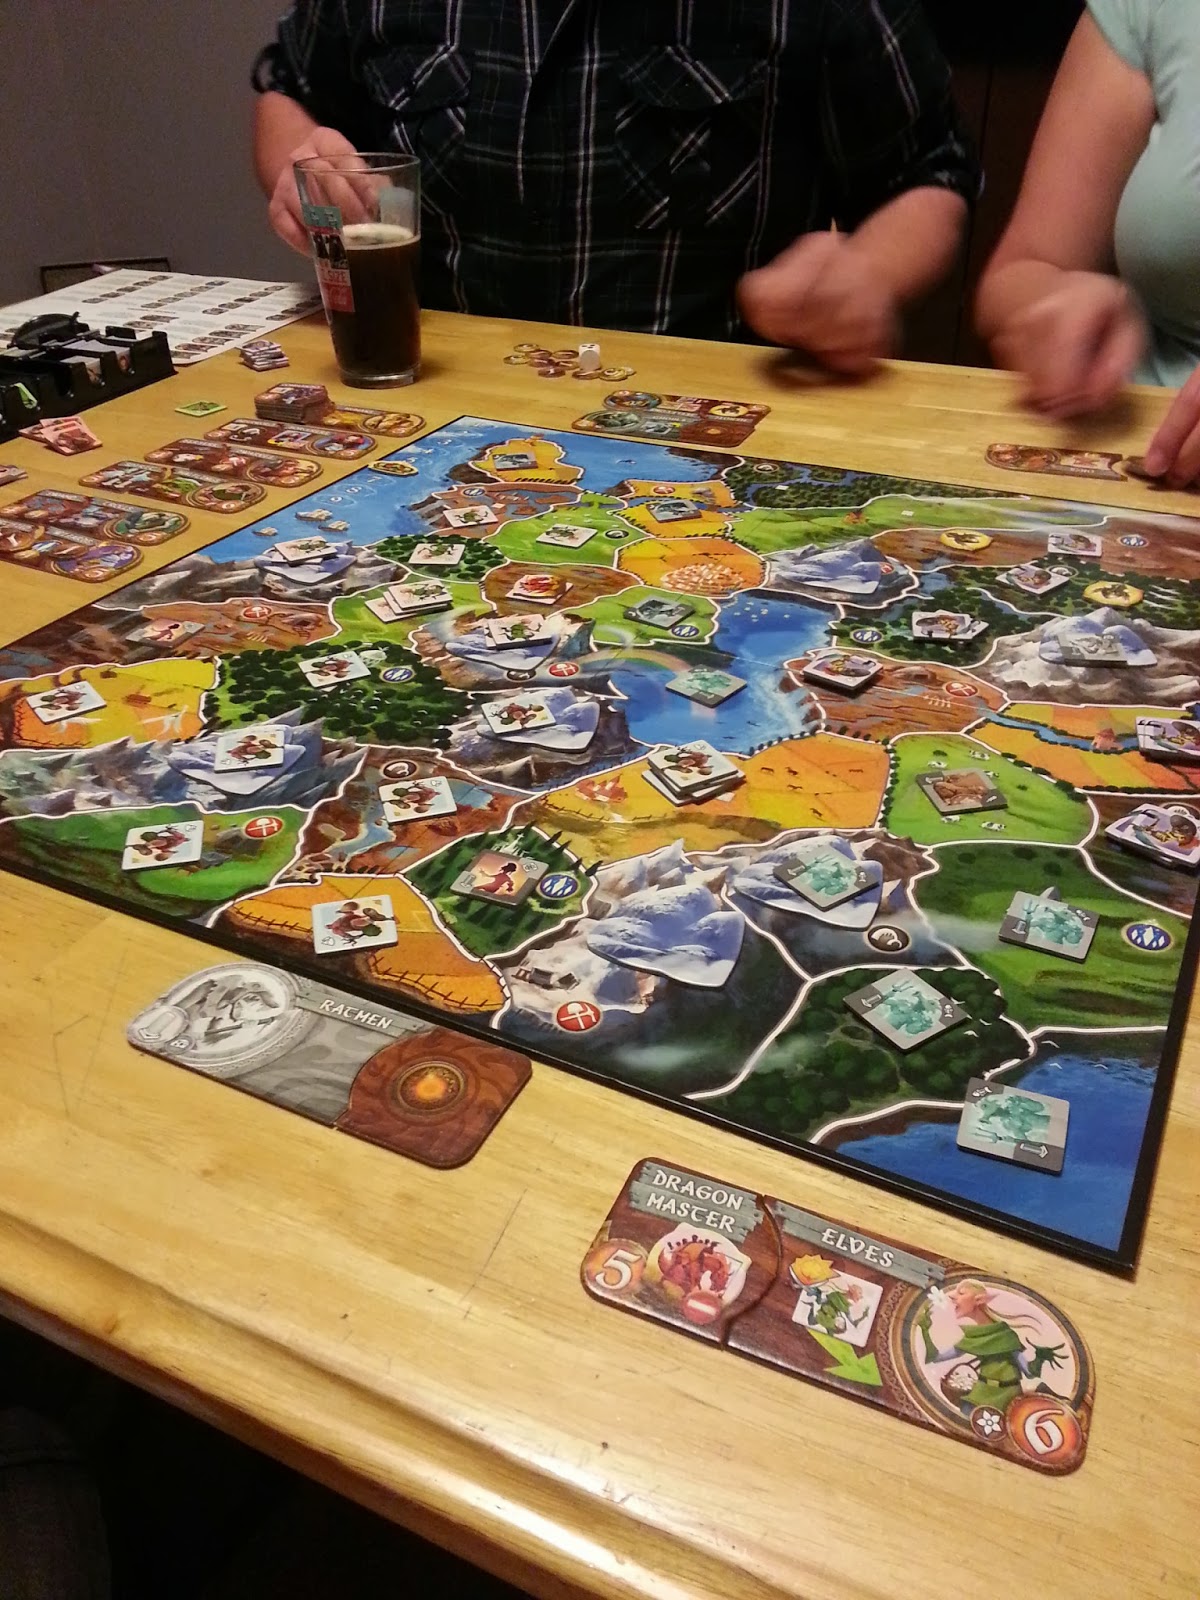
Small World is another frequent choice at Gamenight. The map is similar to Catan, but you play with different races instead of roads and buildings. Each of the races has a special power which gives them a certain advantage. On your turn you try to conquer as many adjacent lands as possible, collecting points at the end of each turn. The person with the most points at the end wins!

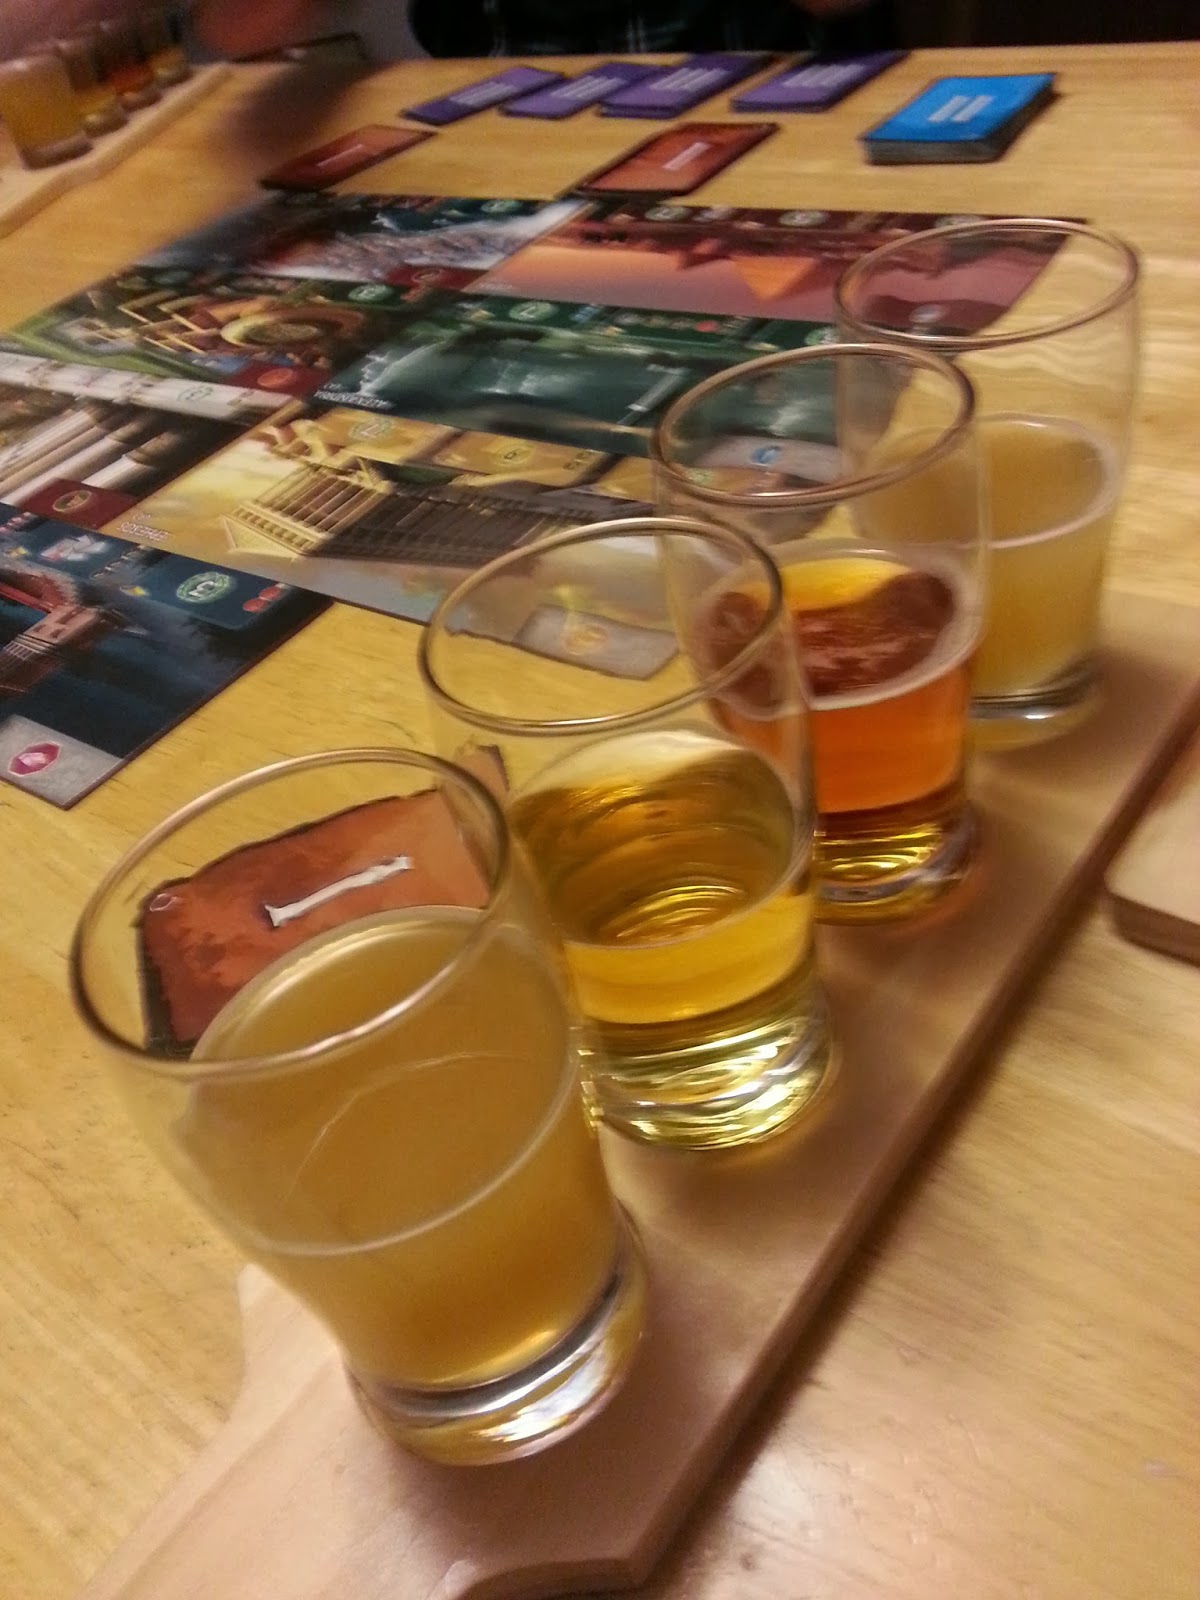
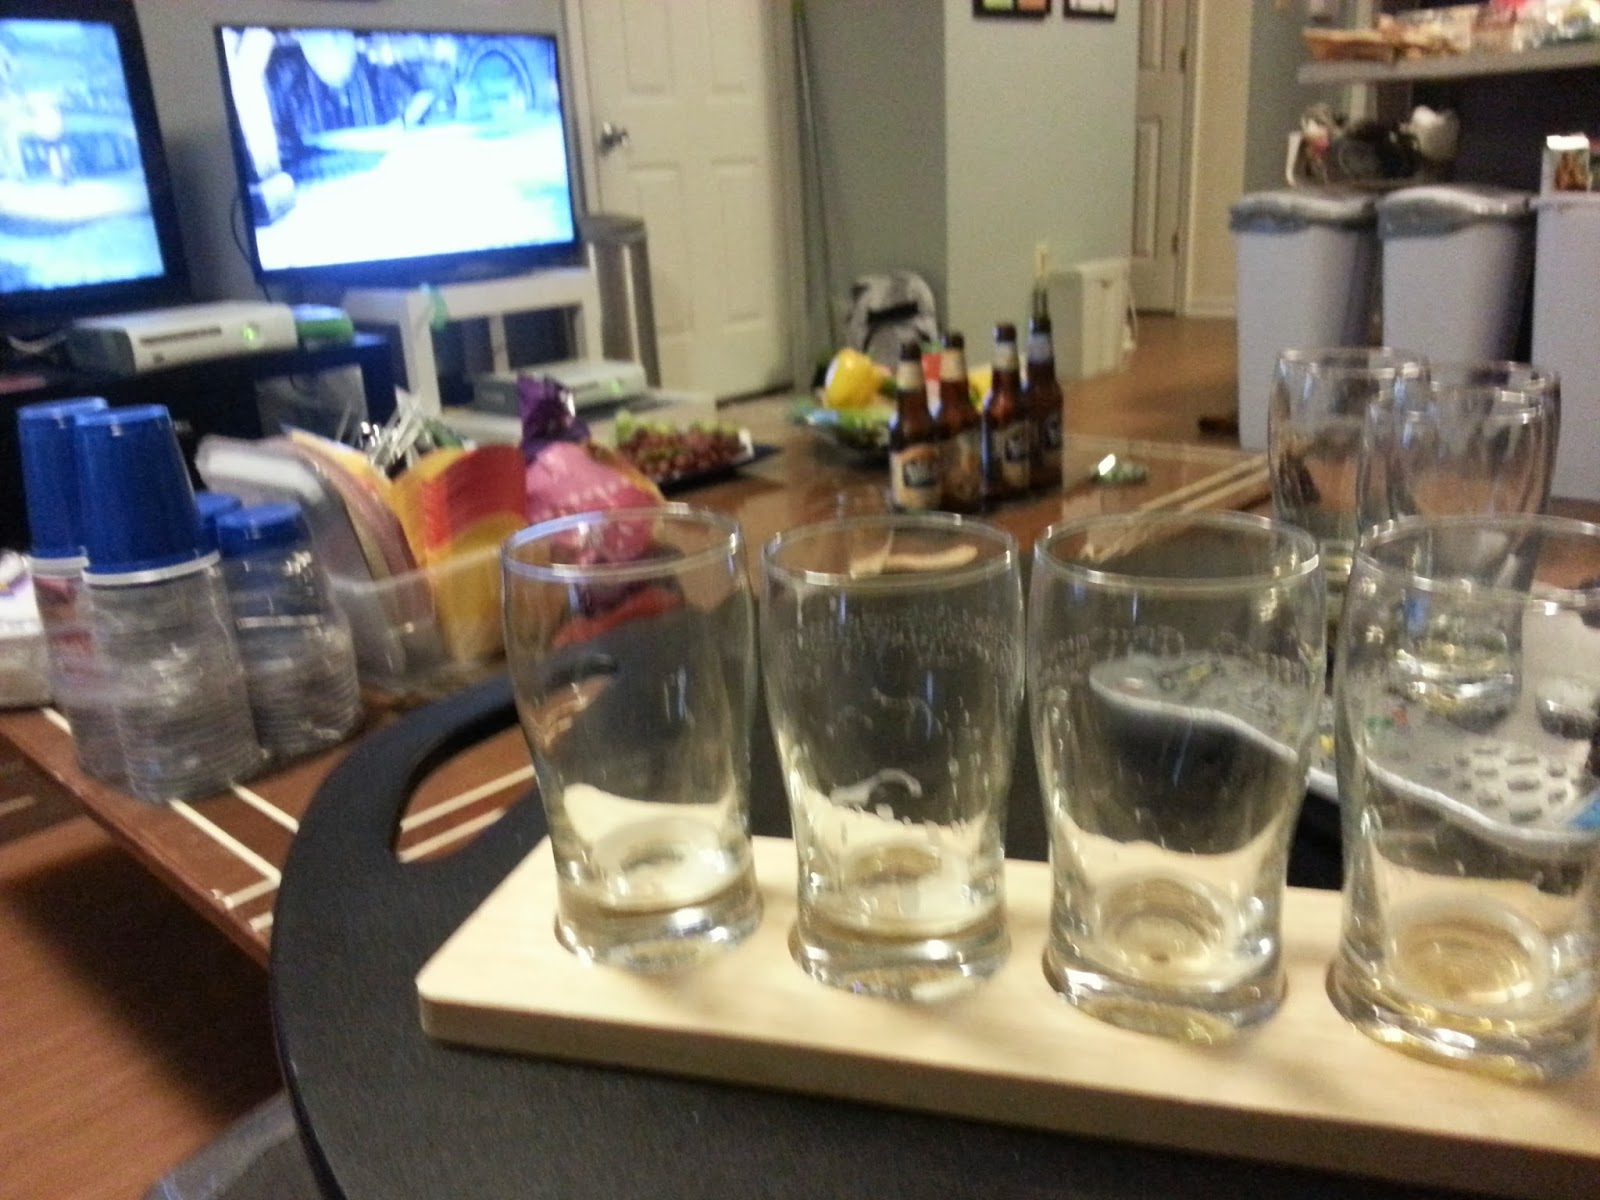
Oh yeah, and the drinking! The beer flight glasses first used for Dovahfest have made subsequent appearances at Gamenight. We used to buy a sampler pack and just drink out of each other’s beers… so this is a definite step up.

My Candy Crush Saga

I kept hearing about this game, and after a two month gaming drought I decided to give it a try.

I was skeptical upon downloading the game. Everyone kept saying that if I valued my time, I should not download it. I thought these people to be amateurs. I have been playing puzzle games – real puzzle games on real gaming systems – for quite some time. I wasn’t scared by another Bejeweled imitator.

This is the story of my Candy Crush Saga, as told through screen shots.
. I breezed through the early levels with no trouble.

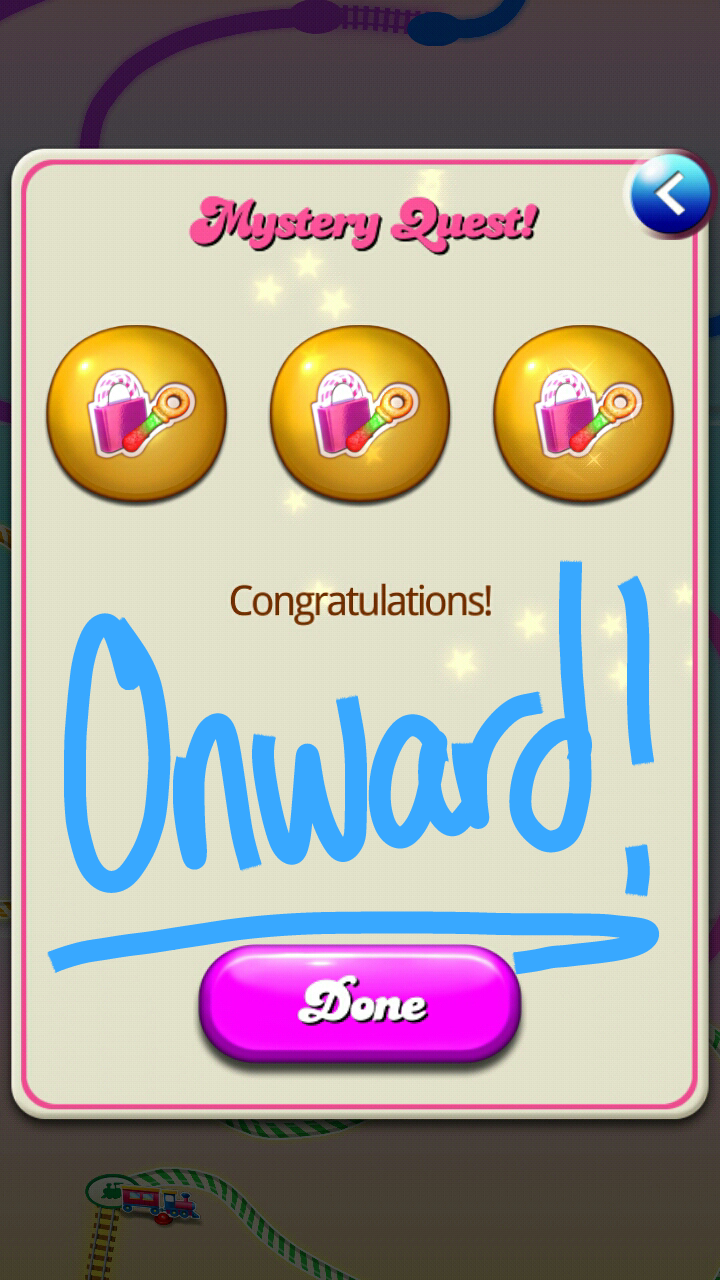
I was feeling pretty good. I had no trouble with the first set of mystery quests either. As the screenshot says, I didn’t need money or friends. I had SKILLS. Then I did a little bit of rough math.

 I looked up at how many levels there were, how fast I had done these levels, and how often I would need to complete mystery quests. It would take me no less than 72 days to beat this game.
Early on, I knew it was important to keep something in mind: they make this free game in order to make money. I vowed that they would not see a penny from me, no matter what. I had a senseless vendetta to steal money from them: to play this game successfully without even giving them free promotion on Facebook. I felt that I could do it. I continued on quickly.

I met new challenges with enthusiasm, feeling that my previous gaming experiences allowed me to better understand the unique challenges presented in higher levels. 
As if portals could slow me down! I wasn’t phased by their attempts to deter my progress.

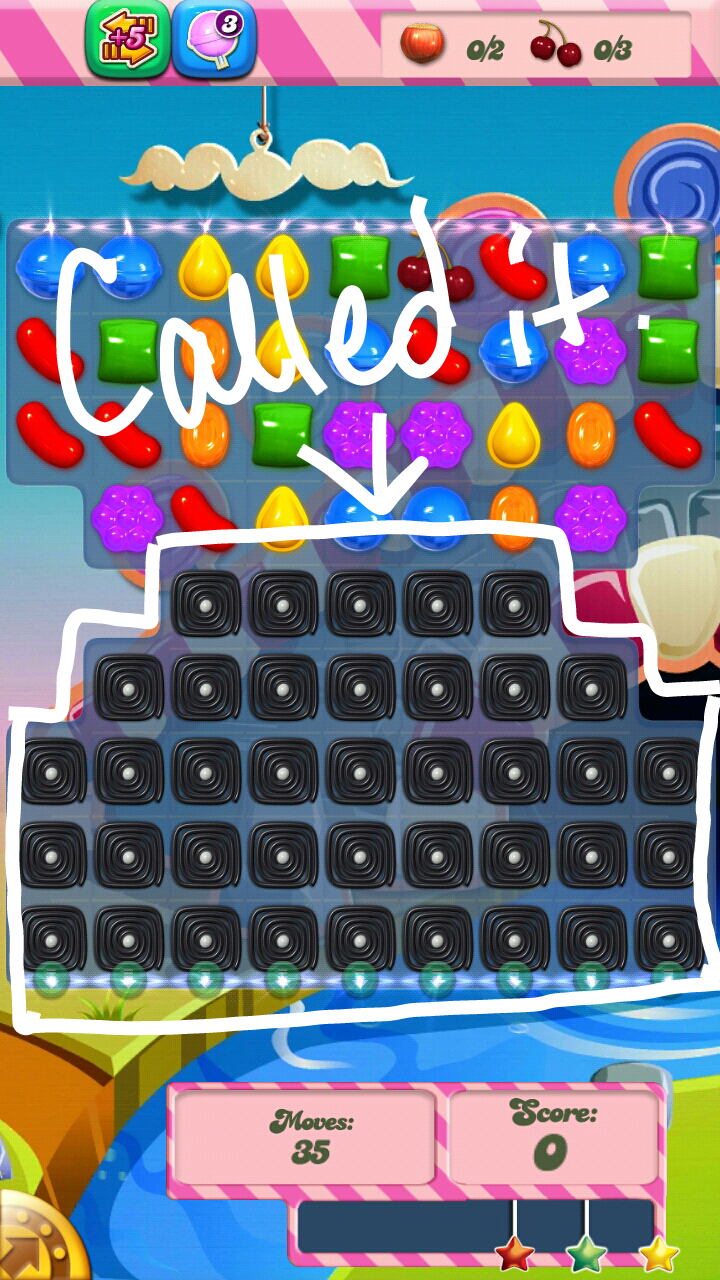
But alas, my progress soon began to slow. New obstacles were introduced, and I was wise enough to be suspicious.

I was right.

Undeterred, I soldiered on with resolve. There were fewer screenshots because I had a lot less to say. Rarely, I would be motivated to capture my progress (or lack thereof).

 I was still advancing at a decent pace. I had surpassed the progress of all those who warned me to never start playing. Some of them abandoned the game once they surpassed triple digits, but I soldiered on. The challenges grew more fierce.

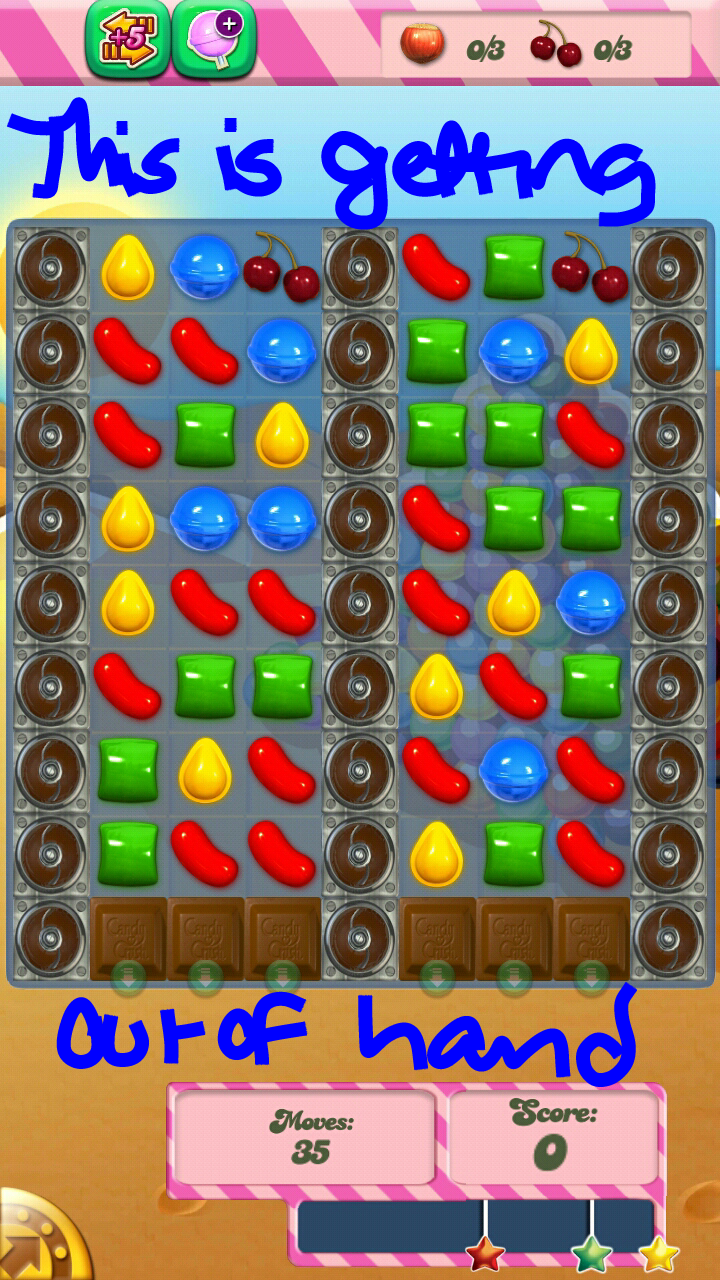
For the uninitiated, those brown squares are chocolate. If you do not crush candies adjacent to the chocolate, the chocolate expands one square at a time. Earlier in the game, once you broke all the chocolate pieces, it was gone. It would not return again during the same puzzle attempt. On the level shown above, those brown circles are chocolate generators. Those generators will create new chocolate blocks spontaneously. My Candy Crush Saga was getting out of hand.

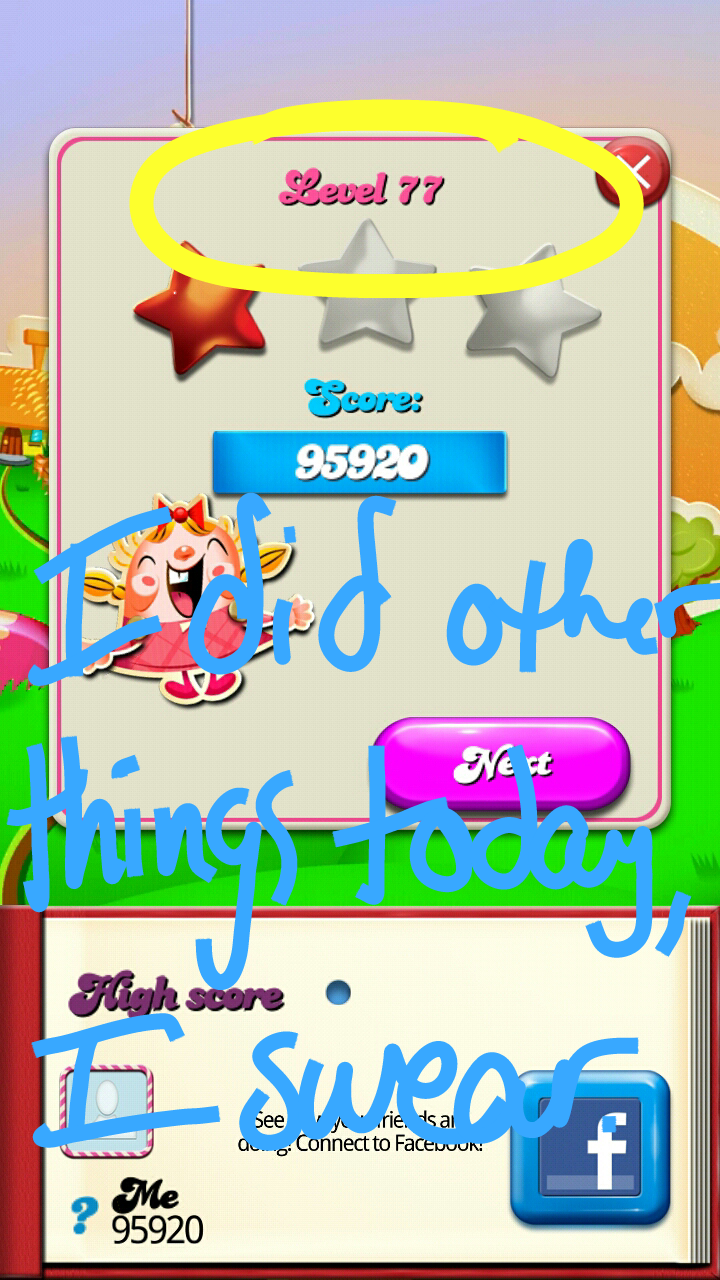
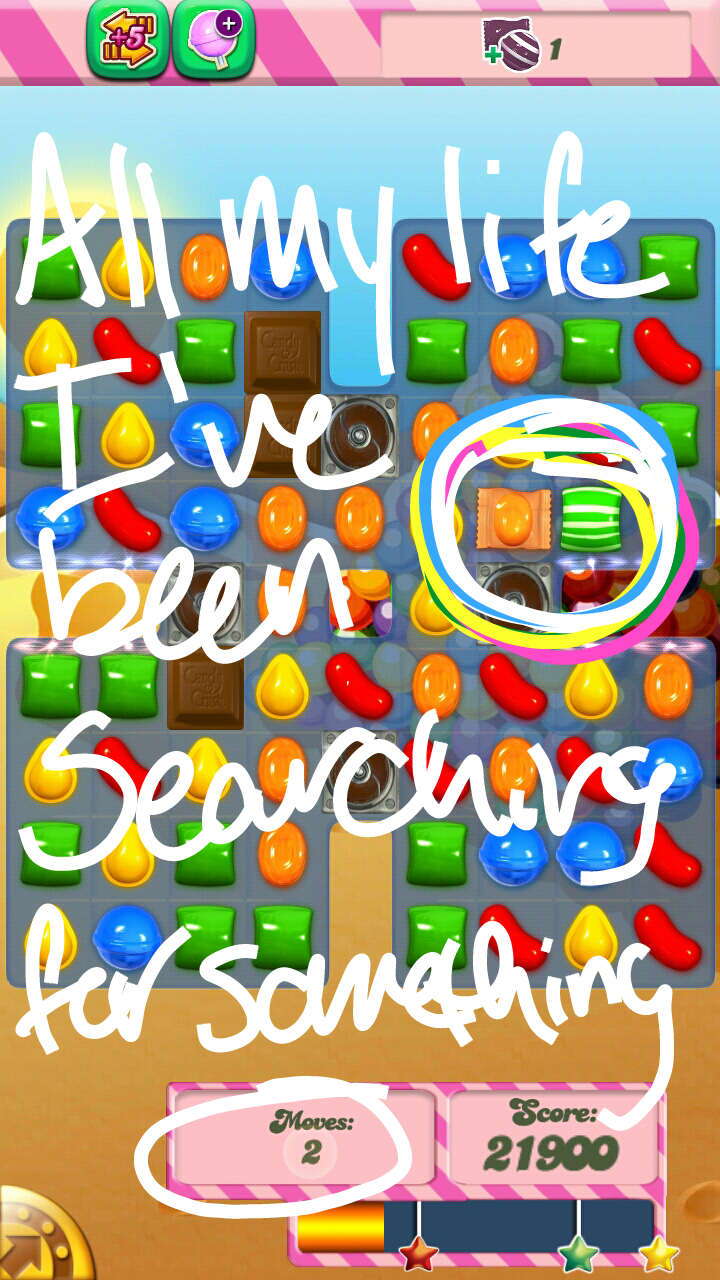
The chocolate generators were the main antagonist in my most recent victory, which took nearly a week. Some feel that this game is mostly about luck. I disagree, but there is a small amount of luck involved. I had none. The board was divided into four quadrants, and the goal was to combine two special candies two times. Wrapped candies are created when you crush two intersecting lines of candies, and the striped candies are created when you crush four candies at once. It goes without saying that getting these events to happen twice  in a segmented board can be hard. Getting it to happen close enough that the special candies can be combined is quite difficult. Adding chocolate generators made it nearly impossible. I almost broke down.I almost logged into Facebook. I almost considered paying money for a few extra moves. But then…

Dovahfest

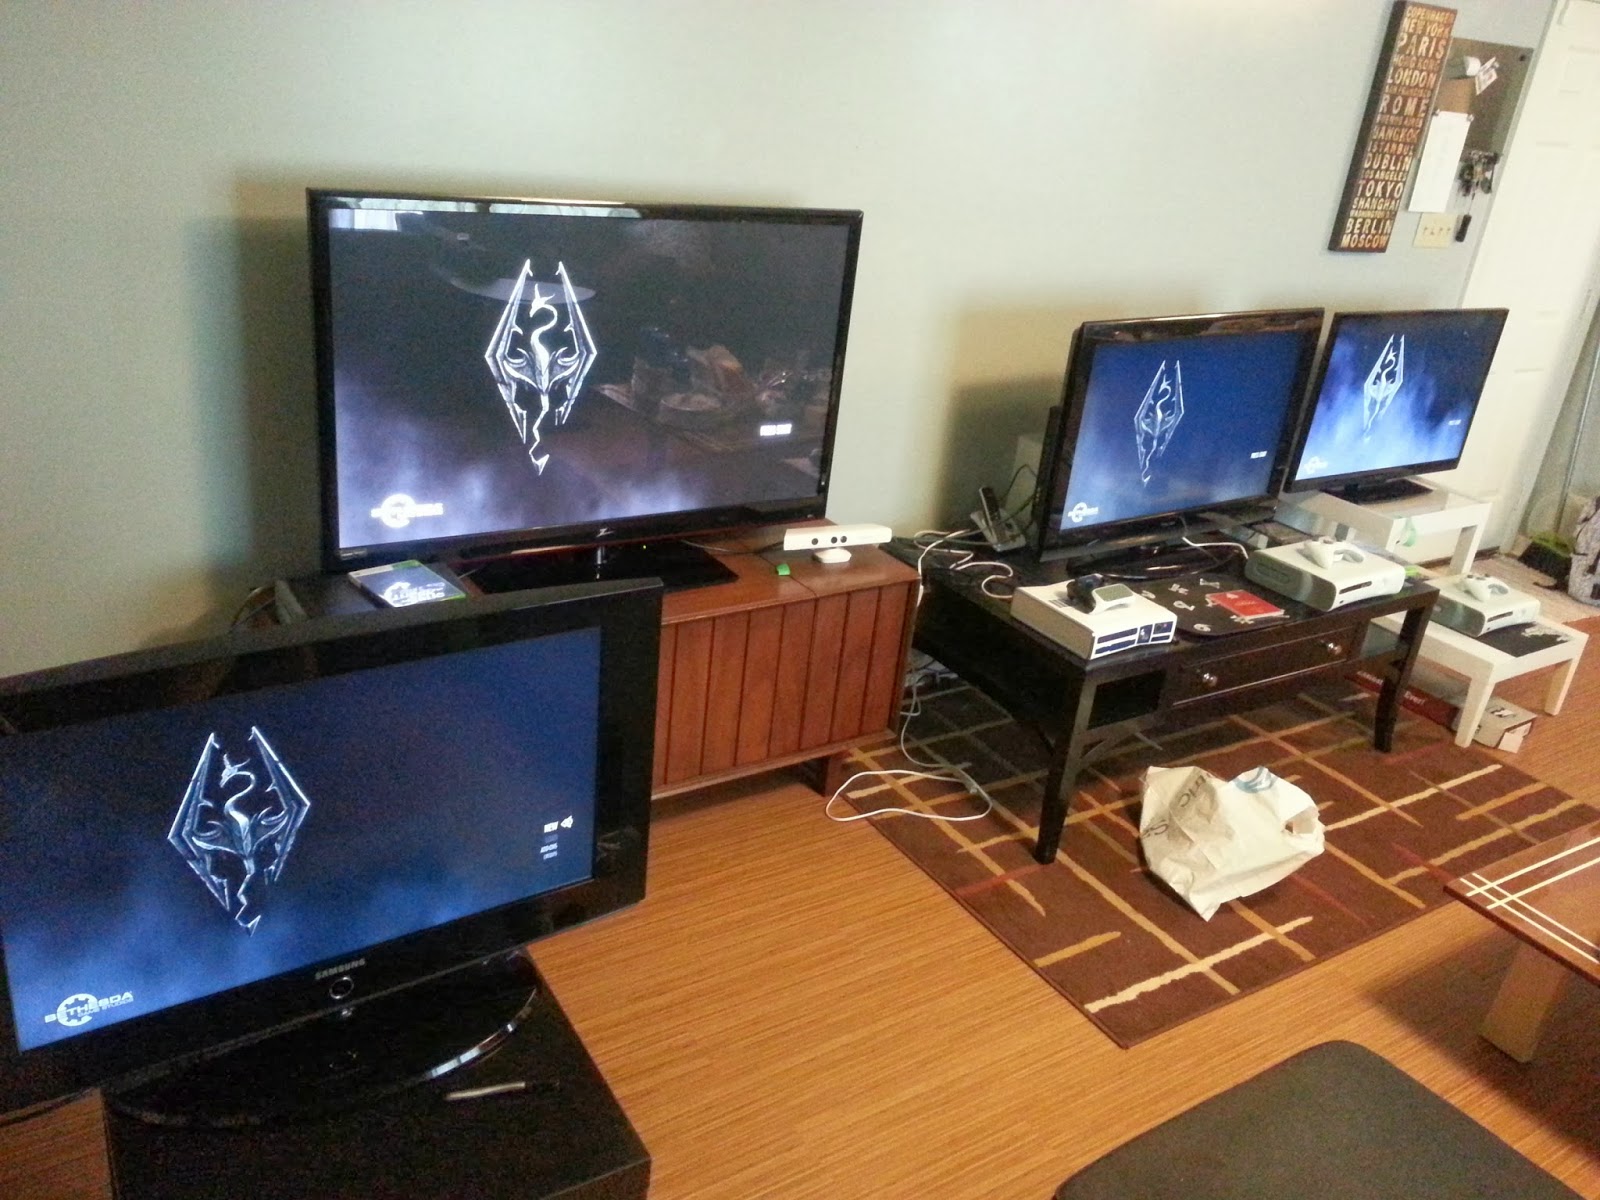
The best gaming thing that I’ve done this year, by far, is Dovahfest: a weekend long Skyrim playing party. The idea spawned because our non-gamer friend from Gamenight started playing Skyrim (to our amazement). I invited a friend who lived out of town, who admitted upon arrival that he didn’t really know what to expect for something called “Dovahfest”. He thought perhaps we were playing and taking turns, or doing other dragon related activities like watching movies with dragons. He said he thought to himself, “Well, there’s no way they are just putting up a wall of TVs and each playing Skyrim.”

But that’s exactly what we did.

We already had two TVs and had planned to buy a third anyway, so Dovahfest was our excuse to get it. Our friends brought their TV and Xbox. We borrowed a fourth Xbox from my cousin, bought one extra copy of Skyrim and rented another from Redbox. As you can tell by the wall of TVs, we re-arranged our furniture on the other wall, blocking the back door to create a wall of couches.

We were ready to kill some dragons.

Of course, we had lots of food for the weekend. Most of it was something you could hypothetically find in Skyrim. Among our spread was jerky, shepard’s pie, fruit, cheese, and sweetrolls. We also had a couple mead and beer flights. I sorta drank mine before I could be bothered to take a picture.

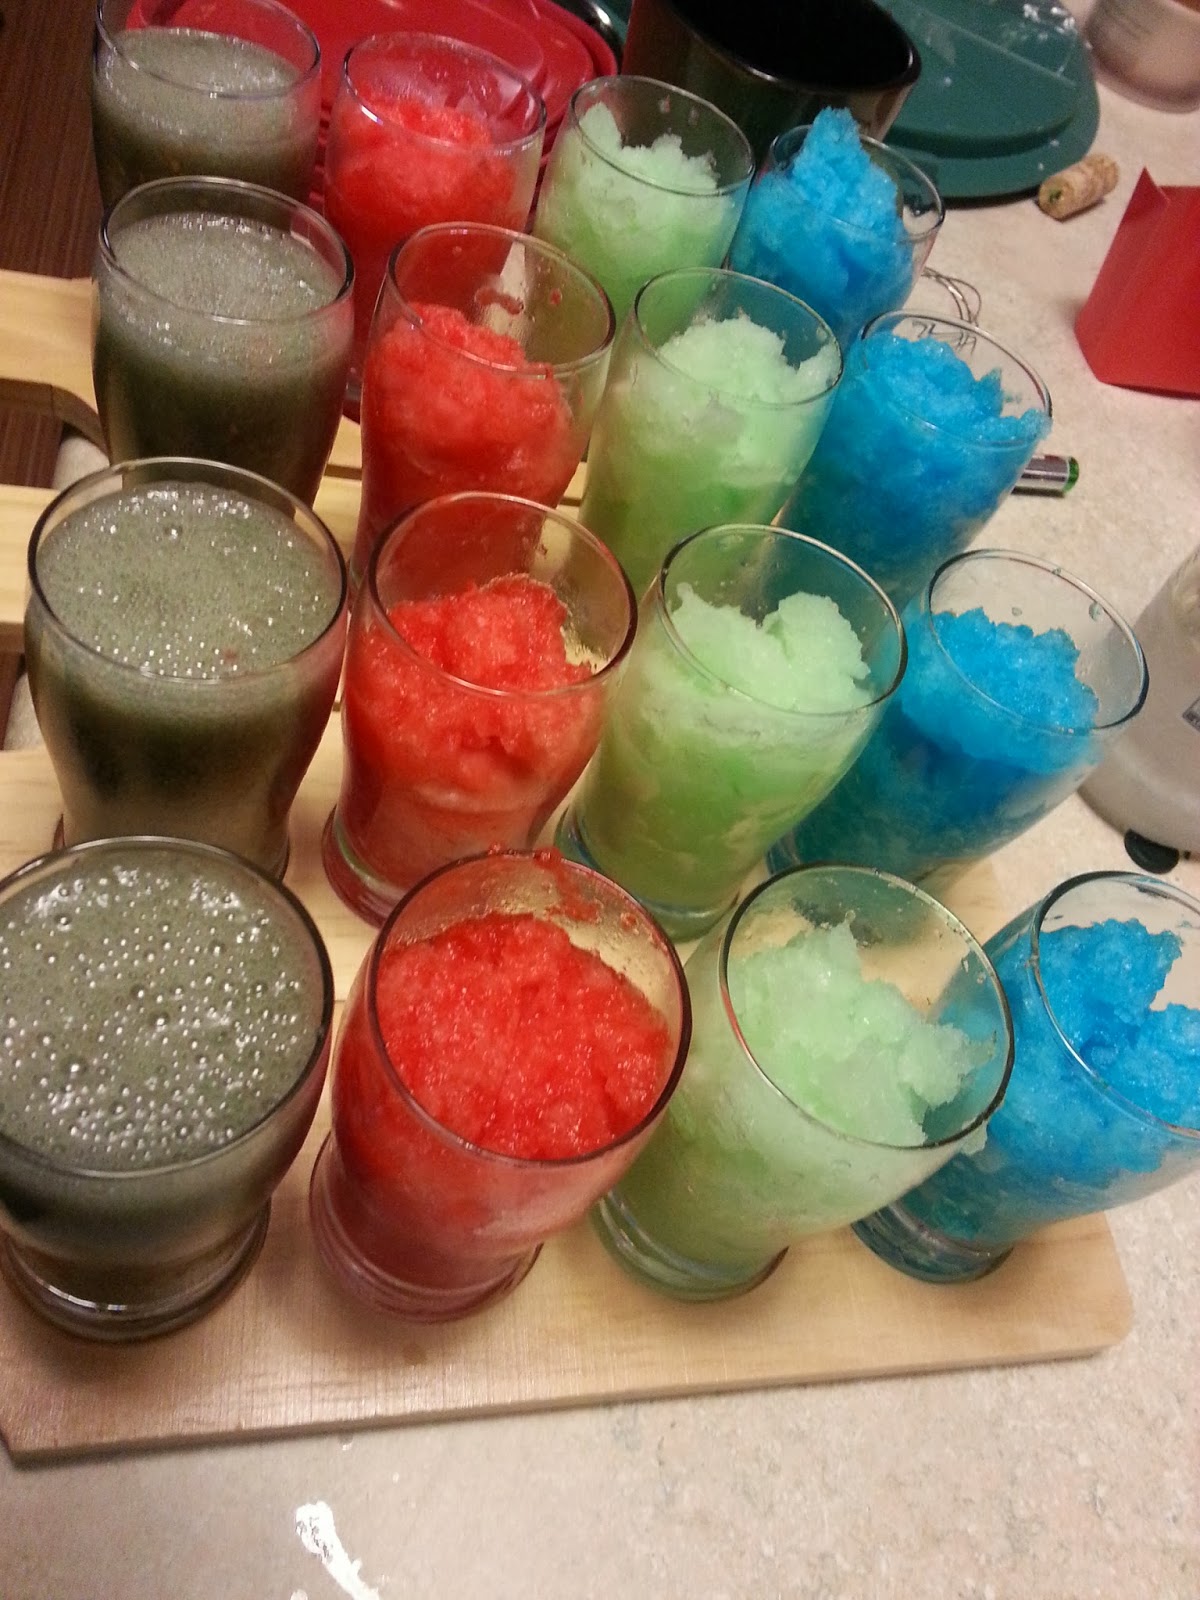
The mead glasses were also used for our potions flights.From left to right, the potions were poison, health, stamina, and magic.

All the potions were made with jello, following the sparkling ice recipe. The poison one also contained vodka and blended berries, which gave it a perfectly poisonous color. I think the health potions were strawberry, the stamina potions were melon, and the magic potions were mixed berry.

There would be more pictures from Dovahfest, but we were rather busy playing. It was surprisingly helpful to have other people playing in the same room. We compared finished missions, words of power, and our gear. Honestly, If I had the space and the money, I would set up a gamer den with multiple TVs so that hosting such parties would be possible anytime.

I’ve got some secret plans to have an Assassin’s Creed weekend in the future…

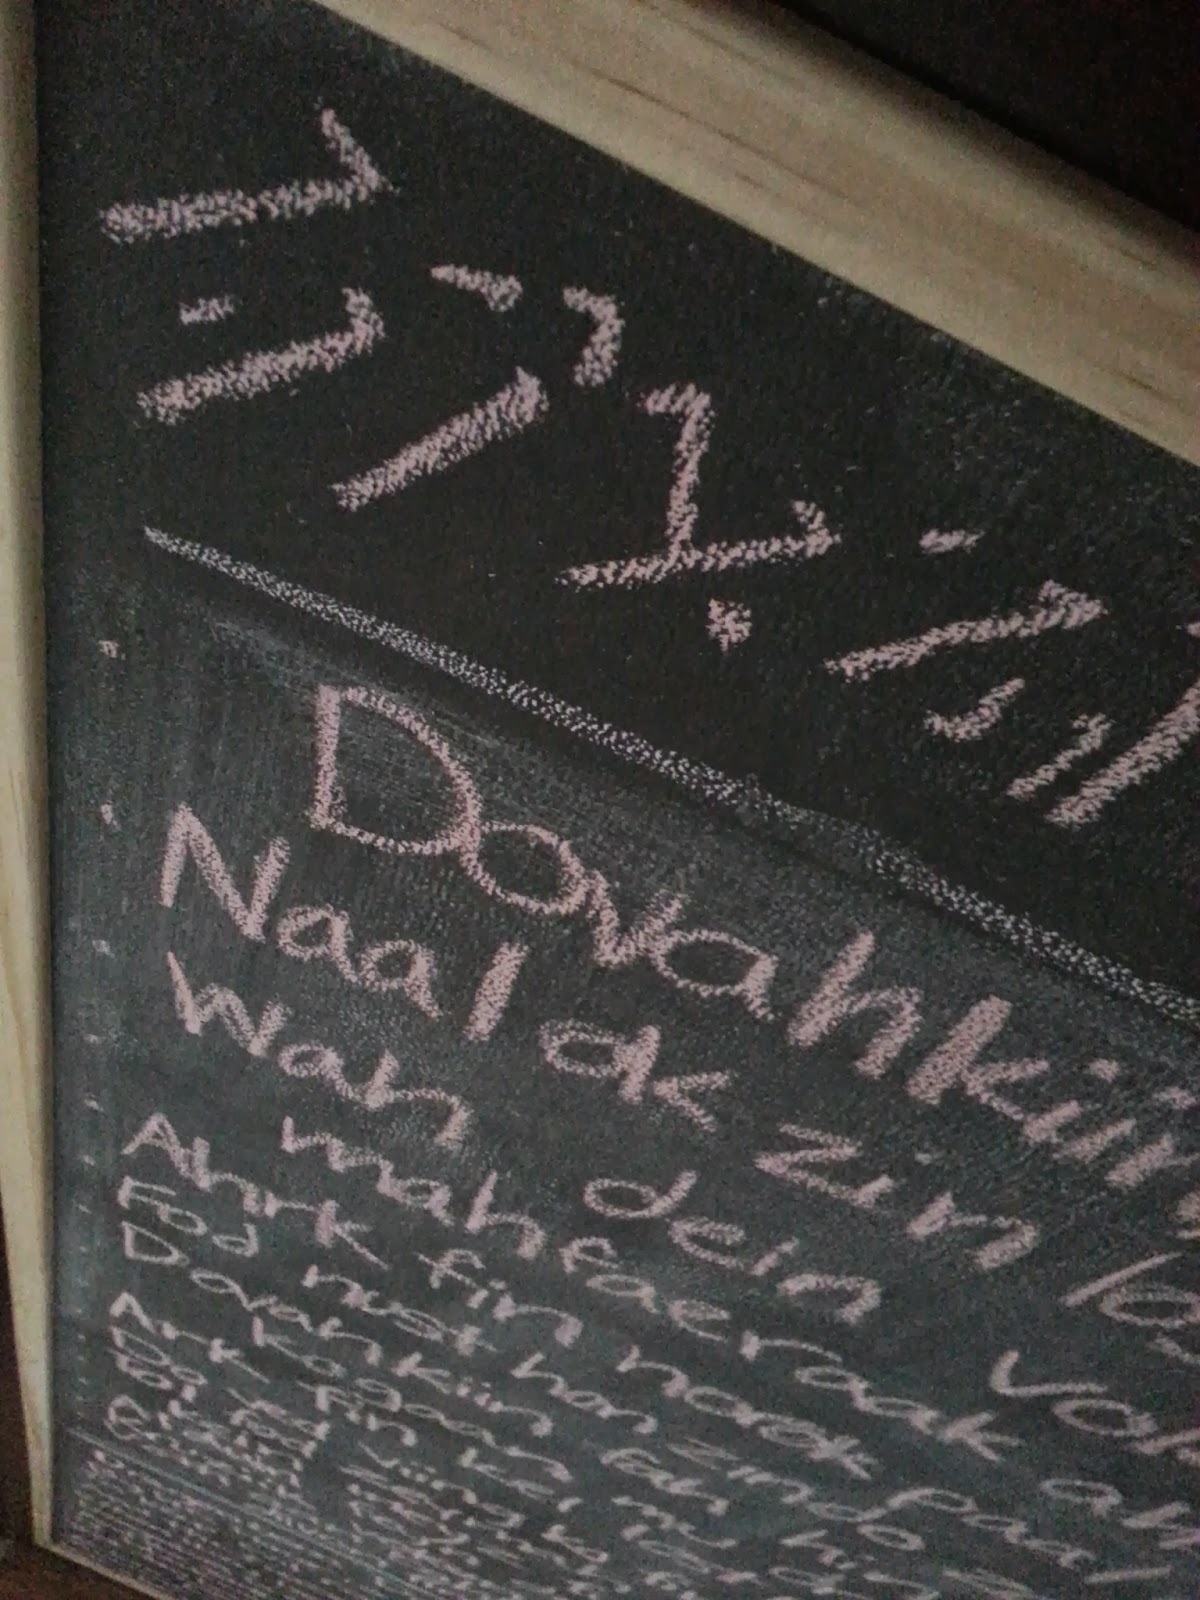
Edit: I forgot! Here’s the chalkboard on the side of our kitchen cabinet, onto which I wrote out the Song of the Dragonborn. The title is in dragon script, the top half has the song in dragon language and the bottom is the same song translated into English. Writing all this took longer than it should have, and for that reason it is still on the chalkboard today. Good times!

Quick and Easy Wall Art

If you looked closely at the after pictures from the family room post, you may have noticed that some wall art appeared above our TV from one after picture to the next. The family room was the last to get anything on the walls. The furniture in this room kept moving, so anything that was placed on the walls ended up getting moved too or put somewhere else entirely. I had lots of ideas for some wall art I could make, but my ideas were going to take a lot of time and probably create a mess in our newly cleaned home. I decided to bite the bullet and make some quick and easy art.

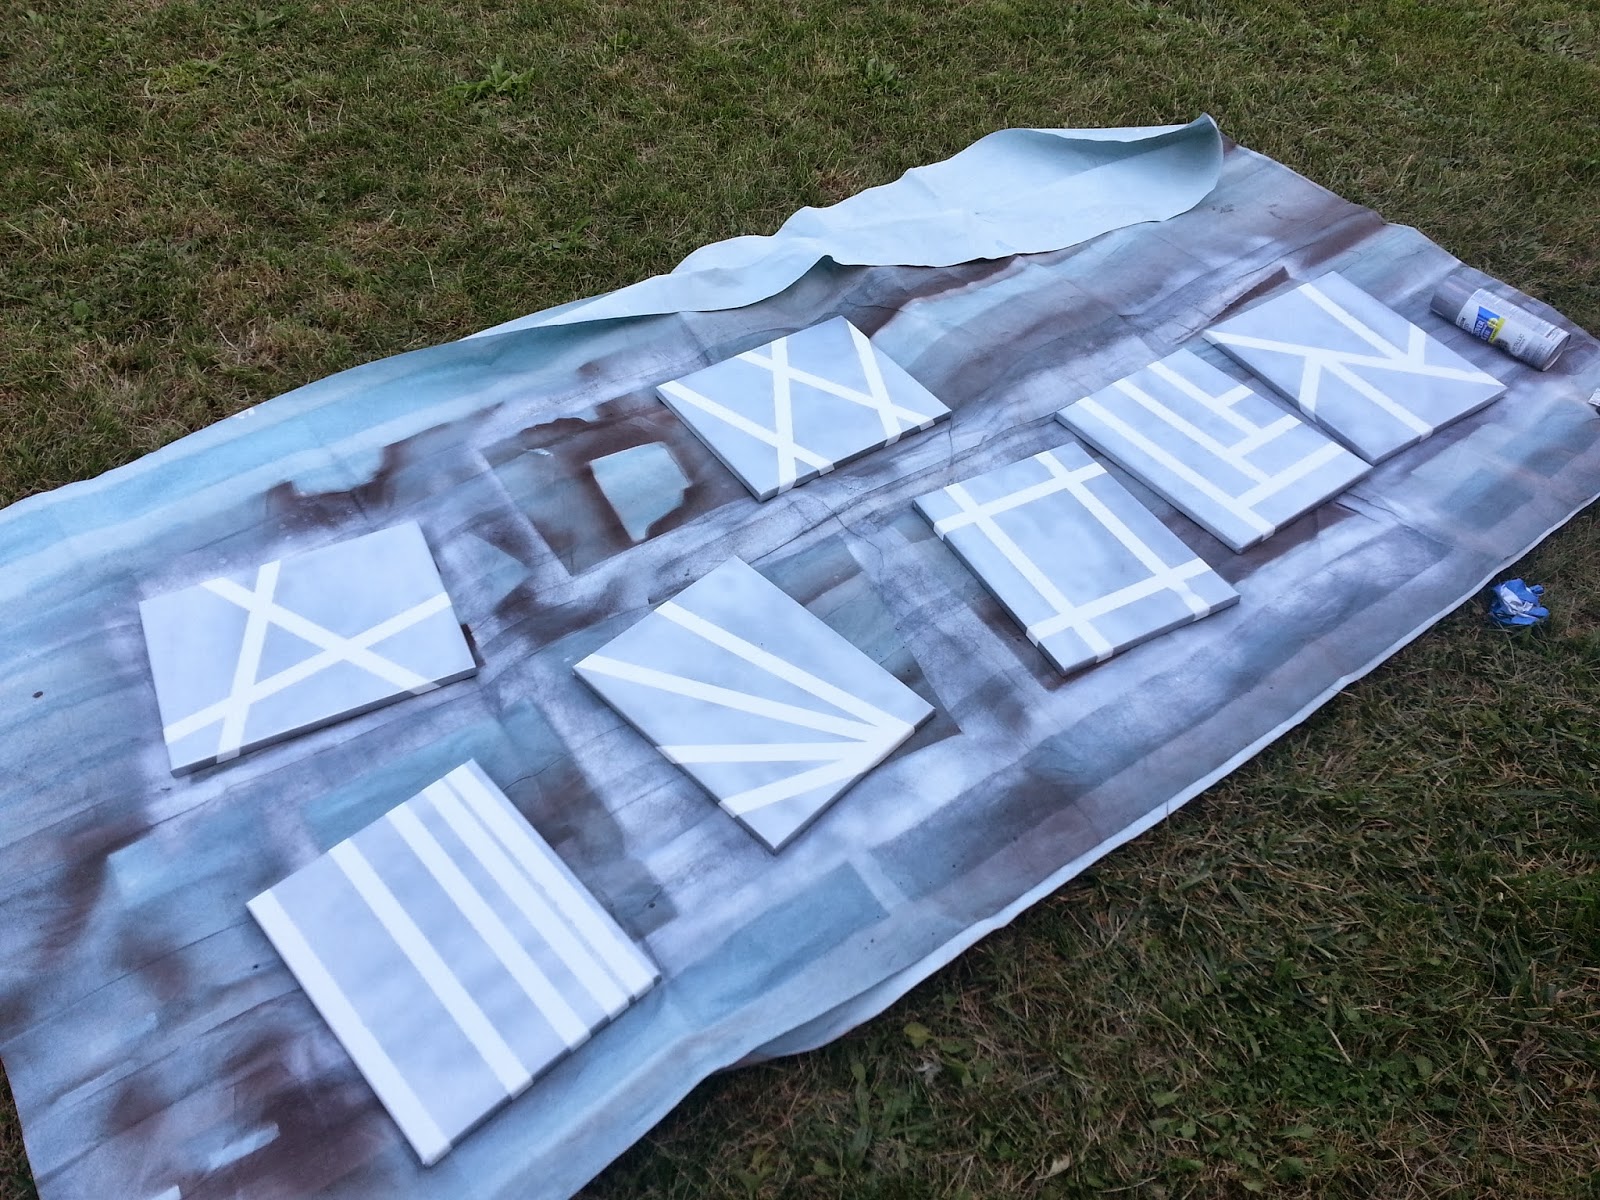
First, I picked up a 7 pack of cheap canvases on sale at Michaels. I think they are usually $20 and I got them for $11… If I find the receipt I’ll check and see what I paid, but in any case it was not very much. Next, I used painter’s tape to mask off simple designs.

If you get stuck trying to make each canvas unique, mimic the shapes of different letters. One of my canvasses looks sort of like an A, another like a W, another like a series of “T”s, and so on. You could even make words with your canvases, if you are so inclined.

After taping off all seven canvasses, I headed to the back yard with a can of spraypaint. I choose silver because there is a lot of silver in our kitchen and living room (in the appliances, , pillows, hardware, etc) and because I already had a can in the garage. I only used about half a can to do all seven canvasses. I pulled off the tape to reveal the designs.

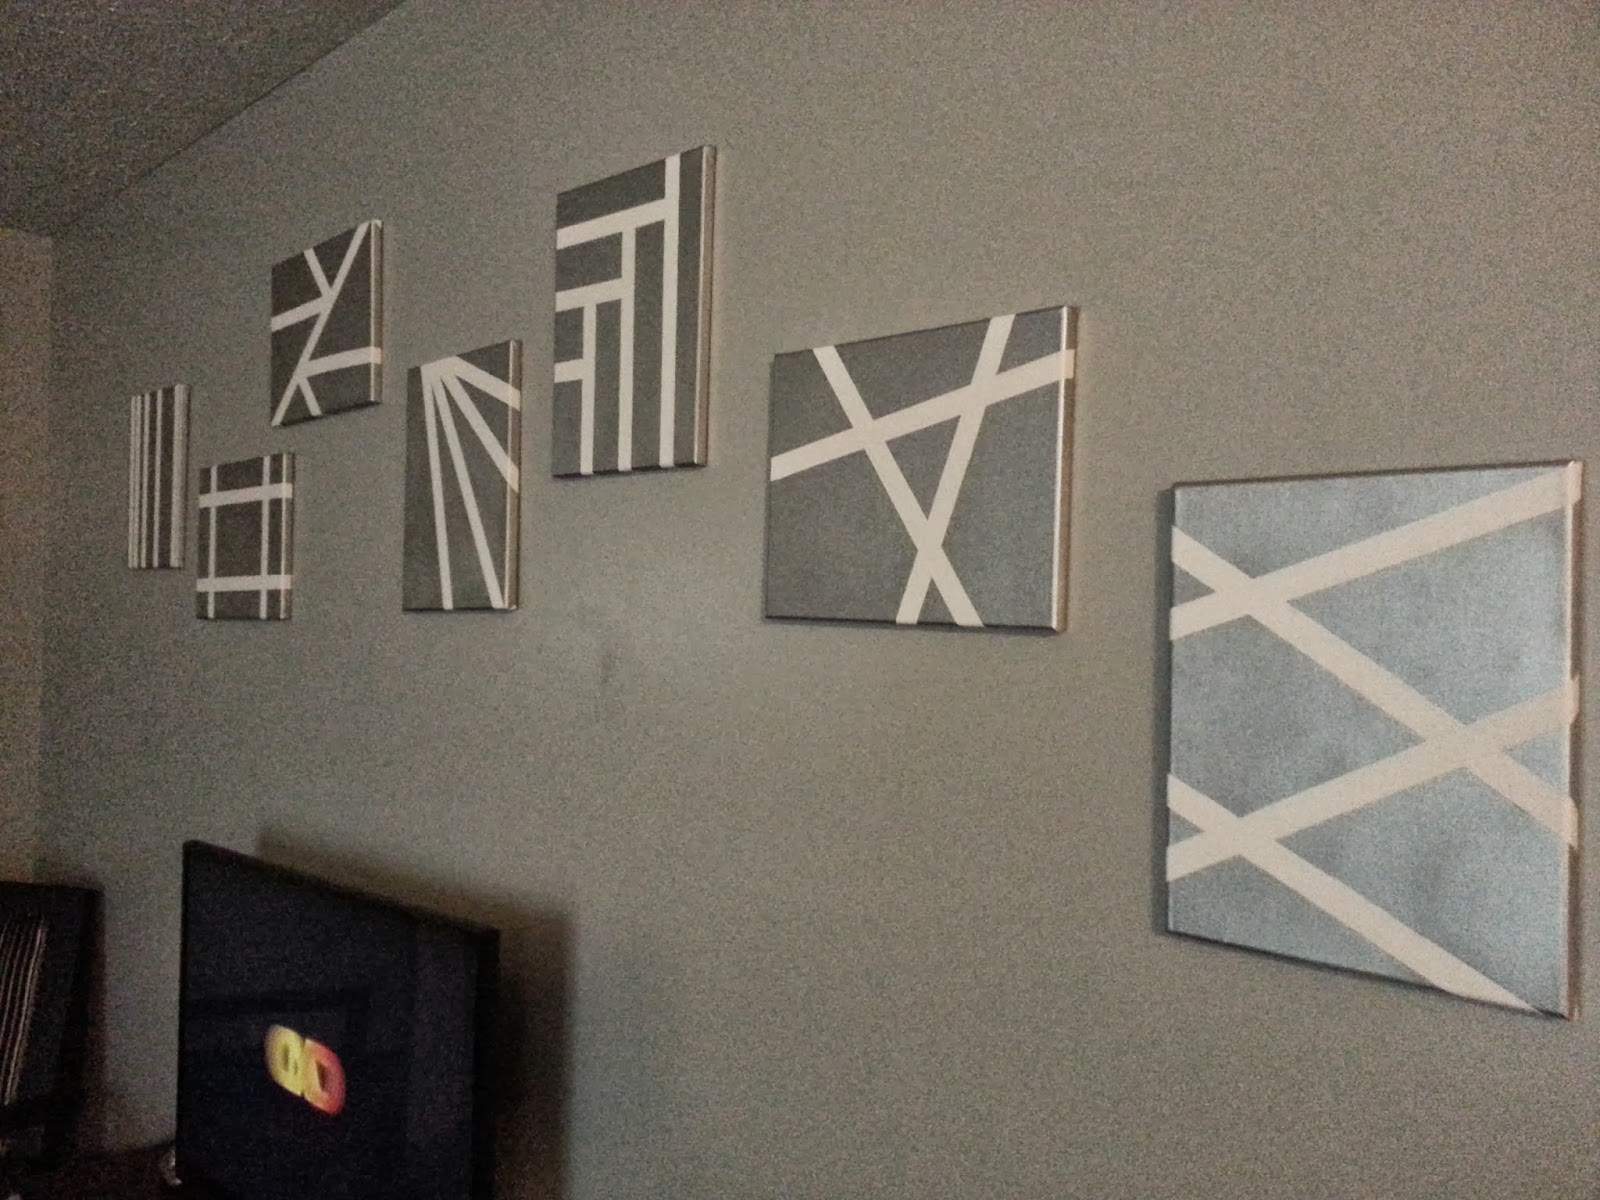
You can’t tell in this picture, but I wasn’t completely satisfied with how blurry some of the lines looked. I thought about just pretending like this was part of the plan, but everything else in the room has such clean lines. Had I been more thorough when applying the tape, I wouldn’t have had this problem. I chose to paint all the lines with white craft paint by hand, which straightened up the edges. This was the longest step. In an hour or so I was finished and started to decide how to hang them.

At first I thought I’d plan out a design on the floor, then transfer it to the wall. Then I realized I wasn’t that patient. I just put six nails in the wall in random fashion around the TV, somewhat considering how big the canvases were and what direction they would hang. I shuffled them around on the wall until I landed on an order I liked. This picture is not the best, so I’ll update it when I take a better one.

Before and After: Odds and Ends

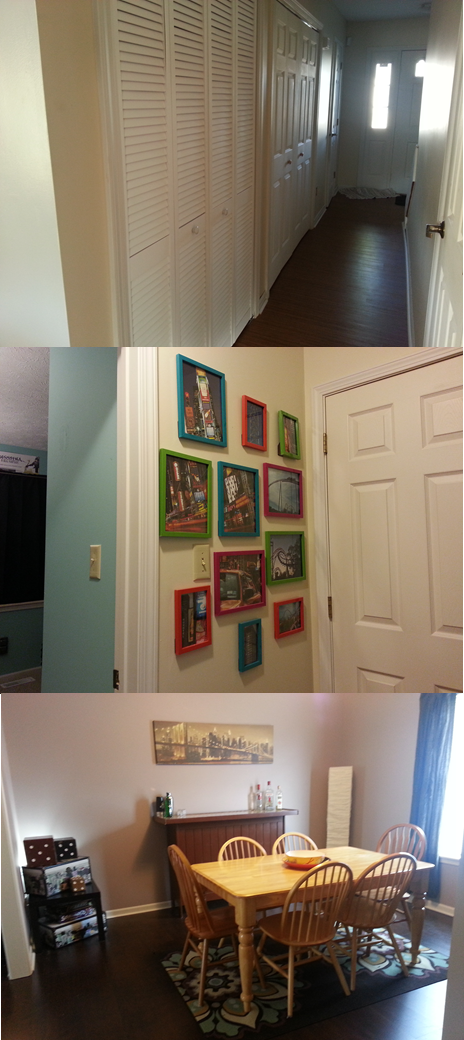
These are just a couple after pictures that weren’t really covered in the before stage. The top one shows the hallway leading from our kitchen to our front door. We had to replace the louvered doors for the utility room and took off the laundry room doors to move in the washer and dryer. Getting the doors back up took much longer than it should have, but the hallways looked so much neater once we did.

The second picture shows the wall at the top of the stairs, in between the game room and the linen closet. This wall is also what you see as you exit the hall bath. It was a boring nothing sort of wall, so we added a bunch of colorful pictures and frames.

The last photo is shows the other half of the dining room. It’s the same bottlecap bar from our last house. We never know quite what to do with it. For a while, it served as the distinction between our kitchen and family room, but all it did was collect clutter. I like it better in the dining room. To be honest, we don’t use it much. It seems like we should put food on it during our game nights, but that never happens.

Before and After: Kitchen

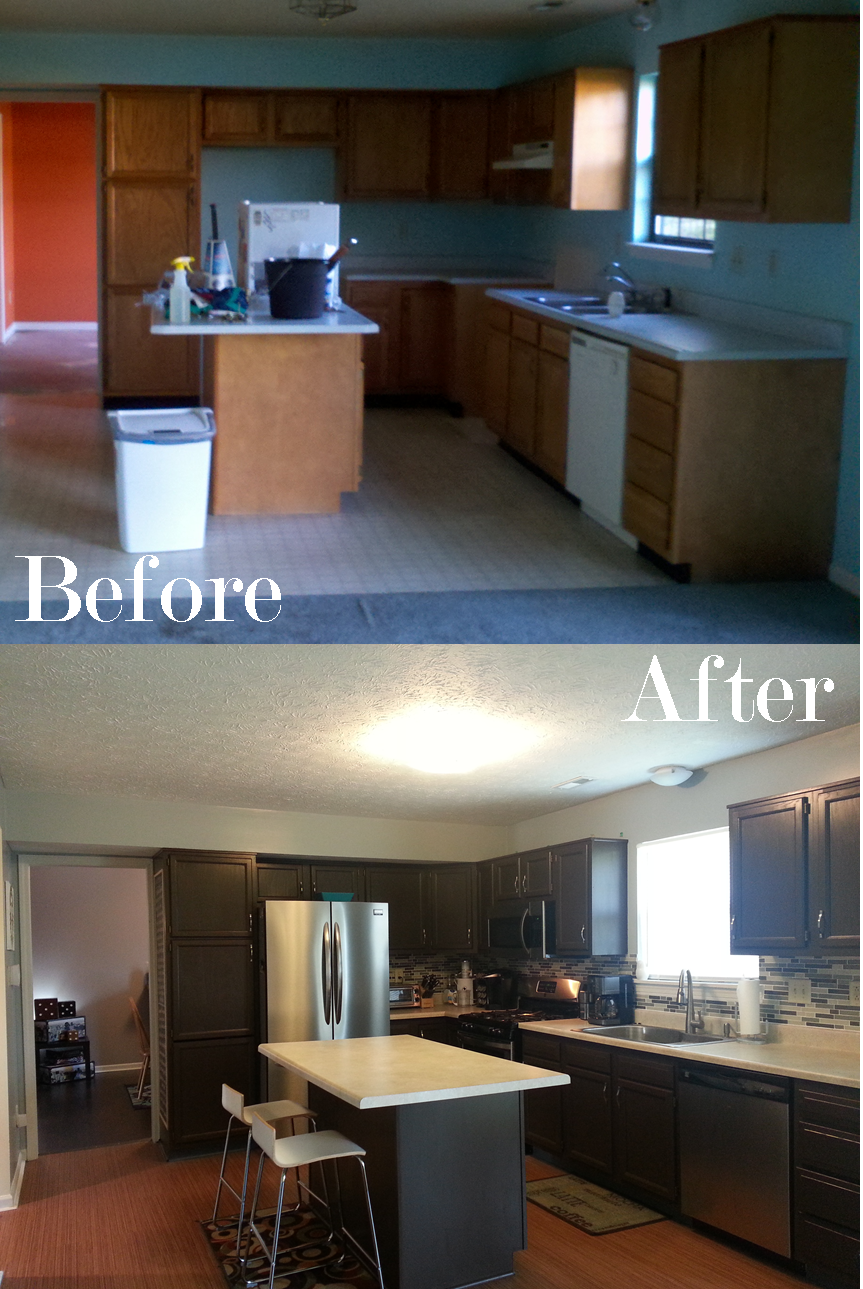
The kitchen easily took the majority of our time and money, as it should: bathrooms and kitchens are always the biggest investments. Everything in the kitchen is new or has been refinished.

Here’s the list of what we did:

  • Refinished the cabinets
  • Installed new cabinet hardware
  • New stainless steel appliances
  • Installed new kitchen countertops
  • Installed tile backsplash
  • New lighting 
  • New flooring
  • New steel sink
  • New faucet

Before and After: Family Room

The biggest change in this room was renovating the fireplace. After that, we took a while trying to figure out exactly where the furniture should go. We had a hard time deciding where the kitchen should end and where the family room should start. Also, we wanted the fireplace to remain a focal point of the room. Aaron was desperate to mount the TV over the fireplace, but after Dovahfest we decided to leave things mostly where they were.

Before and After: Master Closet

We did a few small things in the master closet that made a huge difference. We changed the light from a single bulb to a modern track light, raised the racks about eight inches, and put our existing dressers inside. These changes allowed us to store more and made the closet look bigger. The light was a miserable hassle to install. It runs on two tension wires, required huge anchors and lots of measuring. However, once we turned it on we were beyond impressed and felt like it was worth the trouble. There’s no picture of the closet from when we first moved in because I didn’t imagine we’d change anything. The before picture was taken when as we raised the closet rack.

I added a bonus picture of the light we installed. It’s the greatest closet light ever. After installing this light, I will always choose similar ones for closets because they’re bright, the tone of the bulbs is a mix of natural and artificial light, and it casts shadows like jewels on the wall. The amazingness of this light doesn’t come across in pictures as well as it does in person. It’s a random thing to gush over, but it is my favorite light in the house.