Indy Home Show 2013

I went to the 2013 Indianapolis Home Show yesterday with my husband and parents. Once there, it became clear that I was the only one who actually wanted to go, but no matter. As I walked around, I realized something that may have been obvious: this show isn’t really for the DIY-er. There were lots of business that offer home improvement services, but not a lot of tools or products for those that do it themselves. Perhaps this home show is more about professionals and experts in the home construction, remodeling, and maintenance industry…  but that would not explain why there were also booths for products like hot tubs, saunas, bluetooth speakers, mops, jewelry, mattresses, clothing, bed sheets, dog treats, and television services.

These are some of the booths I wish I’d seen at the home show this year:

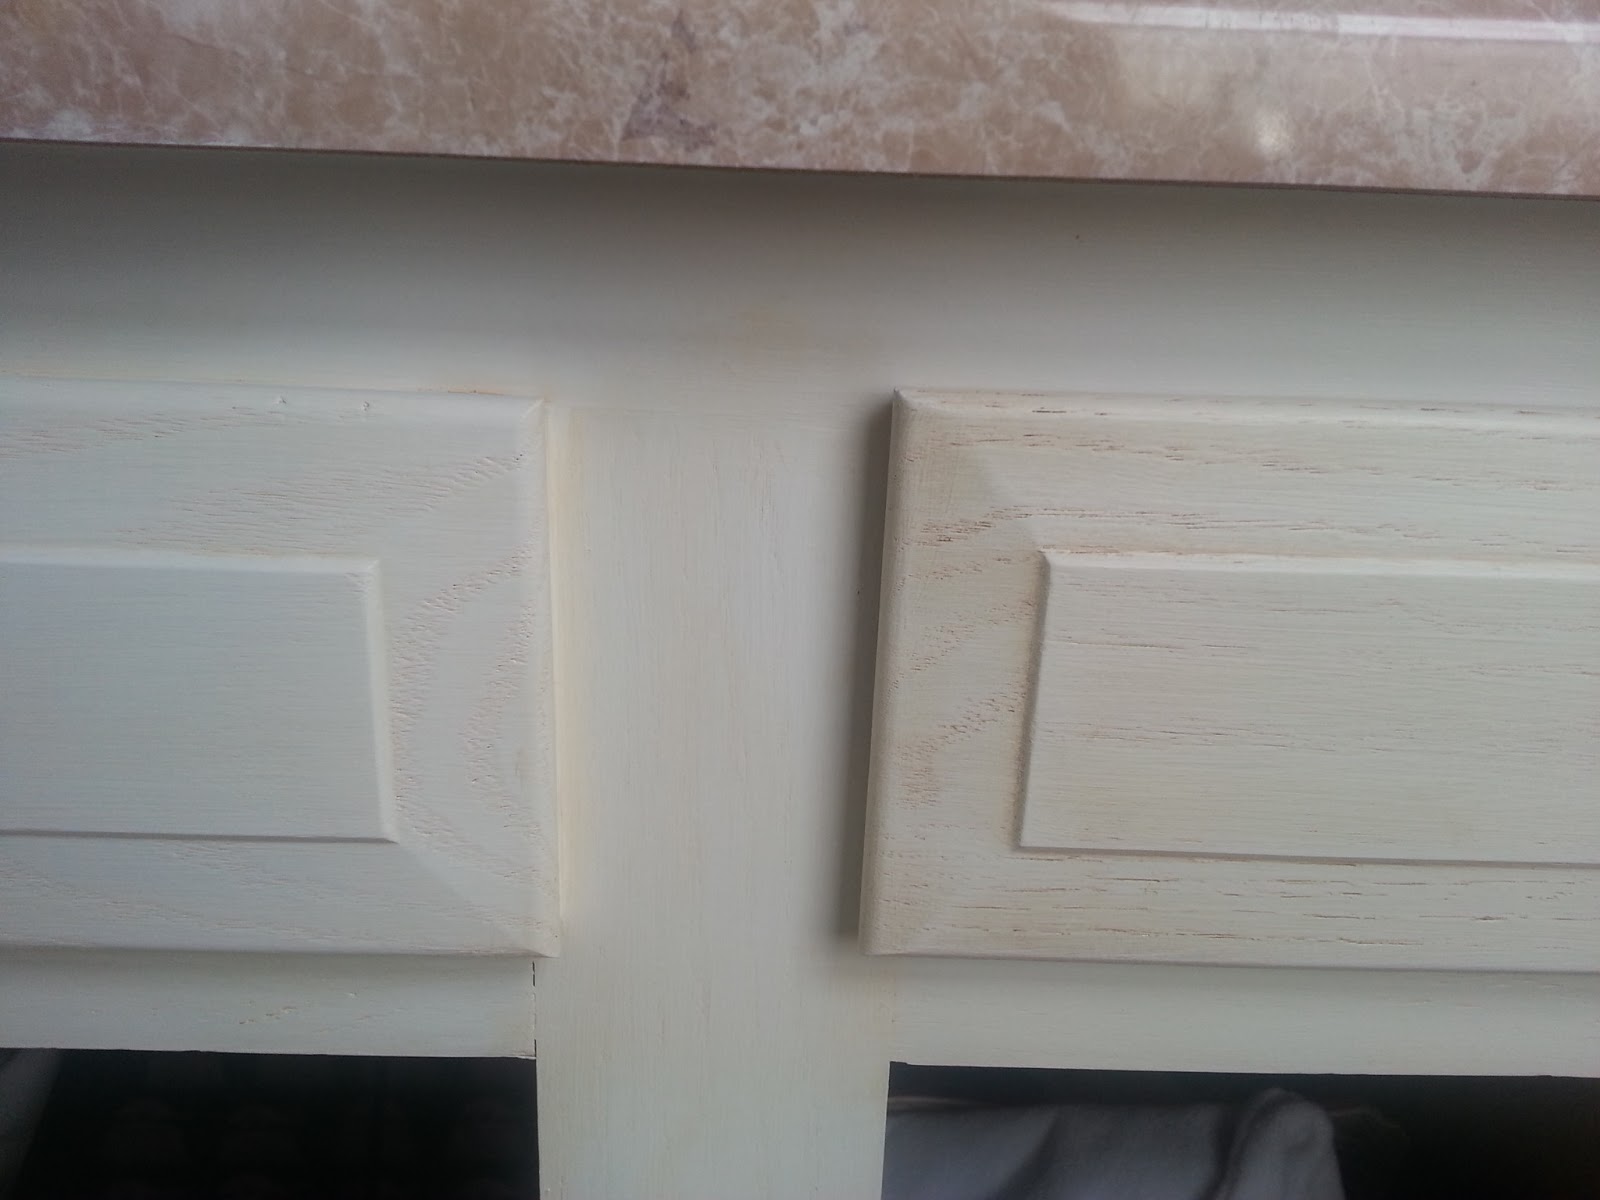
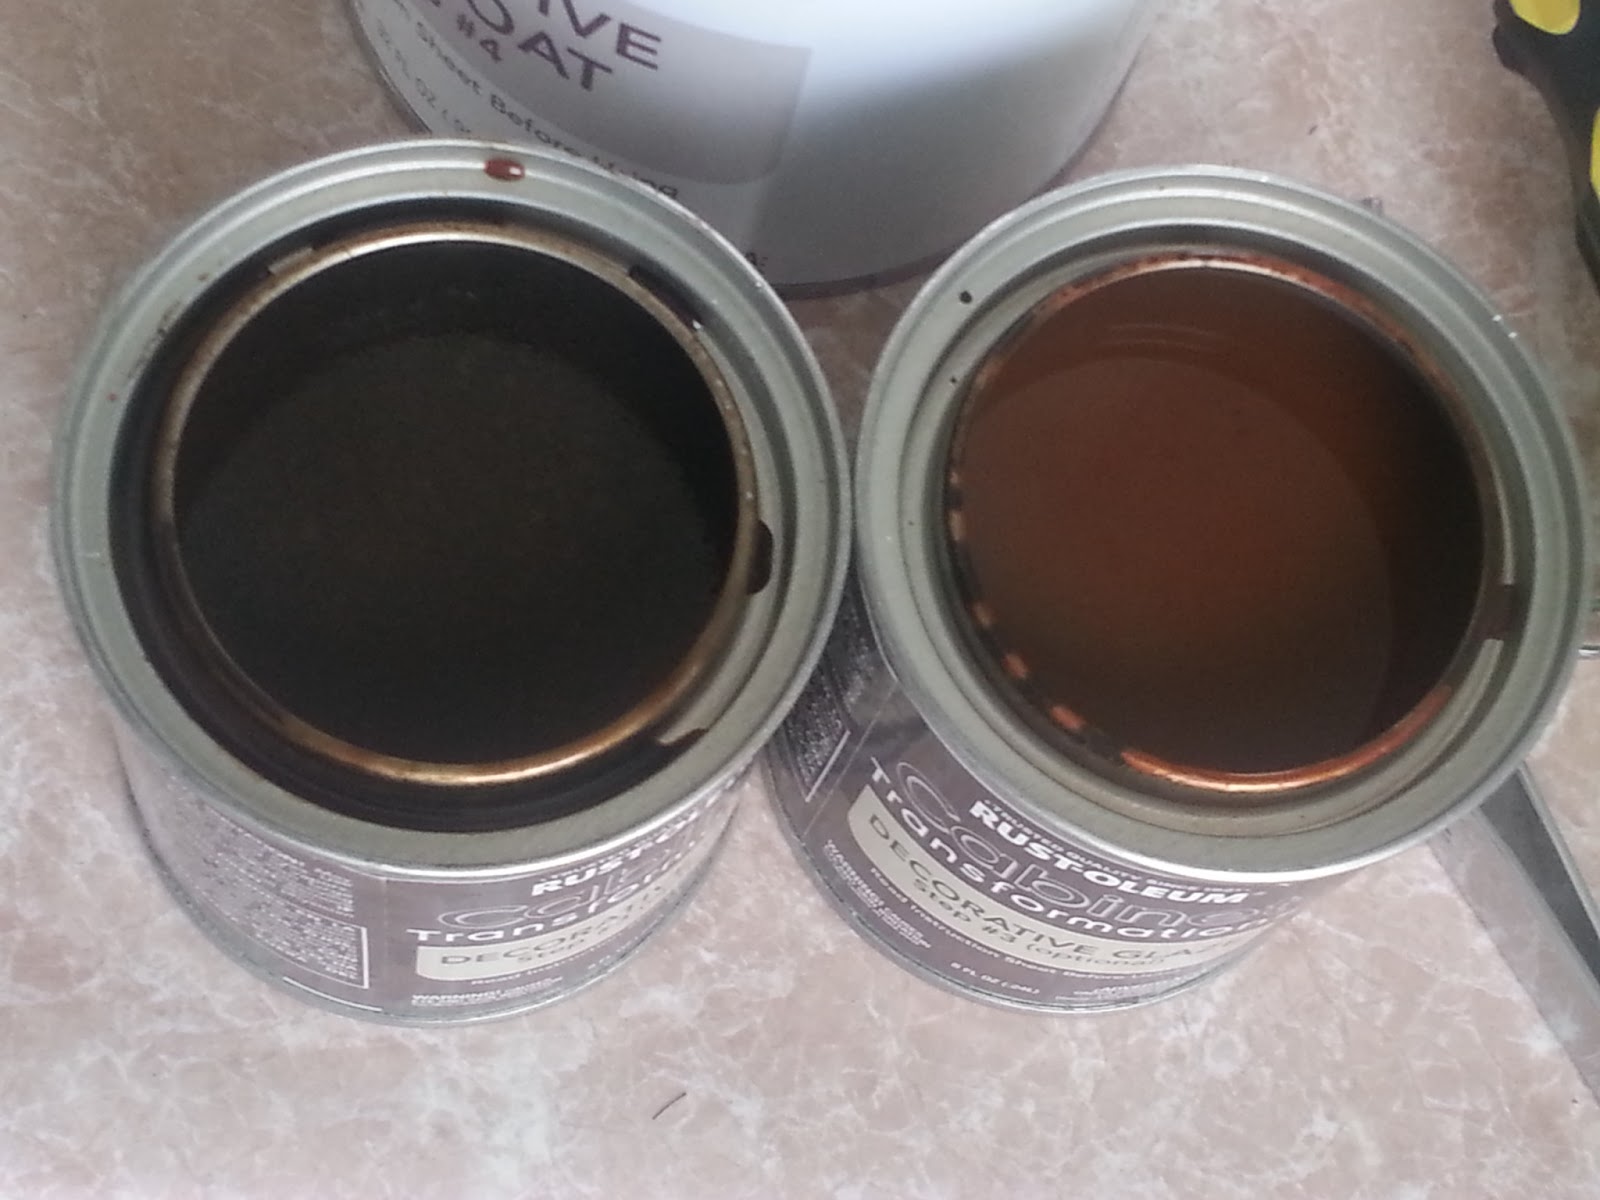
I mention Rustoleum Transformations often, and despite being a little stuck in my cabinetry project now, that should in no way reflect poorly on the products they make. In addition to Cabinet Transformations, they now have Furniture, Tile, Wood Floor, Countertop, and Wood Refinishing Transformation kits. They are selling something that has always been possible, but by including everything you need in one tidy box, their kits make doing these projects yourself more manageable and more successful.
 
Rockwell makes an exciting line of versatile tools that allow you to get more done with less: less tools, less mess, and less help. The Versacut saw lets you cut all kinds of things using a tiny little hand saw. The BladeRunner is. The Sonicrafter X2 is a right angle oscillating tool that does things like sand, cut, strip, polish, scrape, and more. Additionally, the universal fit system accepts accessories from other brands. The JawHorse is a saw horse that grips any random thing at any random angle. The 3RILL is a high torque impact driver, a dual speed VSR drill and a screwdriver that runs on lithium ion battery and is smaller than you’d expect.
Cordless tools are great, but keeping track of different batteries and chargers can be a hassle. Ryobi has an impressive line of cordless tools and accessories that all use the same battery. Even better, as battery technology improves, you can replace the batteries without replacing the tools. The tools currently in the One+ line include: impact driver, blower, impact wrench, paint sprayer, LED workshop light, trim router, tile saw, hedge trimmer, string trimmer, miter saw, orbital jig saw, angle grinder, flashlight, sanders, buffer, hammer drill, hand vacuum, radio, caulk gun, and more. You can find Ryobi tools at Home Depot.

Legrand 
I was first attracted to Legrand when I saw their adorne collection. The under-cabinet power and lighting solution for kitchens is AMAZING. Their products are what you want the future to look like: sleek, sophisticated, and uncomplicated.

Schluter systems makes many different products for tile and stone installation. Their products protect your renovation investment by providing long lasting foundations and finishes for your project. The shower system is not quite as cheap as I would like, but it gives you a hassle-free way to waterproof and lay your basin with a lot less mess.

Dryer Vent Disaster

Our dryer stopped working late last year. It took us about a week to fix it, because every time we thought we fixed it, we found out later that we were wrong. We thought the lint traps were clogged, so we vacuumed them out. Then, we pulled out the dryer and cleaned it out from the back, and pulled out a clog in the wall. Next, we went outside (after quite a snowstorm) to see if the vents were open. They were iced shut. We de-iced them by banging them with a broom handle. We went into the attic space above the garage and saw the vent hose sagging in between the joists. The next day, we prepared ourselves to drain them, only to discover that it was solid ice. We tried to shake the ice down, but the flimsy hose fell apart. The day after that, we went to get a new dryer hose and installed it, finally restoring order to our dryer. We also added 2x4s to keep it from sagging again.

What does icy lint look like? Absolutely disgusting.

Cabinets Part One

I must admit upfront, this is a story with no ending. I stated refinishing the cabinets, which is something I did in the last house. This time, I picked a light cabinet kit instead of dark. My first dilemma was the brilliantly white base coat. The honey oak cabinets did not take kindly to being covered, as it took four coats to get a nice solid base.

Secondly, the grain in these cabinets is a bit deeper, so they look a little different painted than I expected.

Third, I didn’t shake the glaze before opening it, so it was a strange peachy orange when I applied it. The picture below shows how different they are shaken and unshaken.

Fourth, once I did shake it an apply it, it was much darker than I expected and hard to apply evenly, given how unforgiving the white base was to inconsistency. Fifth, I didn’t like the white with glaze as much as I thought I would. It looks pretty normal in this picture, but in person it looks sorta dirty.

After having it all go differently than expected, i felt that my objectivity was highly impaired. It looked horrible to me. So, I just stopped. I stopped while I debated about what to do. That was two weeks ago.

Part two will be coming sometime soon, that is, as soon as I decide what color to paint and how to go about it. I started only in the bathrooms this time, so I will finish those first before moving onto the kitchen. I haven’t completely decided what color to paint the kitchen. I think I might also paint one kitchen cabinet at a time, just to make things a bit easier and work on other stuff in the meantime. This will make the process much longer… which is sad but I think it’s the best idea for quality control.

The Slippery Slope

We intend to remodel this house for profit, but it is still our home in the meantime. Sometimes it’s hard to separate what we want from what we should get, because we’ll have to live with it until we sell. There are some bigger projects, fueled by Pinterest inspiration, that would be too much of an investment of time and money considering we will move soon. Even if we were staying, its hard to draw the line at what is jsut right and what is excessive. Even stranger, once we have gone over budget on something, there a feeling that we may as well just destroy the budget, because it’s already broken. Of course, this is a slippery slope.

I’ve begun looking at everything as percentages instead of dollars. Though a light fixture may be only $20 over budget, if the original budget was $40, that’s a 50% increase. Items as cheap as a couple bucks are still subject to this rule. By ignoring whether or not I think we have the extra money for it and sticking to how much the percentage increases, it’s easier to stay on track and not justify unnecessary spending.

 I also have to make some sacrifices on what I think it perfect versus what will work. I’m not crazy about our bathroom floors, but they were way under budget and objectively look great. I may not have gotten them if we intended to stay, but they were perfect for updating. Though some of those touches or fancier finishes would be nice and might help sell the house, they are unlikely to increase its value. The common saying “if it isn’t broke, don’t fix it” has become our motto as we continue to finish renovations. As much as I would like built-ins next to the fireplace, a glass mosaic and steel tile backsplash in the kitchen and a completely new master bath, none of these things are necessary.

Time Out

Christmas is coming, so most of our renovation funds have gone to gifts lately. Being completely sick of cleaning and organizing, I’ve turned to completing some unfinished crafts.
I started this t-shirt blanket for my sister ages ago. It’s much bigger than I thought it would be. I added bias tape to the edges, but don’t like how it tuned out. I’m not sure if I’ll buy different tape or just hem it.
I’m also making a T-shirt blanket for myself from all my GameStop T-shirts. I want to make one big enough to cover the Lovesac, but I don’t think I have the space to properly construct something of that proportion. I took pictures of every shirt today so I could assemble the design on my computer. I’d prefer to lay it out by hand but I don’t have a flat surface that big. Well, not without moving a lot of furniture. I laid a few out on the floor today just to see what they would look like as a blanket.
I made some pillow cases from fabric I had laying around. Aaron received a coffee gift basket that had a folded burlap sack as packaging, and I sewed that into pillows as well. The burlap was a bit unwieldy to sew. I just stuffed in a pillow that no longer matched our decor. The pillow on the left is identical to the one I stuffed into the burlap on the right. They tuned out better than I expected!

I’ve made quite a few duct tape wallets as well. I’ve made lots for friends, family, and for myself. I just make them for fun, but I get complements on them often. The typical style I make is pictured below. There’s a slot for cash and a hidden pocket behind the three interior pockets on each side. I intend to sell some online sometime soon, probably on Etsy. I need to do a little more research and set up accounts to make that possible, so that may be a while. 

Bathroom Flooring Part Two

I moved on to installing flooring in the master bath today. I started by cleaning the existing vinyl, which was disgusting. I cleaned the other bathroom’s floor, but it wasn’t nearly as dirty. Just like anything else, the floor looked a lot better once it was clean. The cleaner I used worked great, but it was toxic. Despite being late November in Indiana, I opened the window for air. 
Laying the floor was even quicker than yesterday. I was done in a couple of hours. All that’s left is quarter round and doorway transitions.
Even though knew the toilet in the master bath would be hard to move, I uninstalled it by myself. I figured that not needing to lift it into a tub would make the task manageable. I would have been correct if the bolt wasn’t rusted on. 
After a big mess in the shower and a lot of WD40, the bolt was freed. Harder than that was reinstalling the toilet. I made another mess but got it back on. It flushes fine, but Aaron and I will probably keep an eye on it. The hall bath toilet is still in the tub waiting for Aaron’s next day off.

Bathroom Flooring Part One

We bought vinyl plank flooring the for the upstairs bathrooms at Home Depot on Black Friday. I’m not crazy about the color or wood grain, but it was half off and we aren’t picky. I installed it in the hallway bathroom today. I made a bit of a mess in the process, but got it done pretty quick.
I moved the toilet by myself, which was ill-advised and very difficult. I’m not confident I can it back out of the tub on my own. We installed a stick-down vinyl plank for my grandmother a few weeks ago. It was easy, but the glue got an over our hands and the seams did not get as tight as I would have liked. That floor was only 99¢/sq ft, so it’s a great option for cheap and fast update. However, that is also what we paid for these floors on Friday.
The box says “easiest floor ever” and I just might agree. Overlapping flaps stick to adjacent planks, making it a floating floor. It was a lot easier to put down than click-together flooring, especially around the door frame. My fingers often hurt after installing tongue-and-groove or click-together floors from trying to pull the seams tight. The planks could be repositioned after placement as long as I didn’t push down too hard. To cut the floors, you score the front with a utility knife & snap it. This works for curves too, making the cut around the toilet drain a cinch.
Even though I don’t love the pattern on the floor, it looks good finished. I’m now more motivated to get the vanity painted; its basically the same color as the new floors.

Bittersweet Game Room

I have almost completed my favorite room in the house: the game room. We’re still calling it the loft out of habit, as that is where the games were in the last house. Because it was open to downstairs and the front door, it never seemed appropriate to hang a bunch of posters all over. Now the game room is in the smallest bedroom upstairs, it is an explosion of everything video games. 
Seeing all that I have collected (hoarded?) in one place is a bit overwhelming. It’s almost embarrassing. Or, it would be if I wasn’t so proud.
The final addition will be the video game t-shirt blanket, which I began along time ago. With the blanket complete, I will be able to hibernate in gaming bliss. I have dozens of games I have put off playing, choosing to work our house instead. While I wait for coats to dry on the final painting projects, I’ll be working on the blanket once again and, eventually, getting around to those unplayed, still-wrapped games.
The bittersweet part about this is we fully intend to move in less than a year. In a few months time it will all be boxed up and but a memory. I will obviously re-create it in the next house, but I like this iteration so much I that I am sad it will be so short.

After party

The housewarming party was the first time we had more than 10 people over. We had around 40 this weekend. It didn’t go exactly as I planned, but I think I’m the only one who knew. I was rather stressed about the whole thing, because my home is my workplace, and the improvements are my job. Therefore, the party was like inviting all my friends and family to my job, then compelling them to examine my work. Additionally, Aaron worked overtime this week, and wasn’t able to help prepare as much as he anticipated.
I would insert some pictures of the party here, but I was so busy I didn’t take any. I made most of the food, which was a brand new challenge for me. In the end, it wasn’t too difficult, just stressful. I also don’t think I’ll do that again. I had never cooked for more than 4 people. The hardest part was estimating how much 40 people would eat. The answer is a lot. 40 people eat a lot. As much as two people 20 times over,or a couple weeks worth of meals for Aaron & I.
We had a couple friends come late, which gave us a great way to unwind after the chaos of the party. We played board games and grazed on party leftovers. During the party I spent most of my time watching over the kitchen, so it was nice to finally relax. We don’t anticipate throwing a housewarming party ever again, since we intend to move somewhat often. Overall, this one-time party was a success.
Now that the party is over, its time to start the winter projects: cabinet refinishing, new countertops, bathroom flooring, and final painting. It’s only been a couple months, but time is moving fast. Our realtor has already found a new house he thinks we would like. The thought another house is a little exhausting right now. I would rather him find a buyer for this house first.

Enviro-tec Lite

Our bar has been a multi-year project, starting when Aaron was still in an apartment and almost finished now, in our second house. We finally coated the top of the bar with Enviro-tec Lite, an epoxy resin. It is fantastic. I want to stress that one more time: it is FANTASTIC. It did not go perfectly, but it did go so well that I feel I will be using enviro-tec lite often in the future. I imagine that on a smaller project, it would be a breeze.

It was difficult to try to keep it dust free while we worked (spoiler – we failed a little) but it still looks great. This is what we rigged to allow it to cure undisturbed: a coffee table on top of a dining table, wrapped in drop cloths.

Because of the differences in depth between the grout and the bottle caps, the epoxy isn’t completely smooth on top. There are some spots where it didn’t completely cover the caps, and some random hairs and rough bubbles. We may coat it again, but the coating being a bit shallow gives a nice effect. It feels smooth to the touch, but in reflected light you can see the outlines of all the bottle caps in the slightly uneven coating. It keeps a little of the texture of the uncoated bar, which we liked but was not very durable. We also think it is a nice way of getting a tile look without a tile texture.