Kitchen Cabinets Part 3

I wanted to add hardware to the cabinets, but it was nothing I had done before. It took a while to get the spacing correct. I later found out that everyone and their cousin sells plastic guides to do this easily, but it’s not too tough without one.

The tape helps protect the cabinets while drilling holes, but also allowed me to draw level lines.

I put handles on the drawer fronts under the sink, even though they don’t open. I thought it would look more consistent.

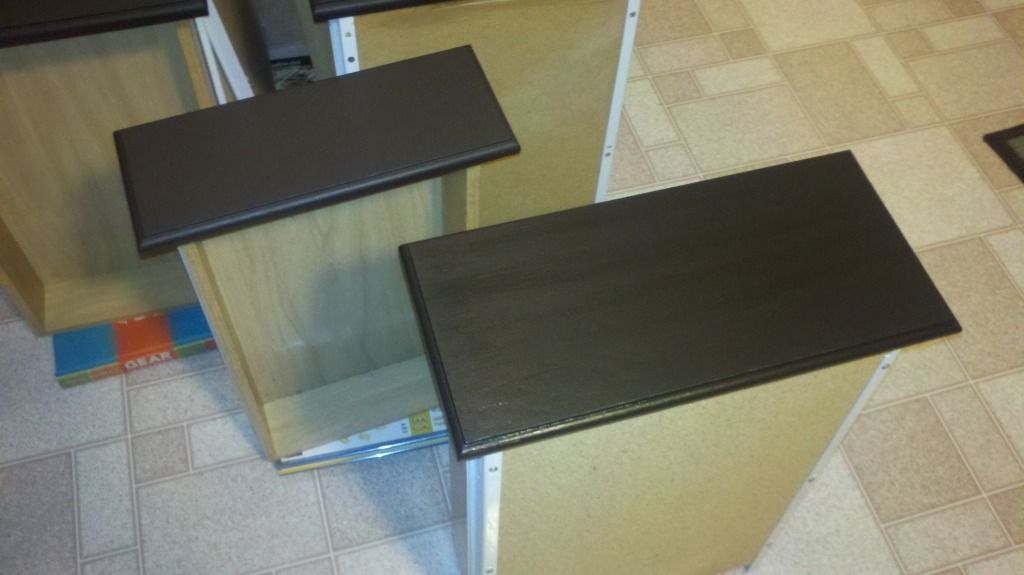
These are the finished doors, waiting to be reattached. This also gives a better view of how they were held up by screws while I painted.

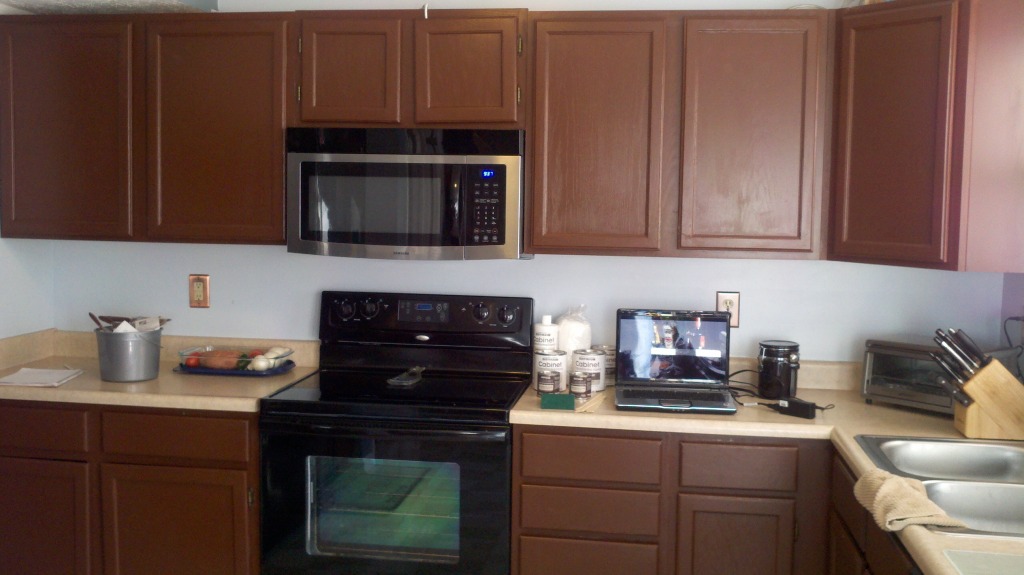
The darker color made more of a difference than I expected. Combined with the hardware, they look like totally new cabinets! I thought this was the completion of the kitchen remodel, but a trip to Ikea and clearance mosaic tiles said otherwise.
Kitchen Cabinets Part 2

Most of these are photos of applying the bond coat. The kit insisted that this bond coat paint was specially formulated, but I believe a flat paint would get the job done. If the de-glossing step is done well, the bond coat is a breeze.

The darker color looks much better than the strange, medium brown before. However, that medium brown was a big step from the original light maple.

Everything must be painted with two bond coats, so it’s time consuming and not very exciting. I used this opportunity to watch/listen to every episode of “How I Met Your Mother” on Netflix. Good show!

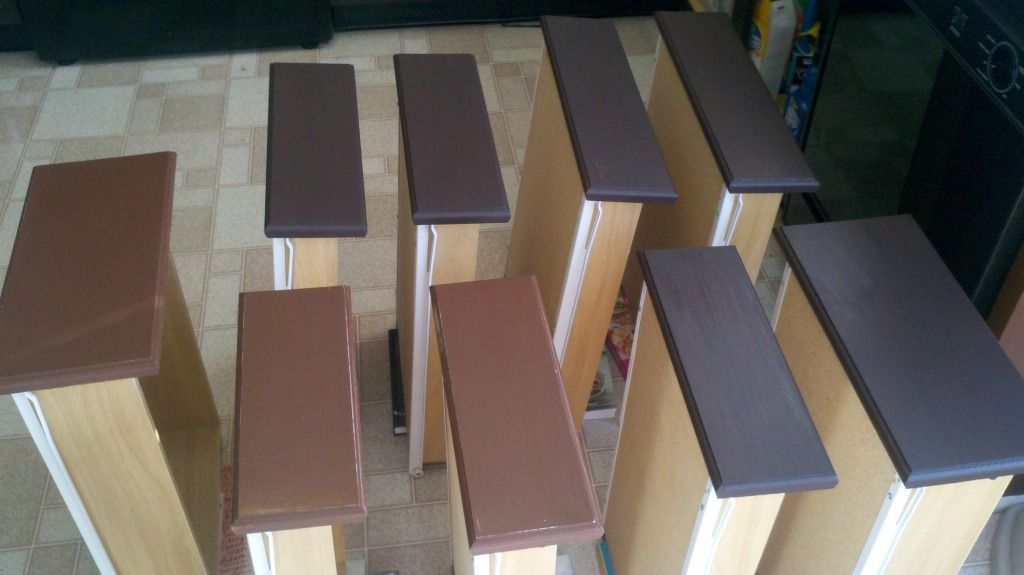
It’s very hard to tell, but this picture shows the difference between the bond coat and the decorative glaze. Not much of a difference, I know. It’s more noticeable in person, with the glaze giving depth and richness. If you choose a lighter color, the glaze is much more apparent. It is not a necessary step, but I think it gives the cabinets a professional look no matter what color you choose.
Also noticeable in the above picture are the books under the cabinets. the draw pulls were longer than the drawers themselves, so they would not stand on their own. The books kept the drawers from tipping forward, which allowed me to paint every edge. You could also place them flat on a table, with the front slightly hanging over the edge. If you take that approach, you may want to flip the drawers as you paint so that you can ensure you’ve painted all the edges.
Continue reading about installing hardware and see the results in Part Three.

Kitchen Cabinets Part 1

Even though I painted them once, it was time to paint them again and paint them right. I used the Rustoleum Cabinet Refinishing Kit. Mine was $80, but I’ve seen them on sale for less. Though it contained the products you needed, it did not have the accessories. I bought gloves, scrubbing pads, and some drop cloths to work on and got down to it (“it” meaning business).

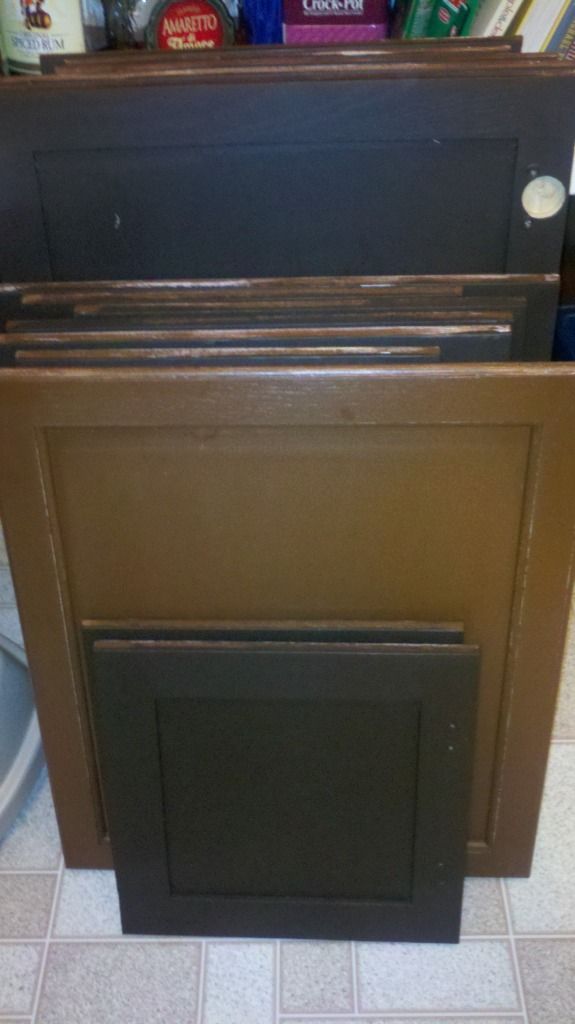
First step was to take off the cabinet doors. Seeing them all open lead me to reorganize my cabinets.

I numbered them to be thorough, but they are all different sizes. I soon disregarded the numbers.You can see how uneven the paint was in these pictures as well, but I did do all the cabinets in only a day. It took a solid week the second time to do them right.

I don’t think I took any pictures of step one, which was the de-glossing step. You have to pour a solution onto a scrubbing pad, then wipe down everything you are going to paint. Since I already had paint on the cabinets, the de-glosser made some of the paint come off. This helped me discern whether or not I was scrubbing enough. It’s harder to tell on unpainted, glossy cabinets. However, as soon as you start painting you can immediately tell if you missed a spot. If that happens, stop painting and scrub that spot again. 

I did this in January, so working outside or in the garage was not an option. I used a tip mentioned in the instruction book to create a work surface while painting the cabinets. I bought four long 1x4s and drove in screws less than cabinet door width apart. The screws floated the cabinet doors above the floor, allowing me to paint the edges effectively.

Continue reading about painting the cabinets and applying the glaze in Part Two.

The Guest Room: Start to Finish

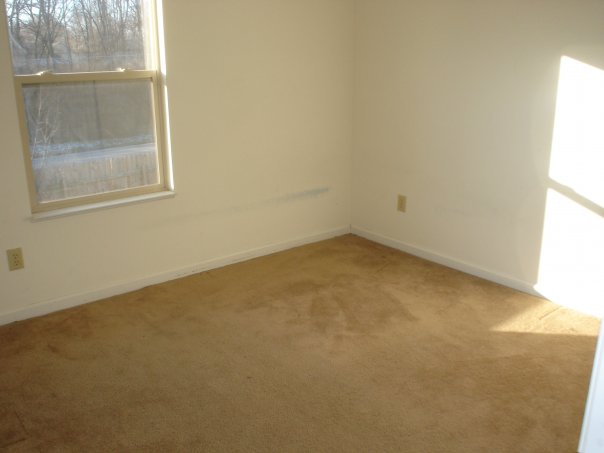
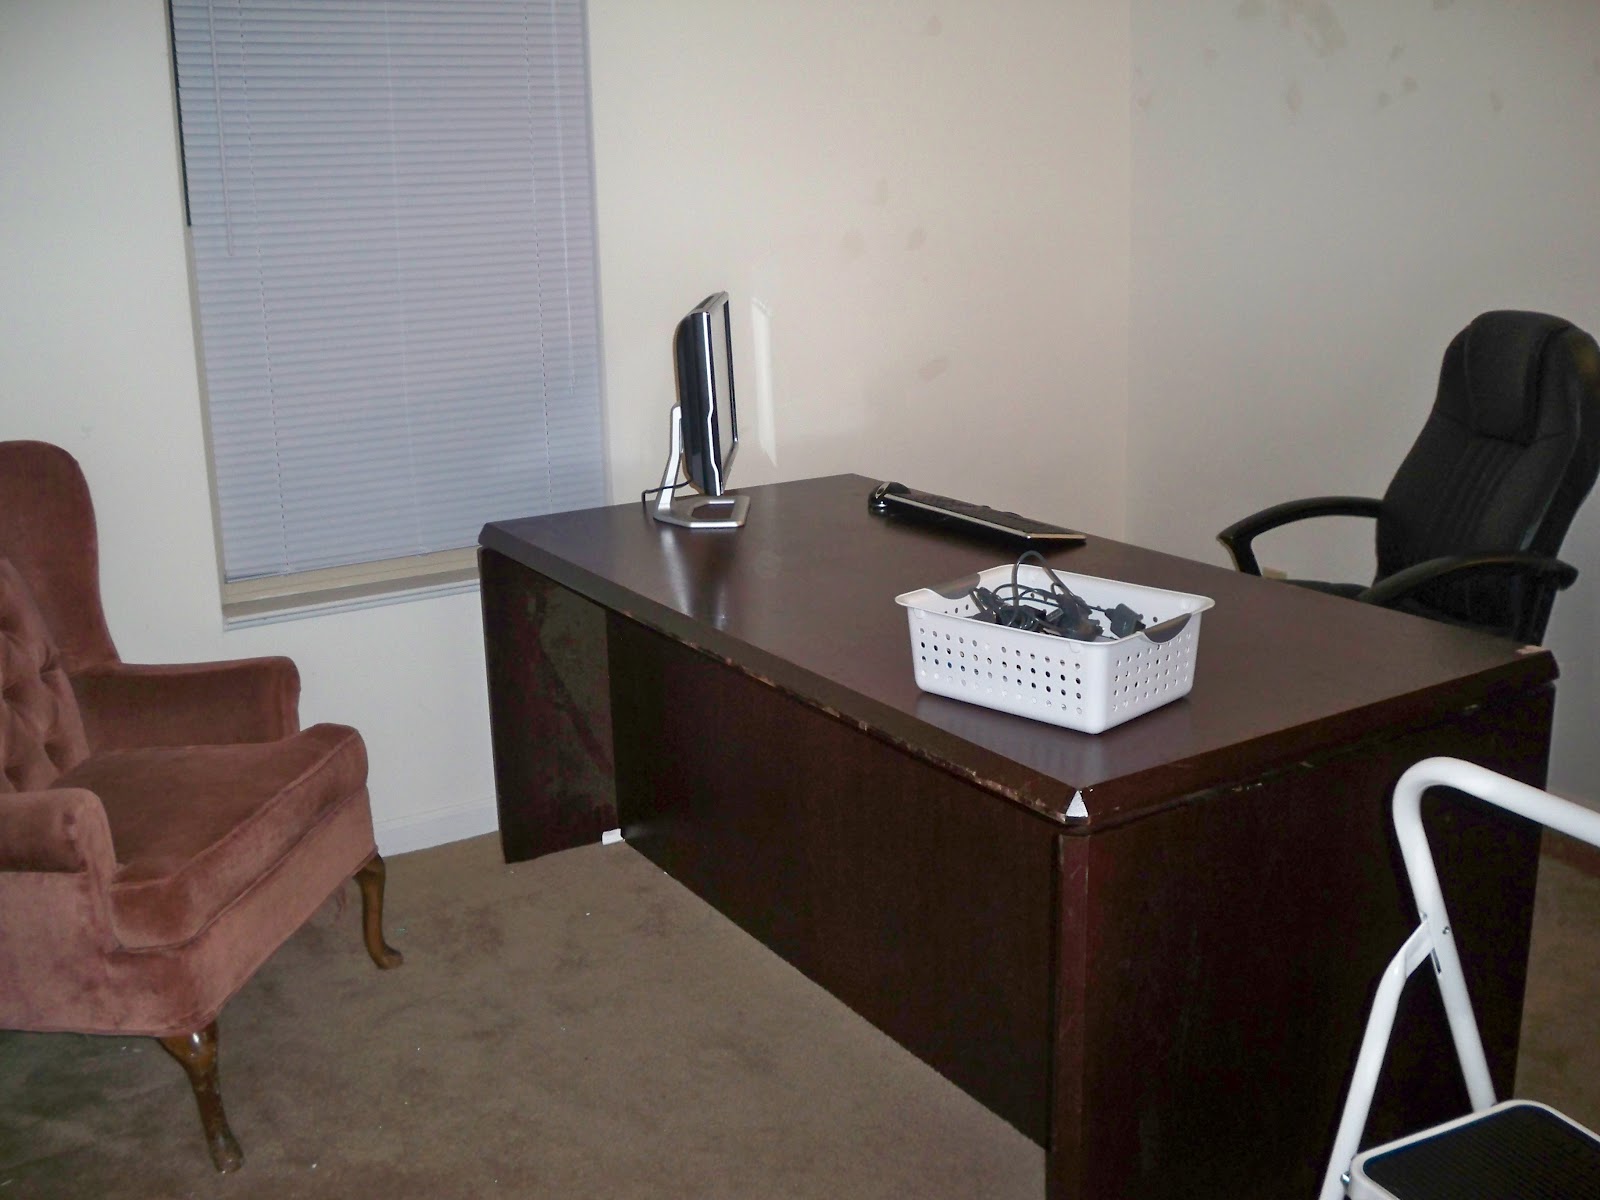
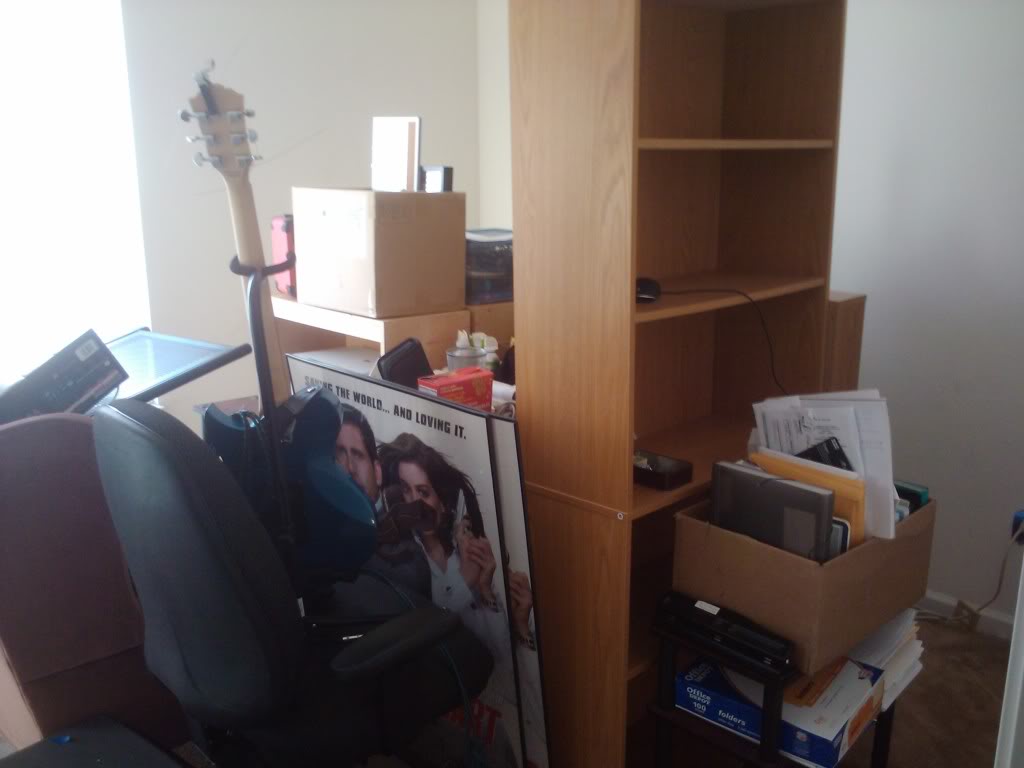
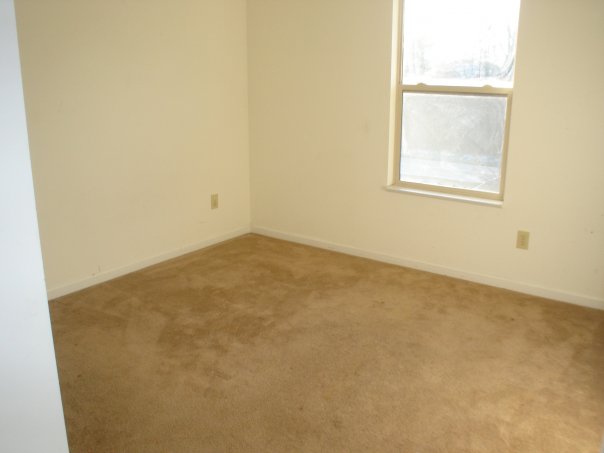
This room started out awkwardly as the office, with a desk that took up most of the room. 

 The desk was perfect against the back wall in Aaron’s old apartment, but it was always out of place in our new house. Also, this is before we switched this room to the guest room.

 Just a little pre-paint stacking, which shows how much stuff the room had aquired

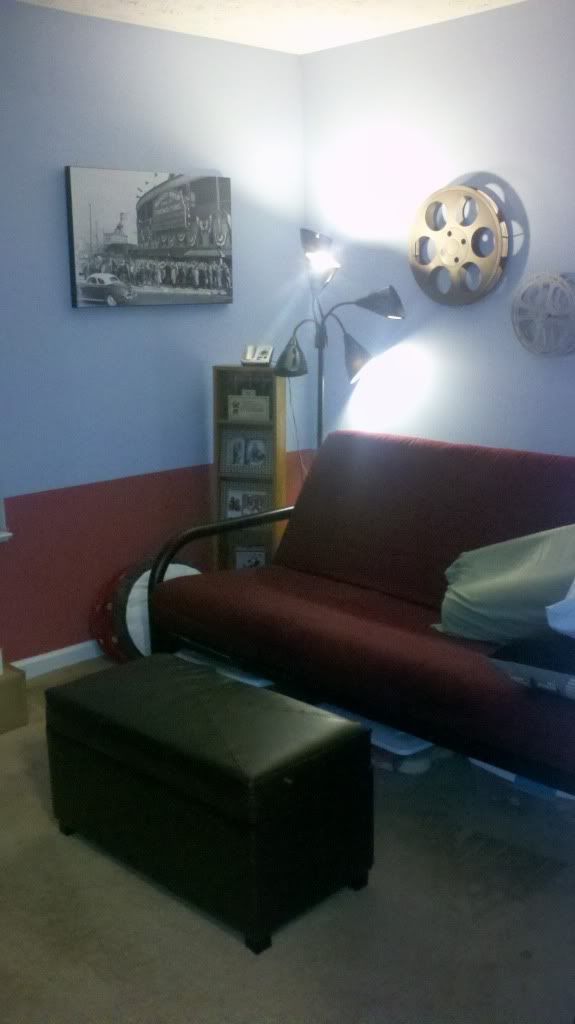
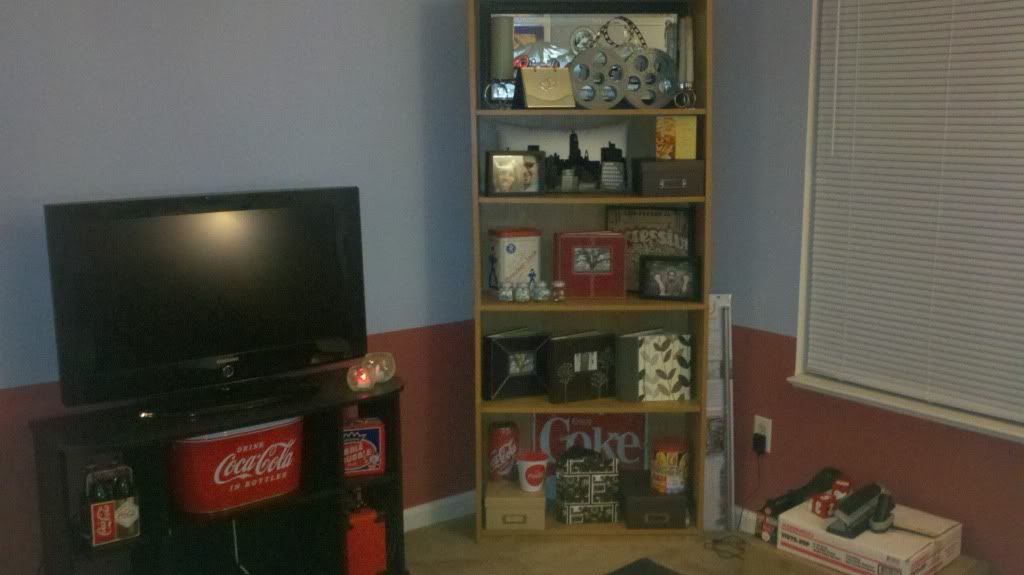
After painting, we re-purposed it as the guest room. There were a few minor adjustments, but it looks practically the same today.

 I’m not in love with the TV stand placement. The curtains crowd it, but it was the best place for it in the whole house. The white chair rail that we planned long ago was only recently installed, due to one small wall with non-standard corner angles.

The Office: Start to Finish

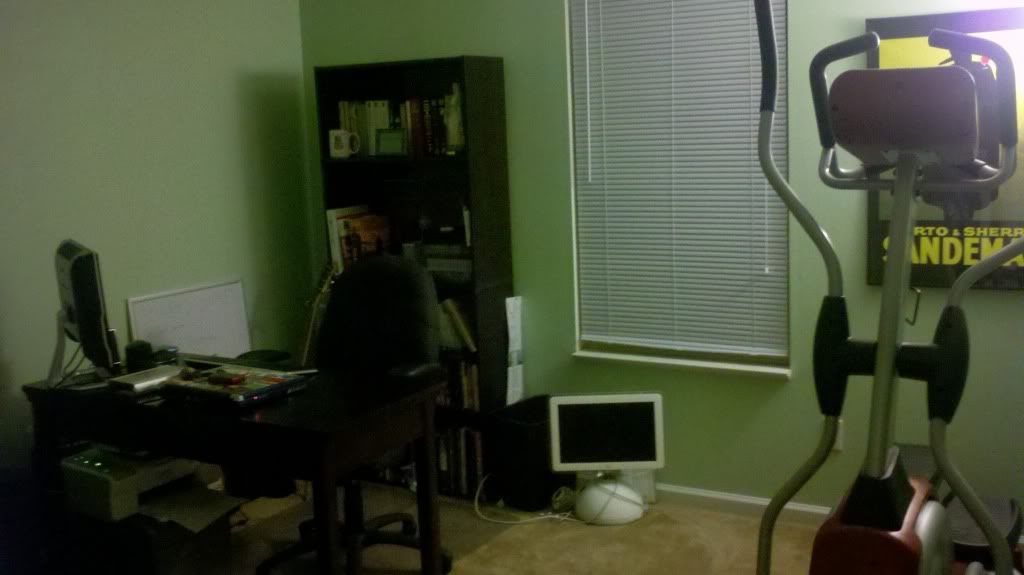
This is how the office began, and roughly how it stayed for almost a year. Then we decided to paint all the rooms upstairs.

At this point, it was still the guest room. By “guest room” I mean a futon, a couple dressers with our extra clothes and electronics, and the elliptical.

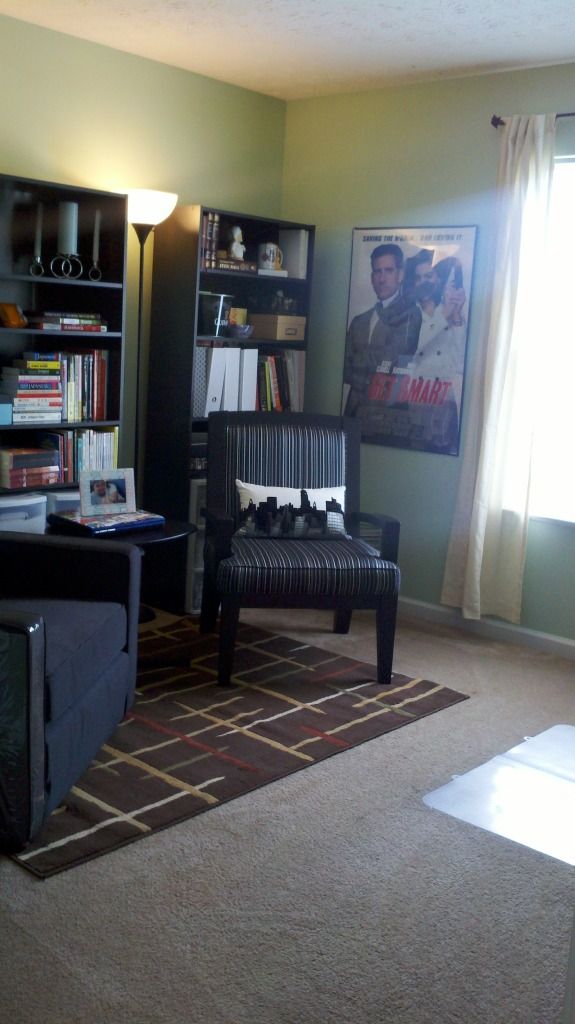
I took only two pictures at this stage, but it stayed like this for a year or so. It was functional, but not excellent. Once we got rid of the elliptical, we moved the desk to where it was and moved in a chair that hand been floating from room to room downstairs. We added more bookshelves, floor lamps, curtains, and wall art for the final look.

Even though the layout changed a lot, the only real renovating in this room was paint!

Stairs Part 3

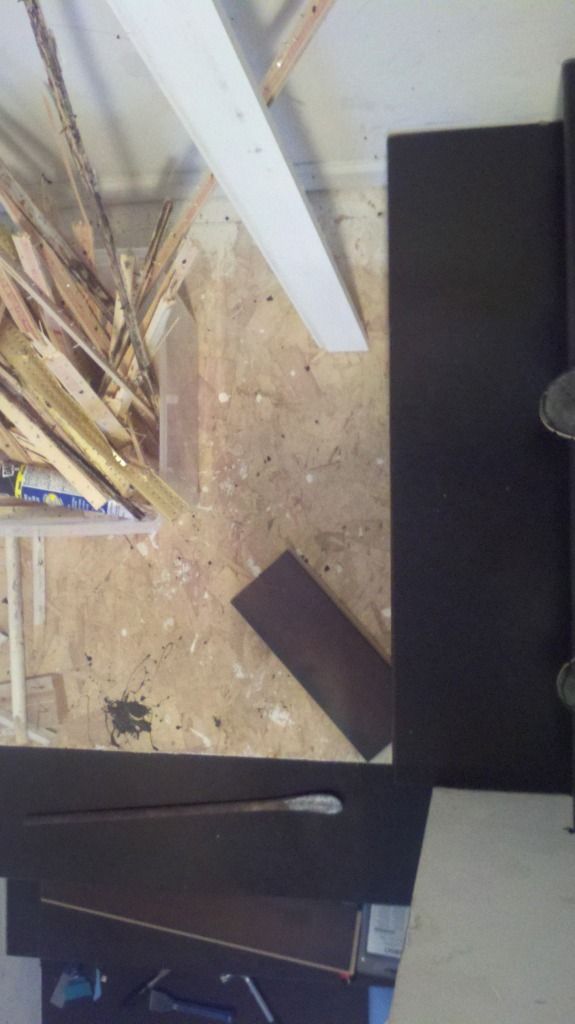
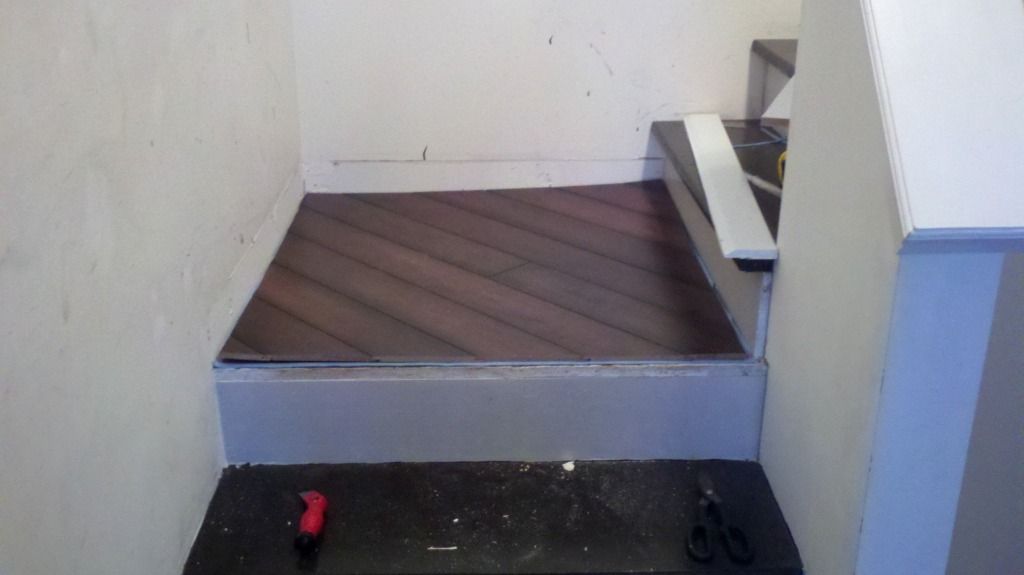
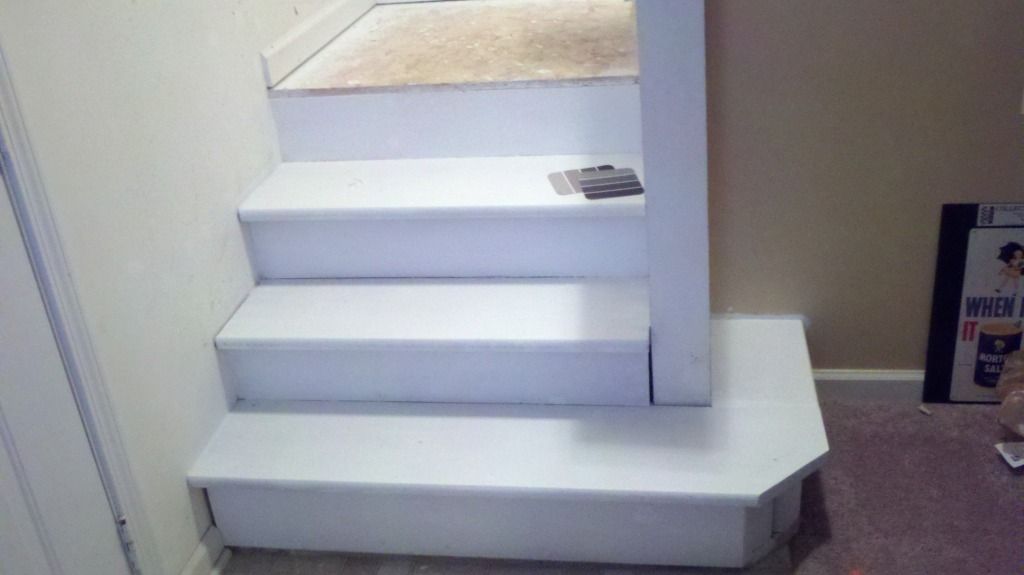
The stairs project was put on hold, which  means that the landing was still unfinished when we started laying the floor. While laying the laminate floor, and idea struck me.

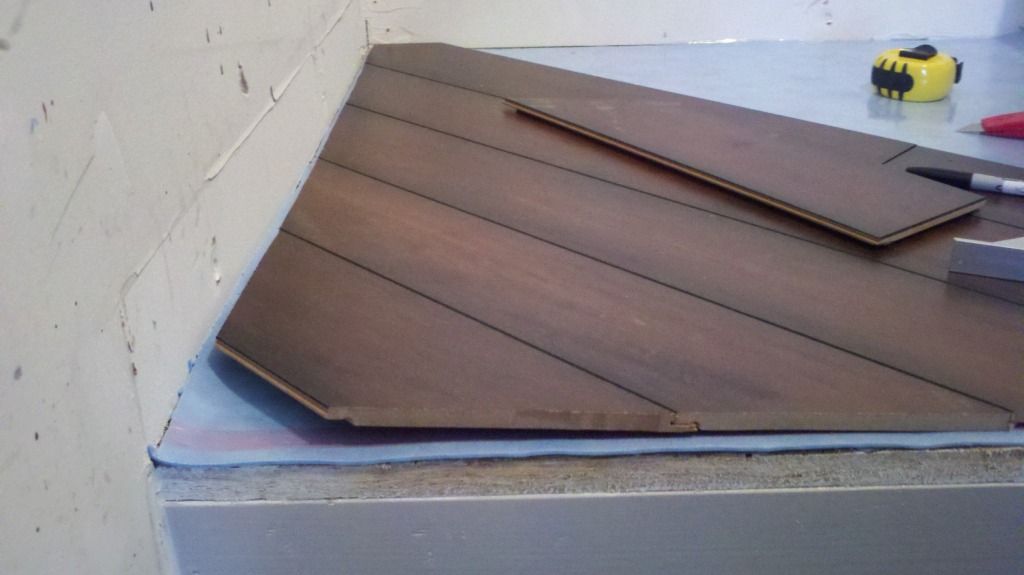
We had more than enough flooring left to lay it on the landing too. It was standard plywood, so painting it was not going to be an option anyway. And since it was a small area, I decided to try something different.

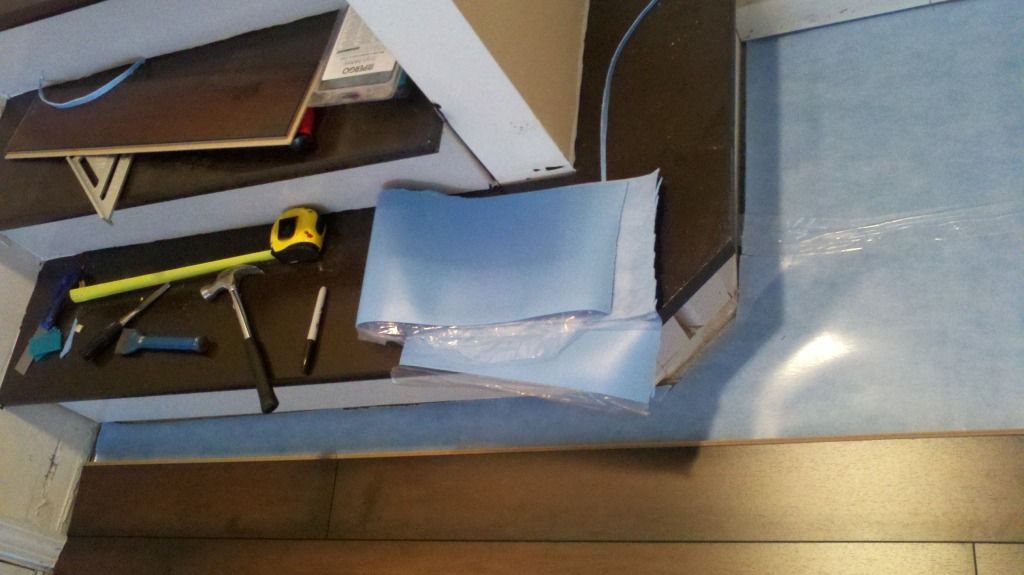
I thought laying them at an angle would be more difficult than it was. Once the first cut was made, all the subsequent cuts were easy. I did the longest piece first, going through the center of the landing, and worked out from there. You can tell that the flooring curved up, which is what I fought with across the other rooms. The molding and the overall weight of the floor holds it down on bigger sections.

I like the look of the diagonal so much I wish I had done the same pattern in the living room.

Cheap Rugs from Target

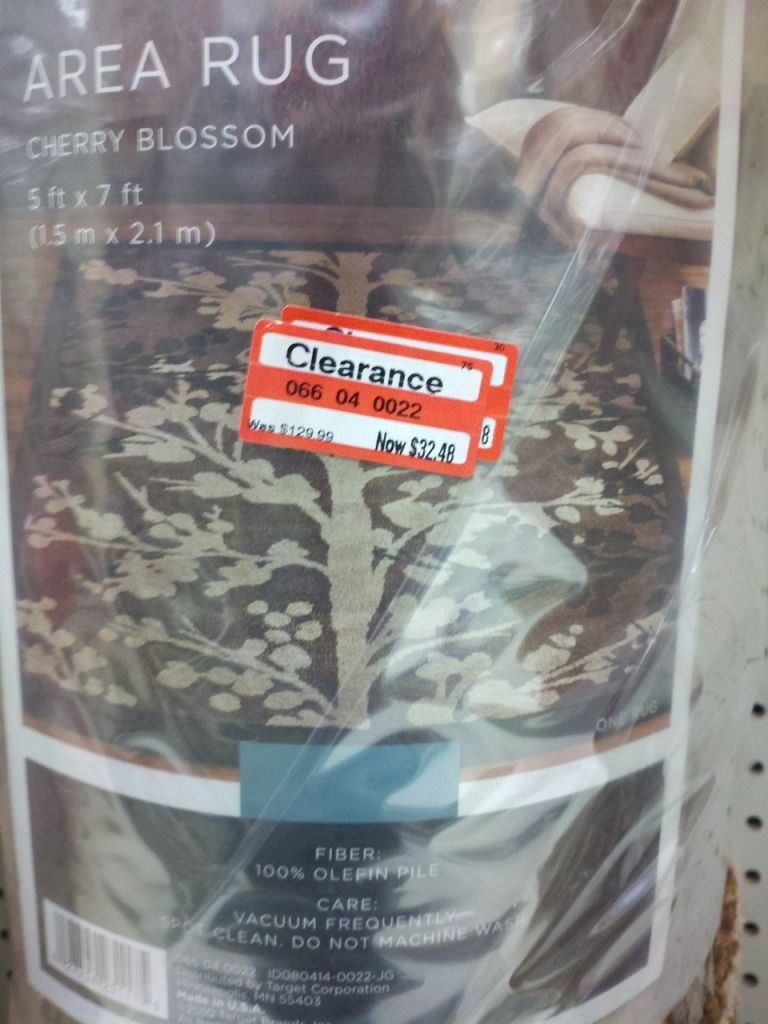
After the floor was laid we needed some area rugs. Luckily I noticed some on clearance at the Target near me, and after scouring a few more Target stores in the area, I found the ones I wanted.

They were 75% off! For a 5×7 rug, $32 feels like stealing. I know I mentioned this earlier, but Target clearance is legendary. I bought the one above for the dining room.

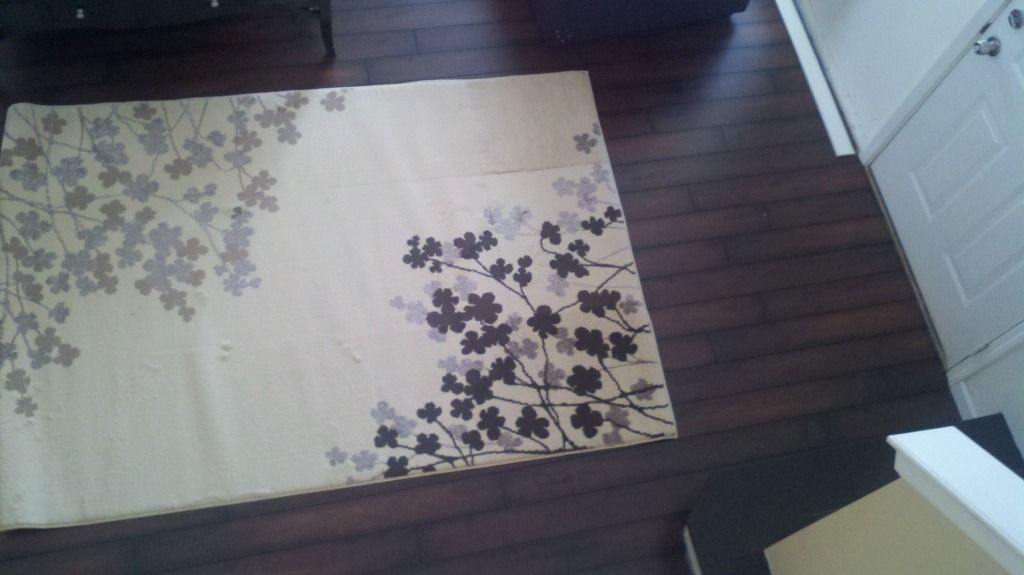
Here’s the one for the living room. The dark flowers tie in nicely with the floor, and the creme color helped distinguish the dark couches from the floor.

Laminate Flooring

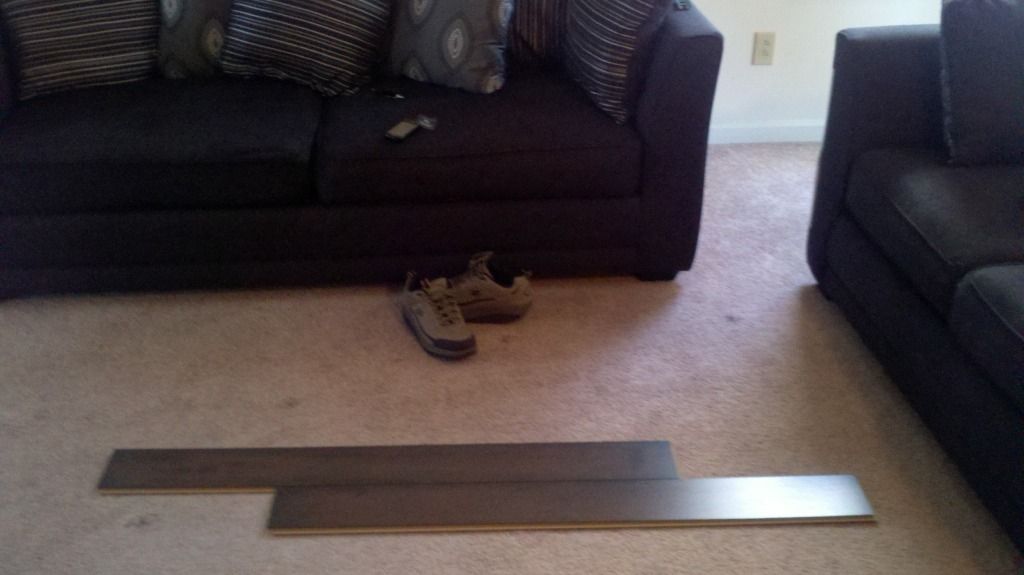
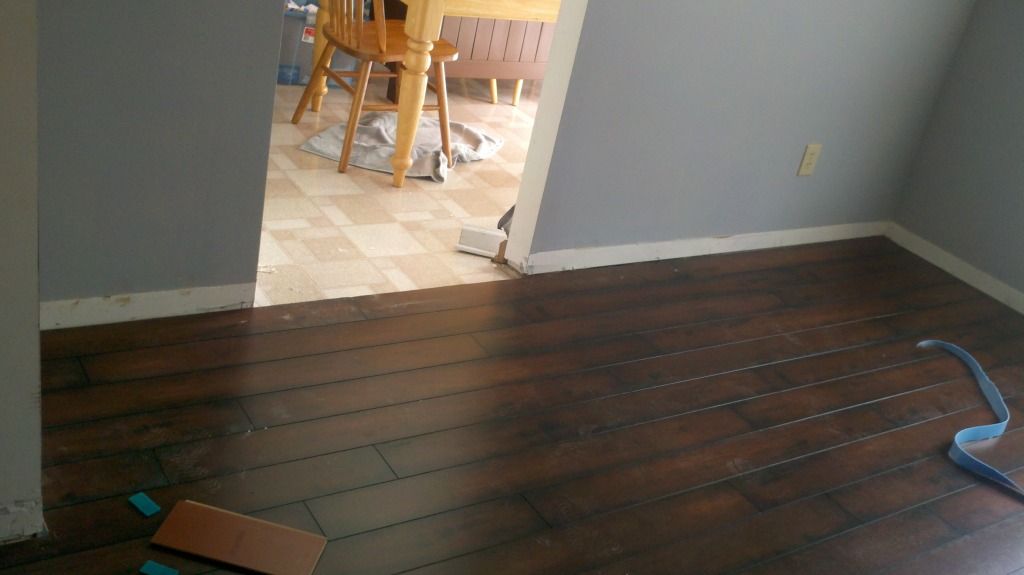
This will be rather brief, as there is not much to say. Next time I buy it, I will pay more attention to how it snaps together. The one I bought seemed to snap together nicely, but while installing it was hard to get it tight and secure. Otherwise it was easy to lay, as it is a floating floor. Here are some photos of the process:

To be clear, it’s not floating over carpet. We just laid a couple pieces out before we got started.

Taking off the molding was a little tedious. You are supposed to open up all of your flooring boxes and mix them so that it looks consistent, but given the space I had, I mixed them as I went. I obsessed over it as I laid it, but now that it’s down I don’t know that anyone can tell that the boards are comprised of repeating patterns

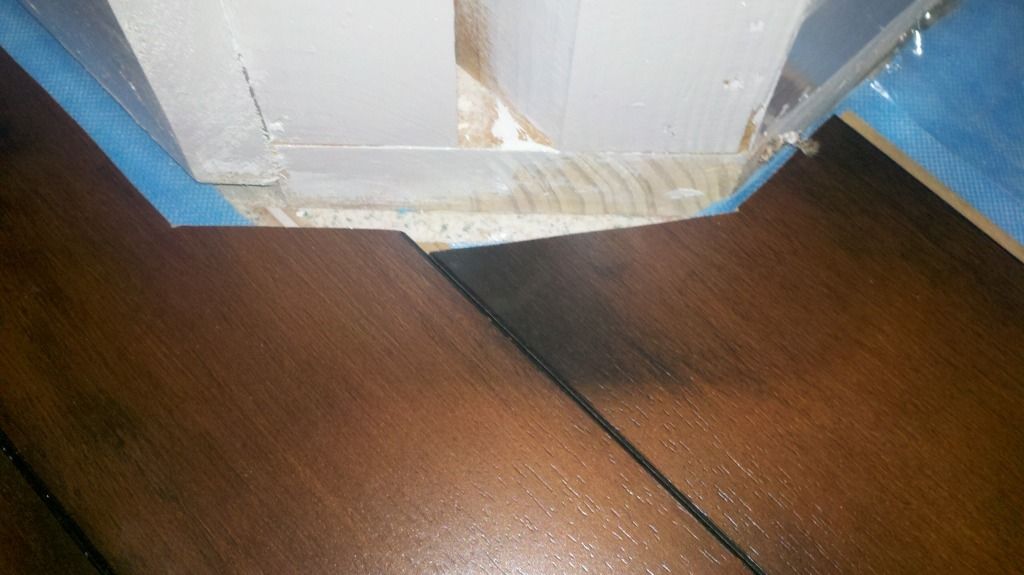
This corner was the trickiest cut to make. Being my first angle cut, it took me a few tries to get it right.

The left piece is better than the right, but the discrepancy is now covered by molding.

Stairs Part 2

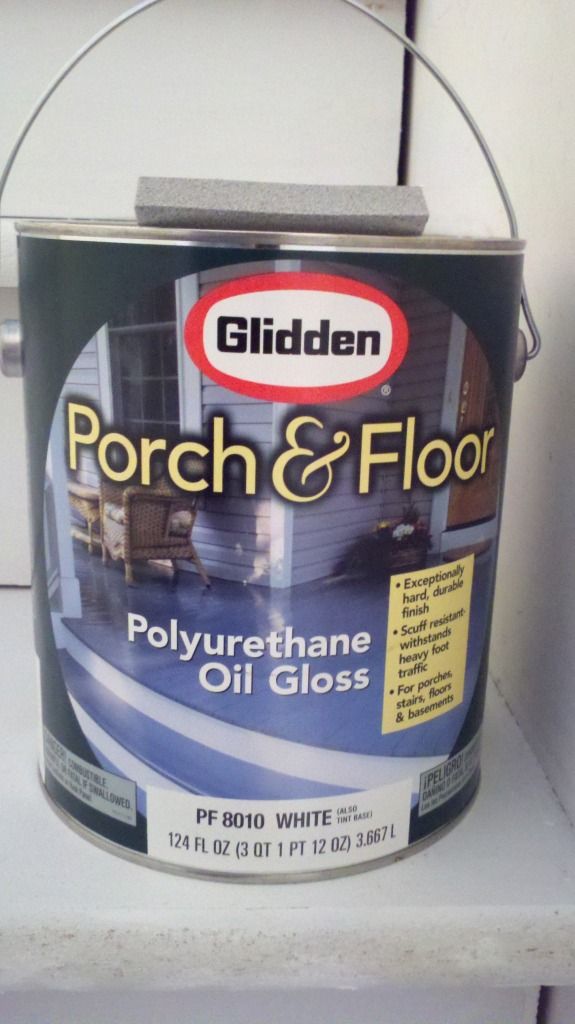
I primed the stairs before I painted them, but I don’t think it was necessary. The paint color chips are there on the third step. I bought oil based porch and floor paint. It only came in in one gallon cans, so I had to buy way more than I needed.

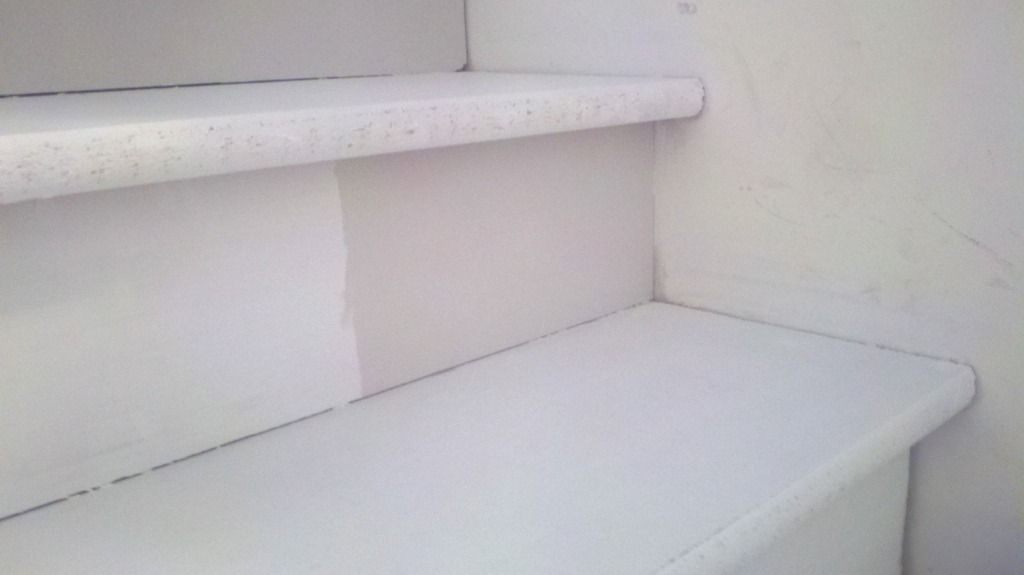
I painted the risers first. The color was a cool grey and hard to notice at a glance.

I painted the risers dark brown. This was before there was dark brown anywhere else in the house, so i’m guessing I thought it wouldn’t look as dirty if I pained it dark.

Things were going well until disaster struck. I was sitting on the steps, painting every other step on the way down (so that I could get back upstairs if I needed to). Like a flash of lightning preceding the storm, our cat, Roxas, came darting up the steps. I should have just let her run by, through the lightly painted steps and onto the carpet that had not been replaced. That’s what I thought in hindsight, days later. Instead, acting on impulse, I blocked her from going any further. She immediately convulsed, panicked, and returned down the stairs. As she descended I saw her back paw emerge from within the gallon of paint. In the moment, I couldn’t comprehend the implications of my cat, already more than arms length away, moving towards the new carpet in the living room and dining room.

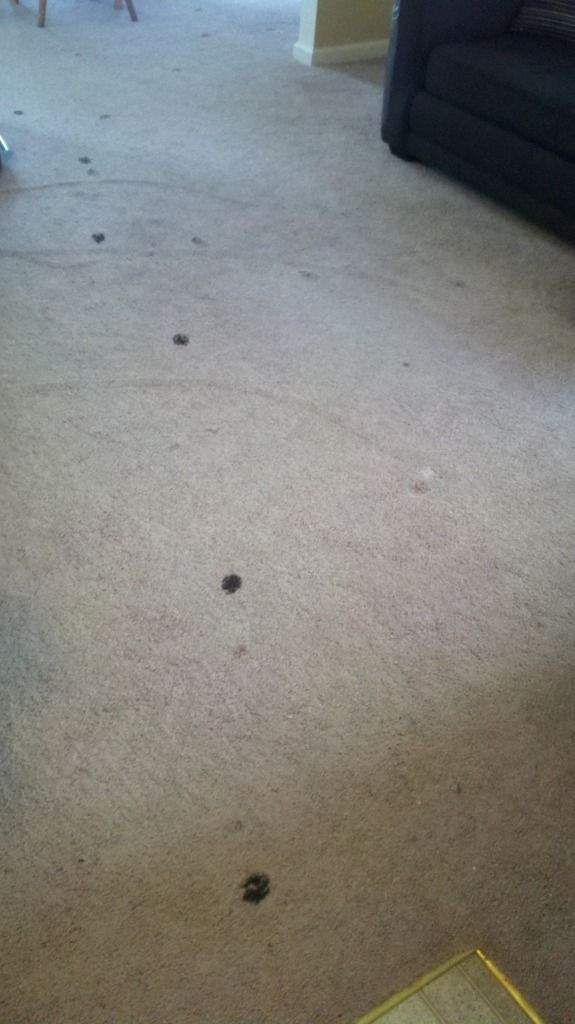
This is what I saw:

One oil painted paw, walking into and from the dining room

An oil painted paw, encircling the dining room table.

Time for new flooring.

Again.

Stairs Part 1

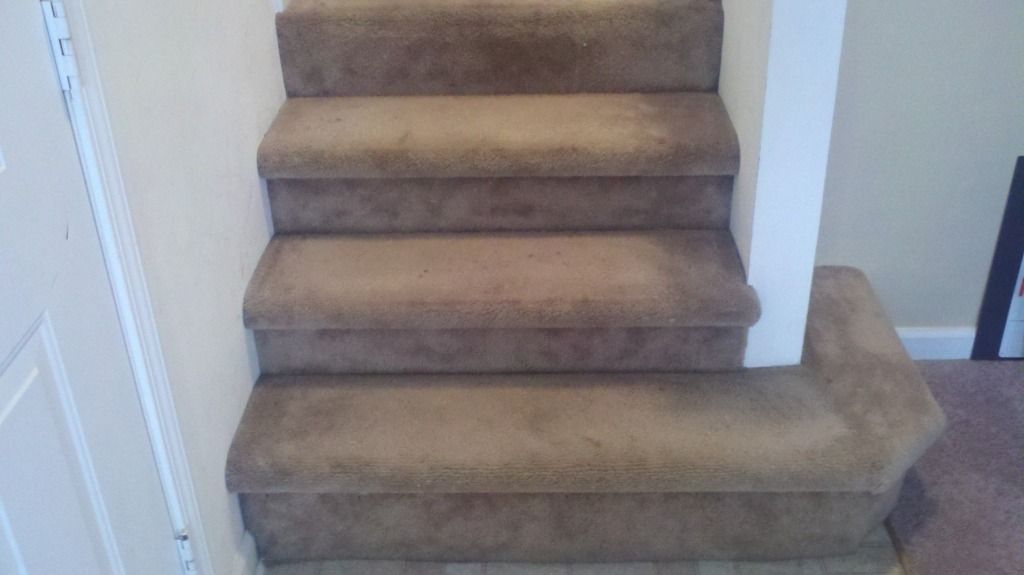
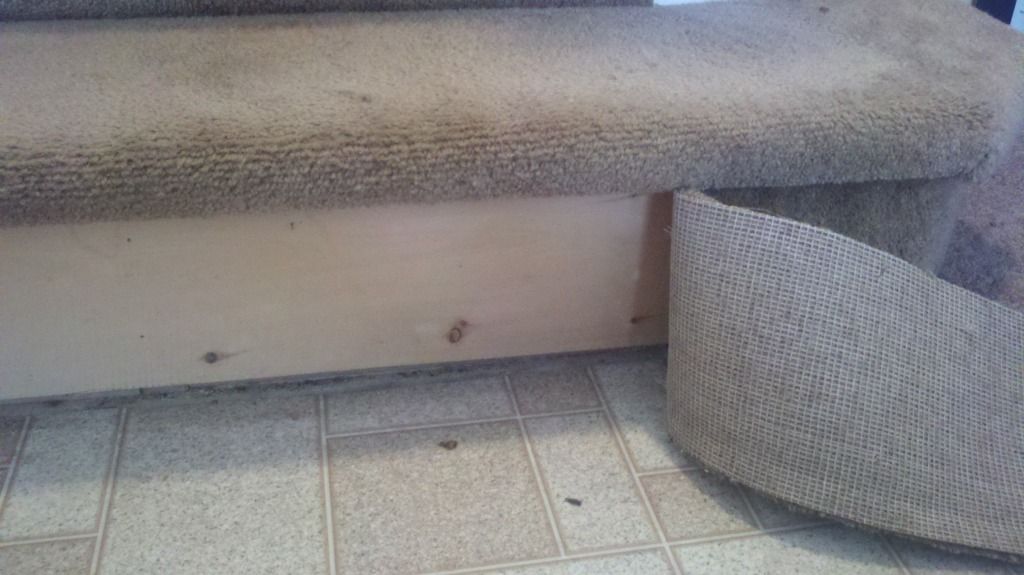
The carpet on the stairs was in bad shape. They were worn down, stained, fraying, and difficult to clean. They didn’t exactly match the new carpet in the living room either. I’m not sure what sparked the idea to try painting them, but I remember scouring the internet for examples. My house is fairly new, which I thought might make the project more difficult if they were plywood. I had no idea what I would find under the carpet. I peeled off the bottom to see what might be underneath.

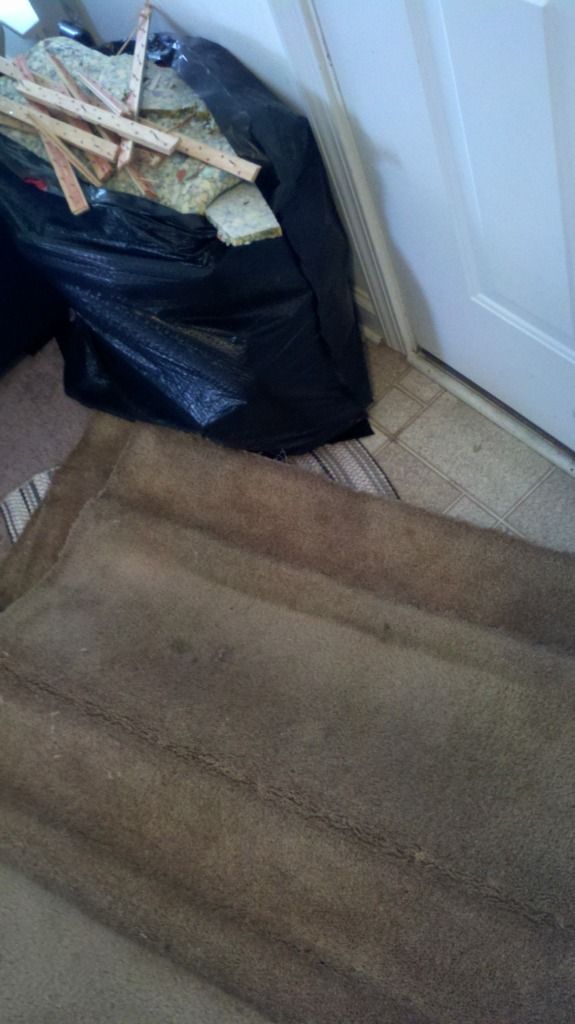
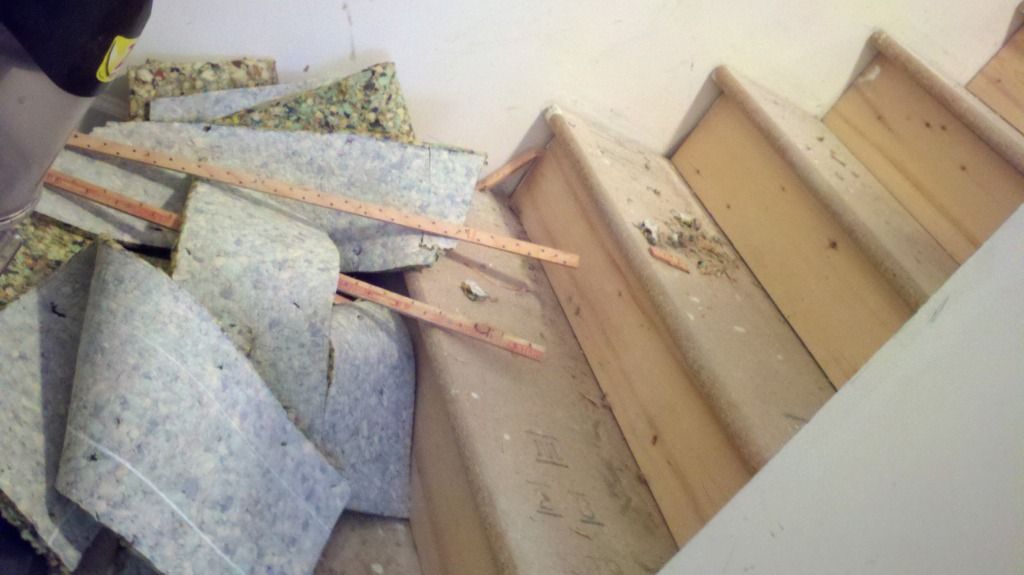
I was delighted to find pristine risers and something like mdf for the treads. I went to work removing the carpet, padding and tacks.


Ripping this stuff out was fast and fun.  The picture above shows how discolored the carpet was. The treads had deteriorated, and much of the padding had torn to shreds. That could have been from when we moved the elliptical downstairs, but that’s another story. 

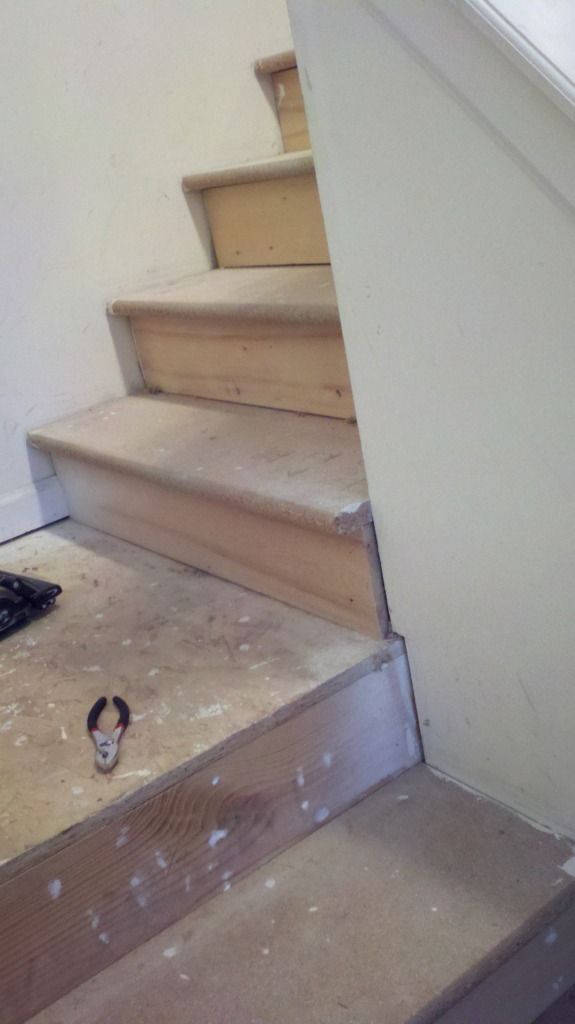
It did not take long before I was looking at unfinished wooden stairs. And a lot of trash. Taking out all the little carpet tacks and staples was a bit tedious. Some areas looked like a staple gun testing site. I used a standard office sized stapler remover, pliers, or a hammer to get them out.

I puttied the holes and swept up the little carpet shreds, feeling very satisfied with the progress I made in one afternoon. Little did I know that I would still be working on this project six months later.

Onto Part 2: first coat and cat-astrophe.